

Complete Laravel 8 Authentication Using Laravel Fortify and Bootstrap 4 - Part 2
Laravel Authentication Using Fortify and Bootstrap without requiring Laravel UI


In the part 1 of this article we looked at registration and login features using Laravel fortify and bootstrap as our frontend framework.
In Part 2 of this article we'll be delving into the remaining features of the authentication system.
Let's get started!
Change directory to our previous project and serve the application
cd laravel8_fortify_with_bootstrap
php artisan serve
Open codebase on your favorite editor and go to fortify.php file
Let's look at email verification feature .. uncomment the feature of the email verification method in fortify.php file
** Features::emailVerification(),**
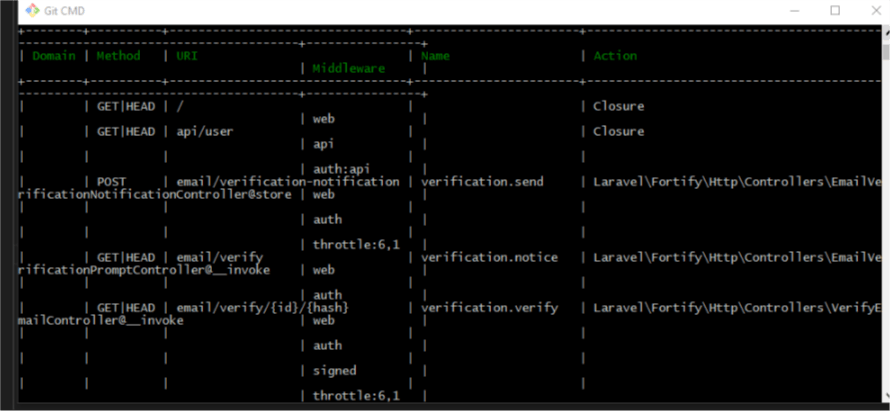
it'll automatically add the three routes for email verification (send, notice and verify)
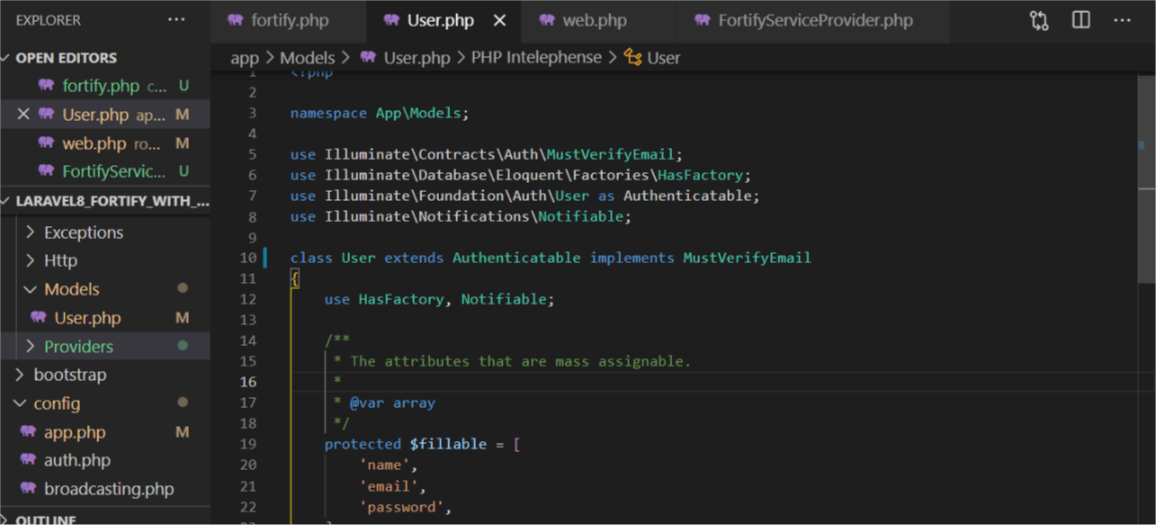
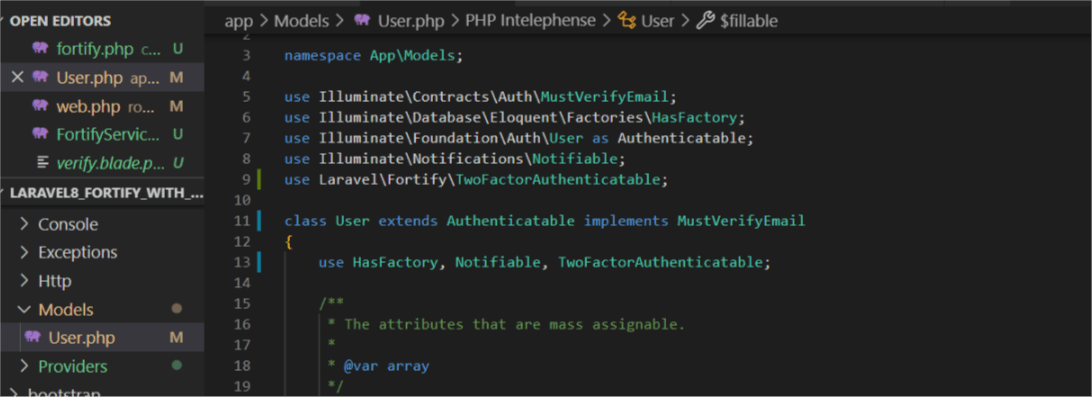
Next go to User.php model under the Models folder and modify it by implementing the MustVerifyEmail interface
implements MustVerifyEmail
Next configure your preferred email driver to deliver the email verification link to the user mail.
For testing purposes you can create an account on mailtrap.io and configure the mail settings on the .env file
MAIL_DRIVER=smtp
MAIL_HOST=smtp.mailtrap.io
MAIL_PORT=2525
MAIL_USERNAME=
MAIL_PASSWORD=
MAIL_ENCRYPTION=tls
MAIL_FROM_ADDRESS="your@gmail.com"
MAIL_FROM_NAME="${APP_NAME}"
Next, in web.php file specify the routes that are not accessible until a user is verified
Route::middleware(['auth',  'verified'])->group(function () {
    Route::view('home', 'home')->name('home');
});
Next inside the fortify service provider, instantiate the method returning the verify view after successful registration
Fortify::verifyEmailView(function () {
        return view('auth.verify');
   });
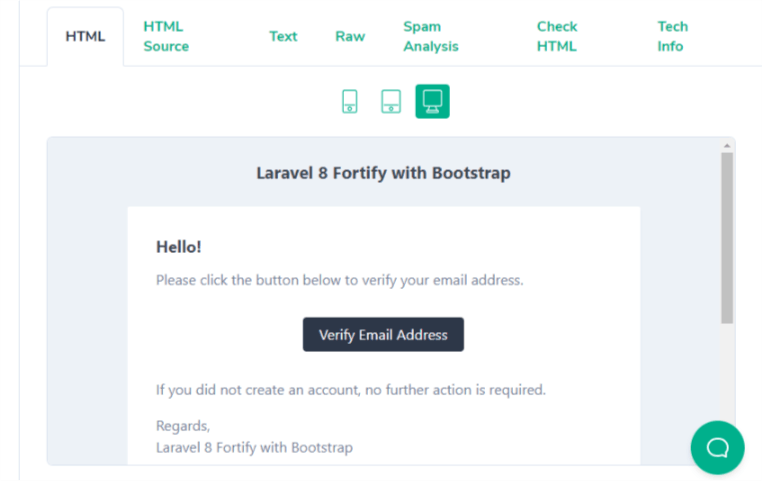
**Next refresh the browser. Register as a user. Check the mailtrap inbox to see the mail for verifying the email. **
All working!! let's continue to reset password feature
The login view on the browser doesn't have a forgot password link because the feature is disabled
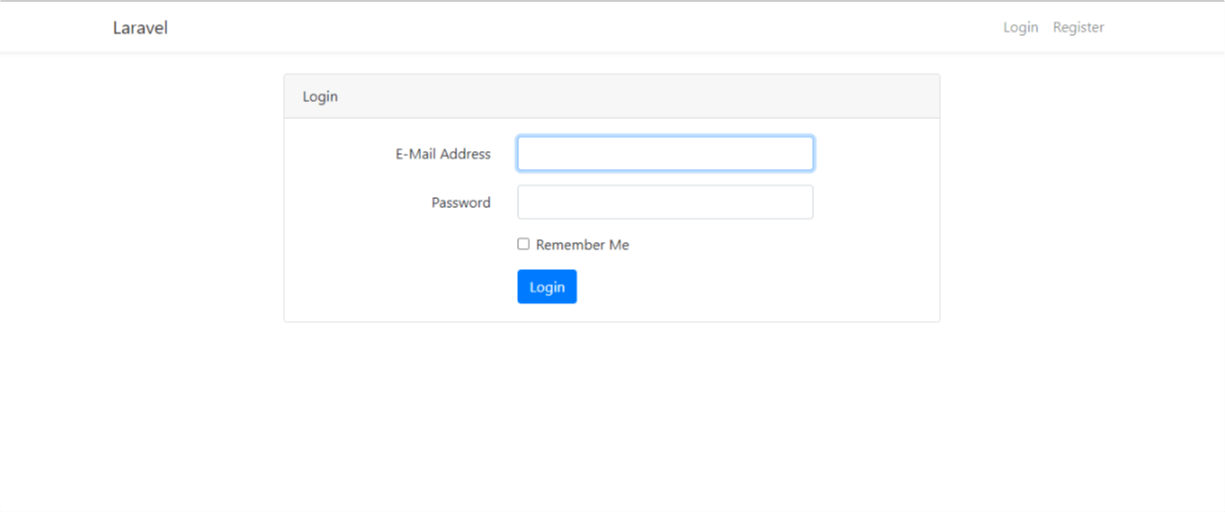
Uncomment reset password feature in the fortify.php file
Refresh your browser and you'll see the forgot password link on the view
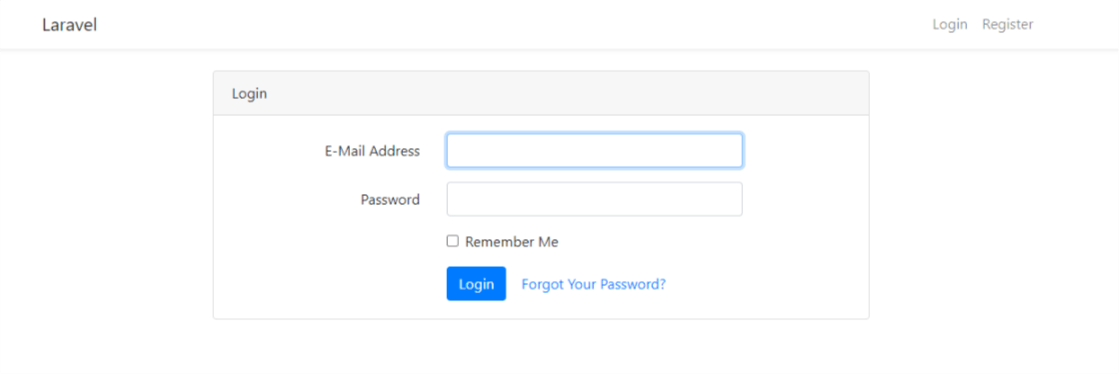
if the Route has the password.request link display the link to reset password.
Next let's define the view for password reset in the FortifyServiceProvider.php file
 Fortify::requestPasswordResetLinkView(function () {
        return view('auth.passwords.email');
   });
create a new file email.blade.php inside auth/passwords folder. The view of the email.blade.php file is on Github Repo](github.com/RaphAlemoh/laravel8_fortify_with..)
Go to the browser, refresh and click on the forgot password link
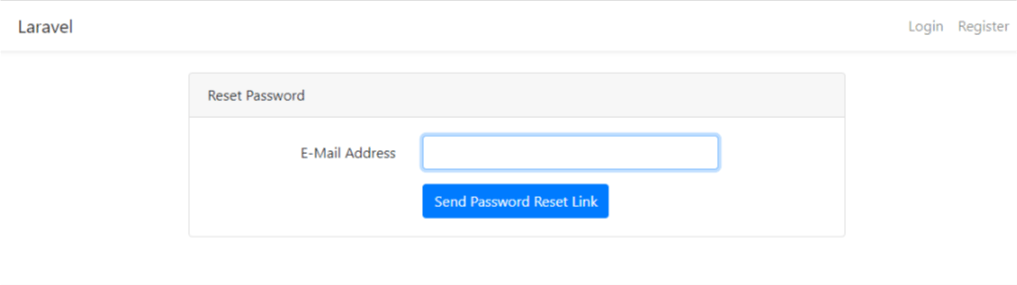
**Enter the email and click on send password reset link. Check the mailtrap inbox to see the mail for resetting the password. **
Next define the method for password reset view when the reset link is clicked inside the mail
  Fortify::resetPasswordView(function ($request) {
      return view('auth.passwords.reset', ['request' => $request]);
   });

create the reset.blade.php file and code the desired view using bootstrap but if you intend to follow along please get the views from the Github Repo
That's all for resetting password. For customization purposes you could look into the laravel documentation.
Let's look at update password feature .. uncomment the feature of the update password on fortify.php
** Features::updatePasswords(),**
define the route to the view of password update
Route::middleware(['auth',  'verified'])->group(function () {
    Route::view('home', 'home')->name('home');
    Route::view('password/update', 'auth.passwords.update')->name('passwords.update');
});
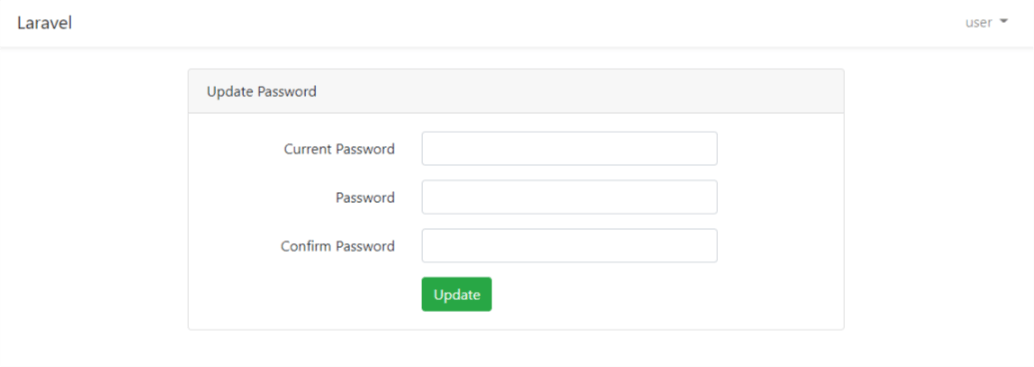
update.blade.php view is available on Github Repo
Go to your browser and refresh. Fill in the current password, the desired new password and submit.
Next is the 2FA - Two Factor Authentication which is the last feature we'll be implementing in this tutorial.
uncomment the twoFactorAuthentication method in the fortify.php file
**Features::twoFactorAuthentication([ 'confirmPassword' => true, ]), **
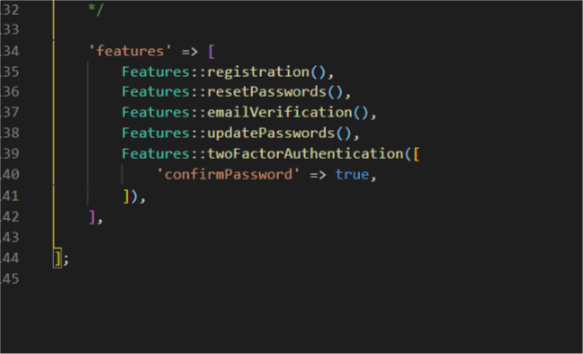
If we don't want users to enter their password during 2FA we can set the confirmPassword value to false
Features::twoFactorAuthentication([
            'confirmPassword' => false,
        ]),
Next to implement the 2FA we need to add the trait to the user model
Please Note: One of the beauty of laravel is that you can decide to modify or code a feature according to your thirst without having to do same as provided by the framework. It can be used on any model other than the user model. The important thing is to have the fields defined in the table that will be used.
open the User Model file to add the 2FA trait
TwoFactorAuthenticatable
The route for the form submission when doing 2FA has been defined when we uncomment the 2FA feature inside the fortify.php file. Run the route list artisan command to see the routes that've been defined.
php artisan route:list
this is route /user/two-factor-authentication is for 2FA confirmation post request
The users table has two column called two_factor_secret and two_factor_recovery_codes which specify if the user has done 2FA or not.
So we'll check if the 2FA is disabled or enabled and create form to toggle the status of the 2FA as desired by the user.
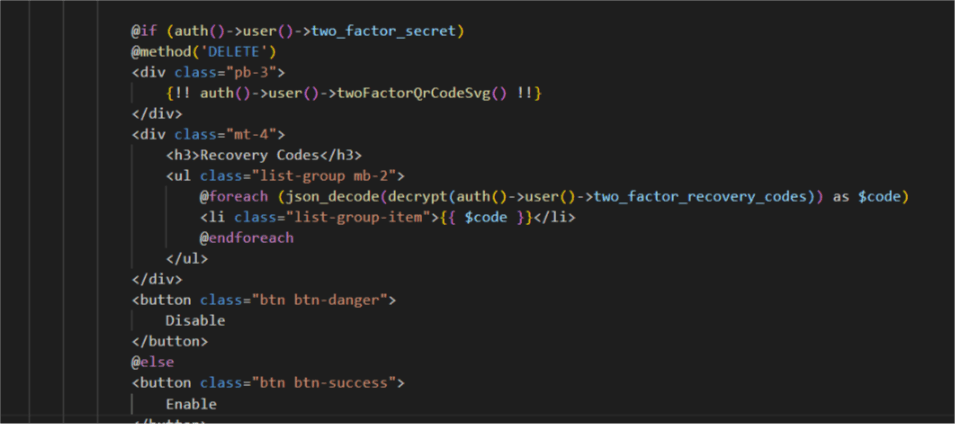
We'll be modifying our home.blade.php view file for the 2FA disable/enable functionality which can be found on Github Repo
   <form method="post" action="/user/two-factor-authentication">
        @csrf
        @if (auth()->user()->two_factor_secret)
        @method('DELETE')
        <div class="pb-3">
        {!! auth()->user()->twoFactorQrCodeSvg() !!}
        </div>
        <button class="btn btn-danger">
        Disable
        </button>
        @else
        <button class="btn btn-success">
        Enable
        </button>
        @endif
       </form>
Below is the image of the user dashboard after reloading the page
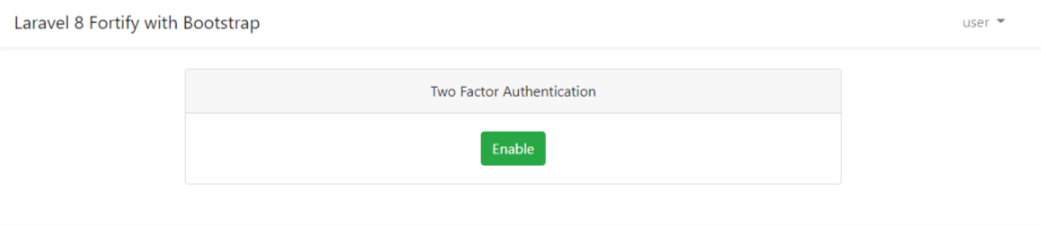
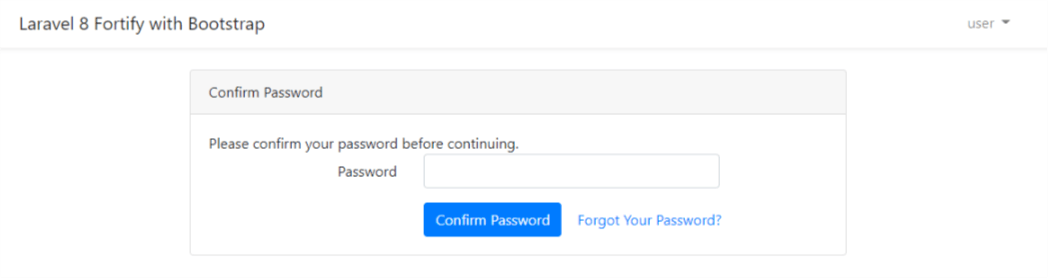
After clicking on the enable button it will ask for the user password since we set the confirm password to true we need to define the views for confirm password to ensure it is the owner of the account that is enabling it by instantiating the method in Fortify service provider and creating confirm-password.blade.php file in the views folder.
  Fortify::confirmPasswordView(function () {
       return view('auth.password-confirm');
   });
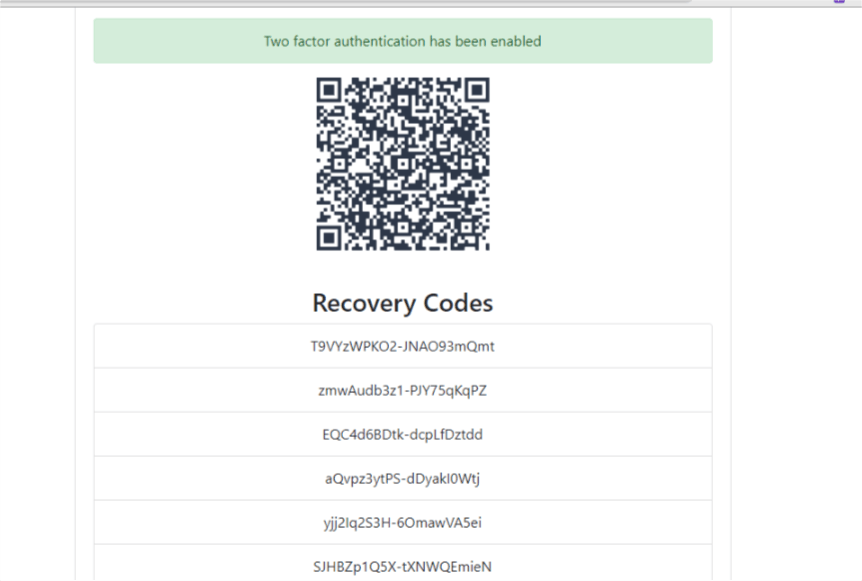
After successfully enabling the 2FA it'll redirect back and display the two secret code.
We can use the twoFactorQrCodeSvg() to display the QR code for users to scan using QR scanner app and get the secret code after enabling the 2FA for subsequent authentication during login.
Next we'll check the session messages from the service provider when the 2FA is enabled or disabled and inform the user
      @if (session('status') == "two-factor-authentication-disabled")
       <div class="alert alert-danger" role="alert">
       Two factor authentication has been disabled
        </div>
        @endif

        @if (session('status') == "two-factor-authentication-enabled")
        <div class="alert alert-success" role="alert">
        Two factor authentication has been enabled
        </div>
        @endif
After Enabling the 2FA it'll display the image below

When we logout and try logging in again it'll ask for 2FA secret code gotten by the QR scanner
We need to define the method in the service provider to return the view we'll be creating when the user who has enabled 2FA wants to login.
        Fortify::twoFactorChallengeView(function () {
            return view('auth.two-factor-challenge');
        });
two-factor-challenge.blade.php file view can be found in the Github Repo
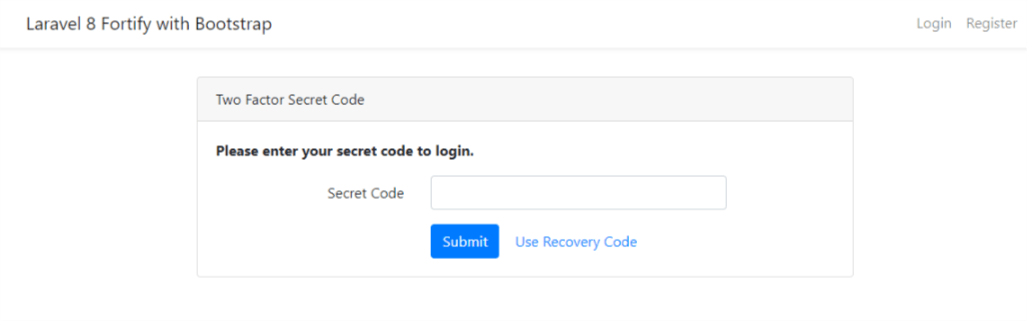
Since we're using the secret code we'll need to display a form to verify the user by asking for the secret code In the two-factor-challenge.blade.php after logging in.
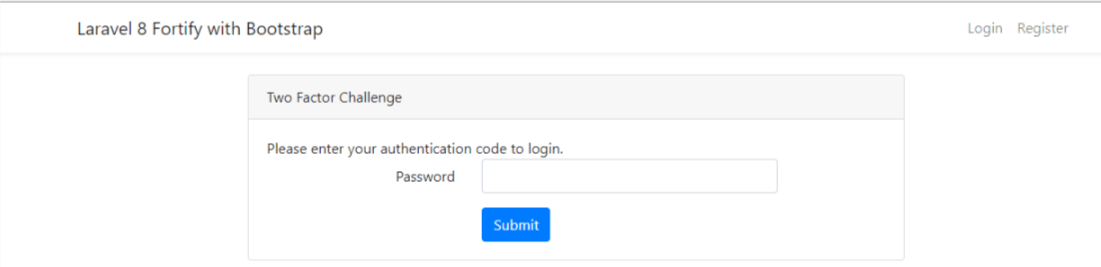
When the user enters the secret code and click on login it'll authenticate the user if it's correct or redirect them to login page.
Next in a situation where we don't have a device to scan the QRCode let's display recovery codes for the user to store in a safe place.
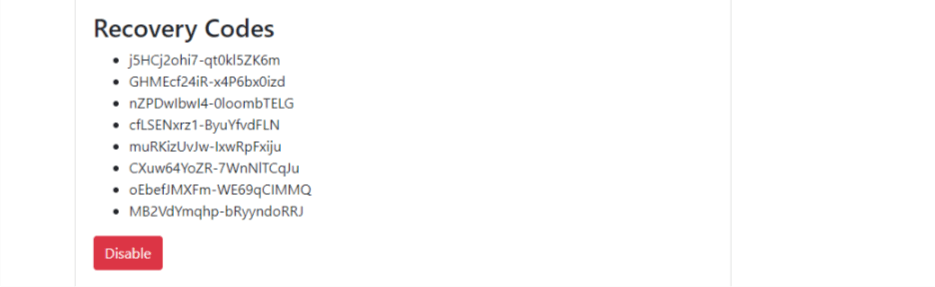
The stored two factor recovery codes in the database can be decrypted and then decoded into an array for user to copy..
json_decode(decrypt(auth()->user()->two_factor_recovery_codes)
Modify the home.blade.php to display the recovery codes
<div class="mt-4">
<h3>Recovery Codes</h3>
<ul class="list-group mb-2">
    @foreach (json_decode(decrypt(auth()->user()->two_factor_recovery_codes)) as $code)
    <li class="list-group-item">{{ $code }}</li>
    @endforeach
</ul>
</div>
Refresh the browser and enabled the 2FA
we'll modify the app.blade.php file by adding a yield method for custom scripts and home.blade.php file to allow user toggle the two factor code to submit for authentication.
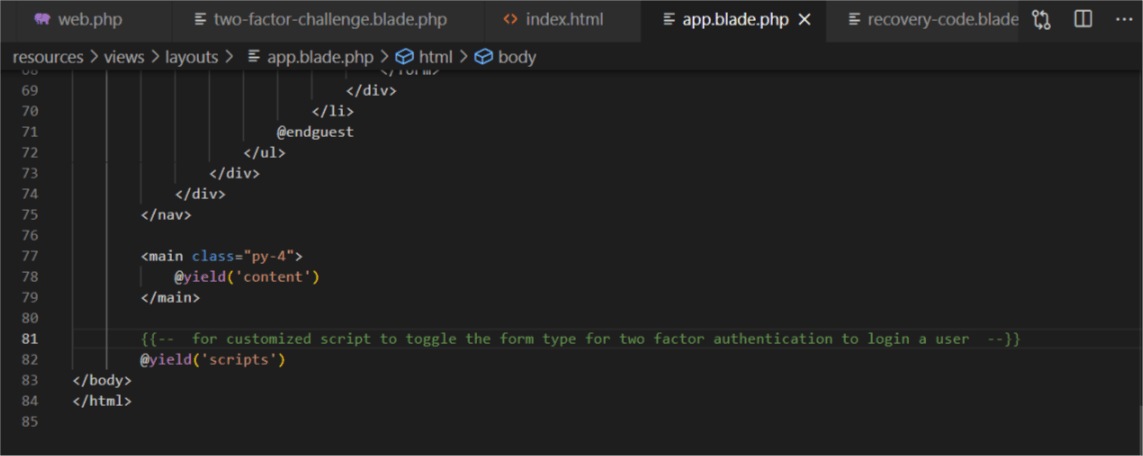
Next write the script to hide or display the form based on the user request
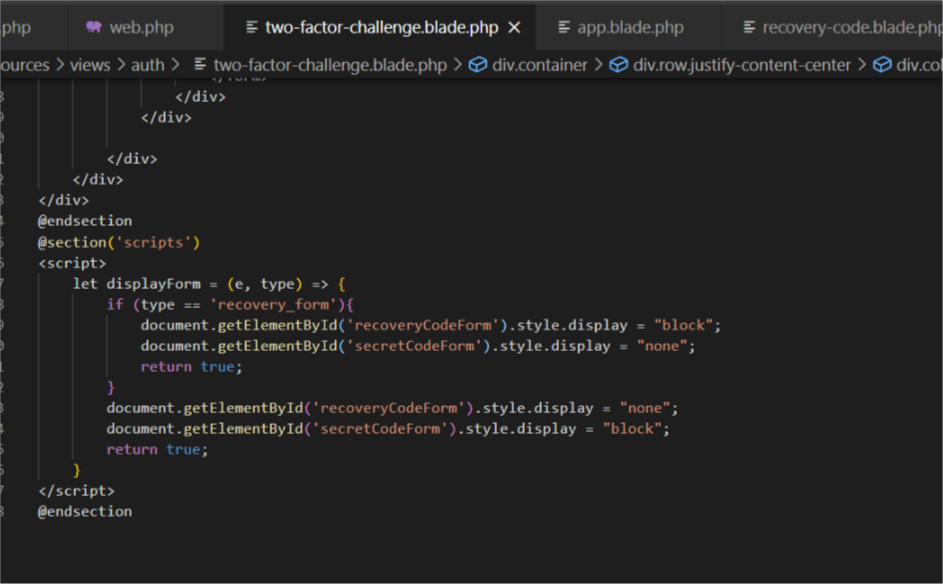
The view for the updated home.blade.php is available on Github Repo
Please note you cannot use a secret or recovery code twice
Refresh the browser pick the preferred 2FA authentication choice and login
Click on use recovery code to display the form for recovery code submission
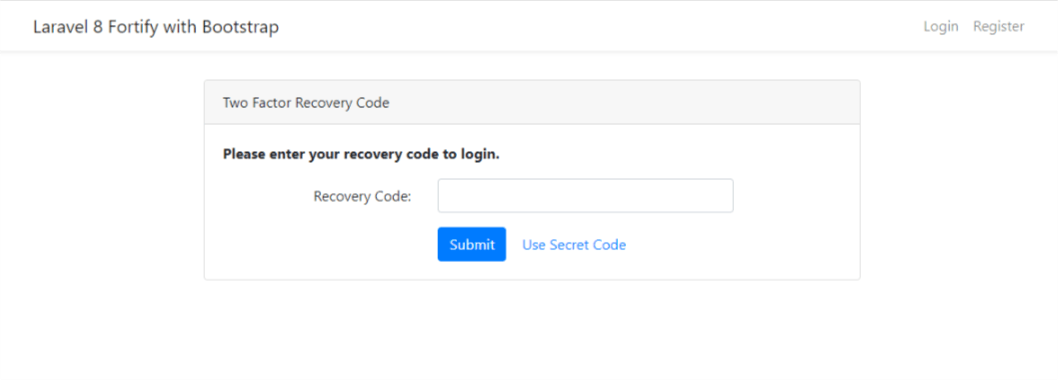
Enter the secret or recovery code and the 2FA authentication is done!! Yea
Congratulationswe're done with authentication system in Laravel 8 using Laravel Fortify and Bootstrap 4!!!
Here is the link to part 1
Follow me on Hashnode: Alemsbaja X: Alemsbaja | Youtube: Tech with Alemsbaja to stay updated on more articles
Find this helpful or resourceful?? kindly share and feel free to use the comment section for questions, answers, and contributions.