How to integrate Paystack payment gateway in Nuxtjs application using the nuxt-paystack package
Using paystack payment gateway to accept payment in a Nuxtjs application


In this article, we'll be looking at how to integrate paystack payment gateway in Nuxtjs application using the Nuxt-paystack package by ECJ222
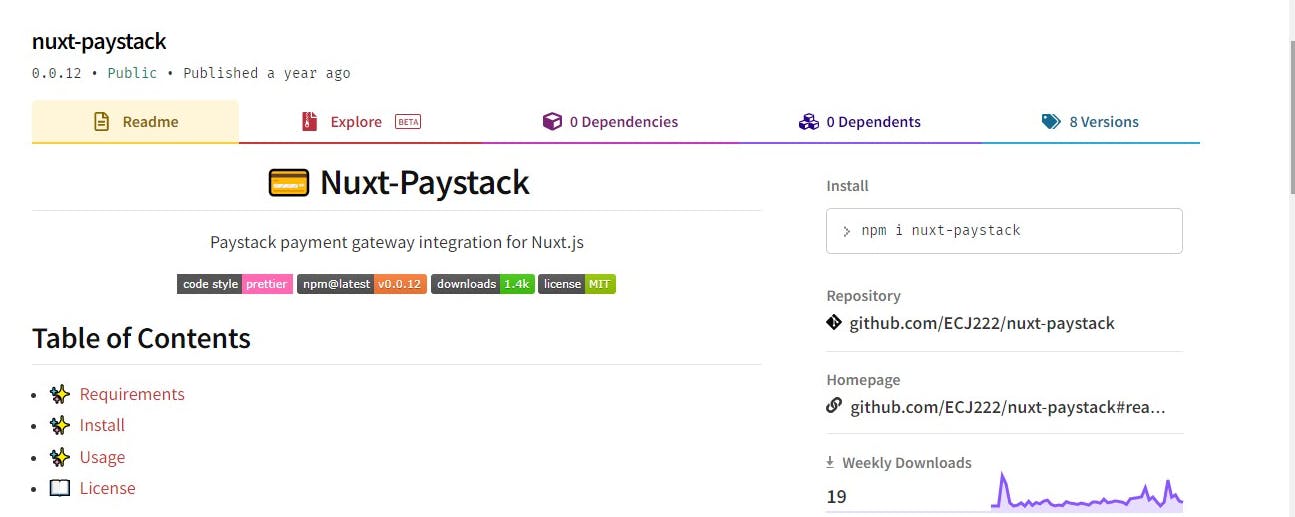
Nuxt-Paystack
Paystack payment gateway integration for Nuxt.js
Requirements
- npm
- NuxtJS
- NodeJS
Payment gateways enable ease of payment within an application to complete a transaction or service provision.
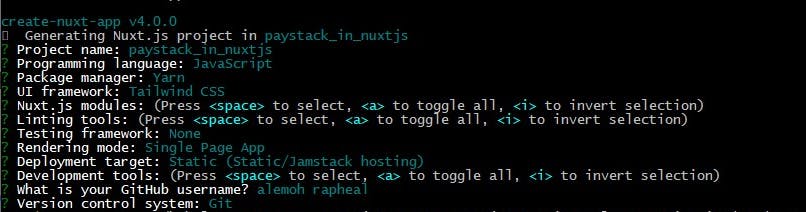
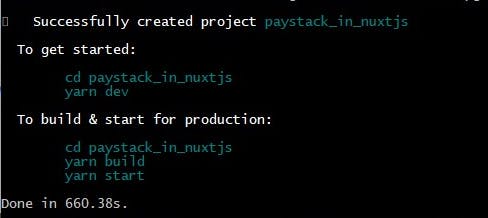
Let's start by creating a new Nuxtjs project using yarn.
yarn create nuxt-app paystack_in_nuxtjs
Let's serve the application on port 4500 using the command below
yarn dev --port 4500
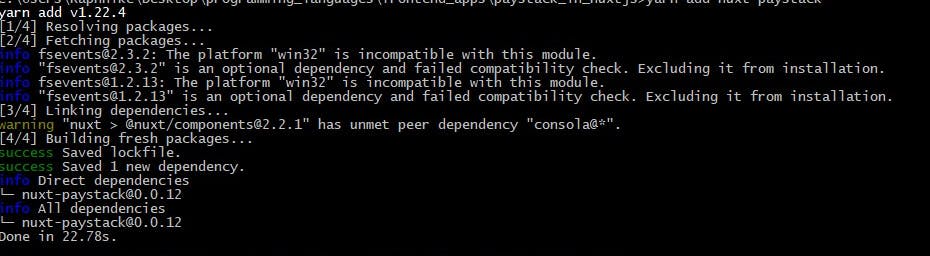
Let's add the paystack package
yarn add nuxt-paystack
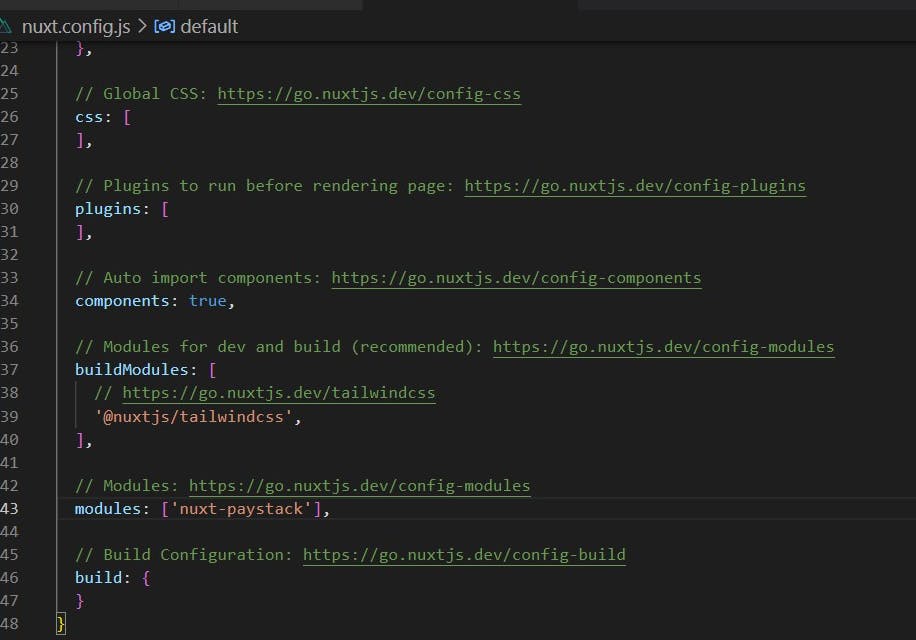
Add 'nuxt-paystack' to the modules section of your nuxt.config.js file.
{ modules: ['nuxt-paystack'] }
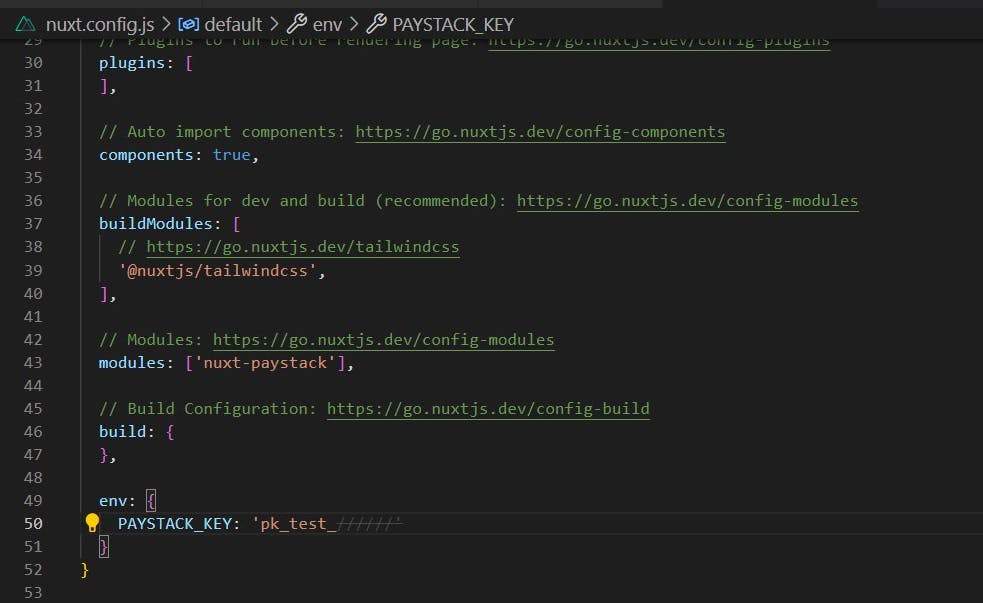
Head over to Paystack to obtain the public key for your account and paste it into the config file
Note: that $paystack is a function which takes in an object as its argument with your paystack details in it, for more information on this you can check here.
Next, add the paystack public key to the env object in nuxt config file
  env: {
    PAYSTACK_KEY: 'pk_test_'
  }
or create an env file
.env
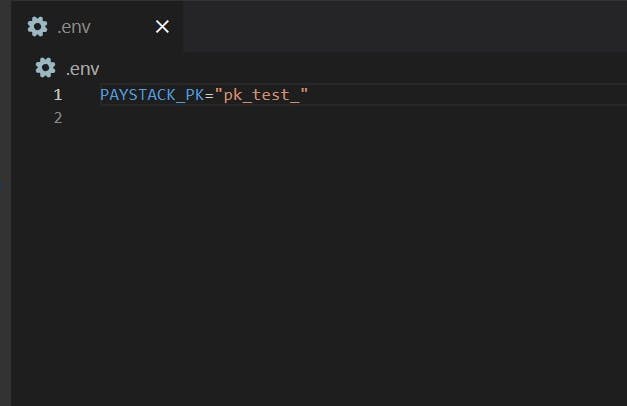
  env: {
    PAYSTACK_KEY: process.env.PAYSTACK_PK
  }
Please Note: for production projects please ensure to ignore the env file or hide credentials from being committed to a Git repository.
Tailwindcss is the framework selected for this application testing.
A simple Tailwindcss checkout page - Tailwind CSS Simple Ecommerce Checkout Page UI Example
Next, Let's create a payment component Payment.vue in the component folder
<template>
  <body>
    ......
              <div class="mt-4">
                <button
                  class="
                    w-full
                    px-6
                    py-2
                    text-blue-200
                    bg-blue-600
                    hover:bg-blue-900
                  "
// on click trigger the payment function
                  @click="initializePaystack()"
                >
                  Pay Now
                </button>
              </div>
    ......
  </body>
</template>

<script>
export default {
  methods: {
//use the code below in the methods object section to initialize payment
    initializePaystack() {
//access the paystack key from env file
      var paystack_key = process.env.PAYSTACK_KEY;
      this.$paystack({
        key: paystack_key, // Replace with your public key.
        email: "paystack_in_nuxtjs@mail.com",
//amount value is expected in kobo (charge * 100)
        amount: 1000 * 100,
        ref: "" + Math.floor(Math.random() * 100000000000000 + 1),
        currency: "NGN",
        callback: (res) => {
          console.log(res);
        },
        onClose: () => {
          alert("window cosed");
        },
      });
    },
  },
};
</script>
Update the index.vue
<template>
  <payment />
</template>
Next, after saving the changes
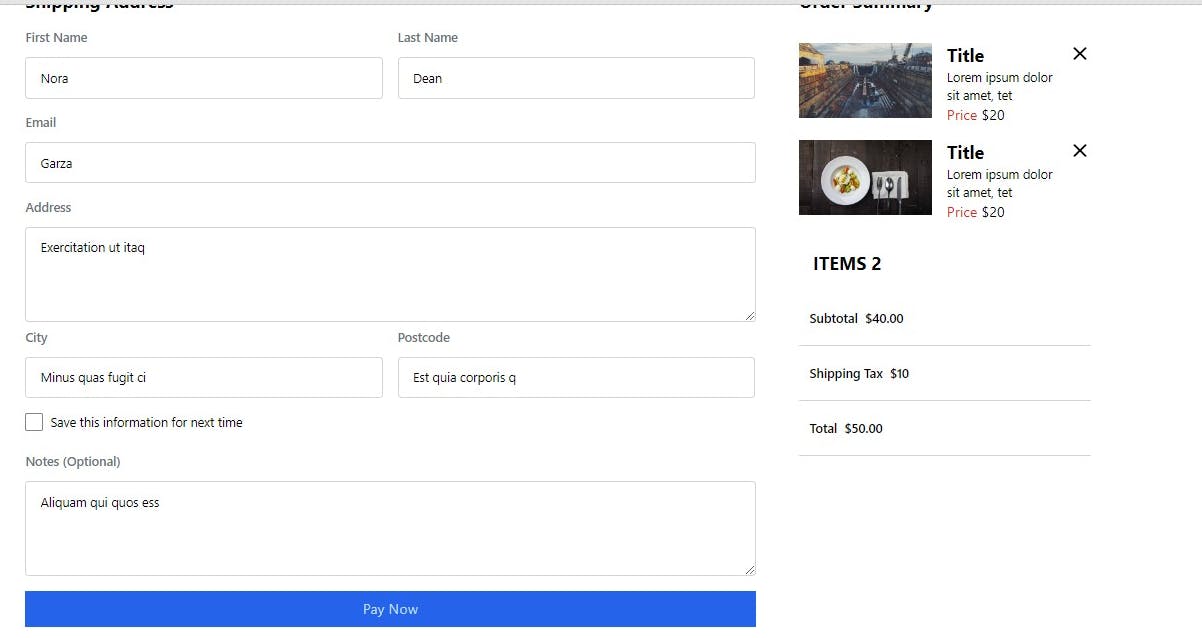
Click on the pay now and you'll see the paystack payment pop-up.
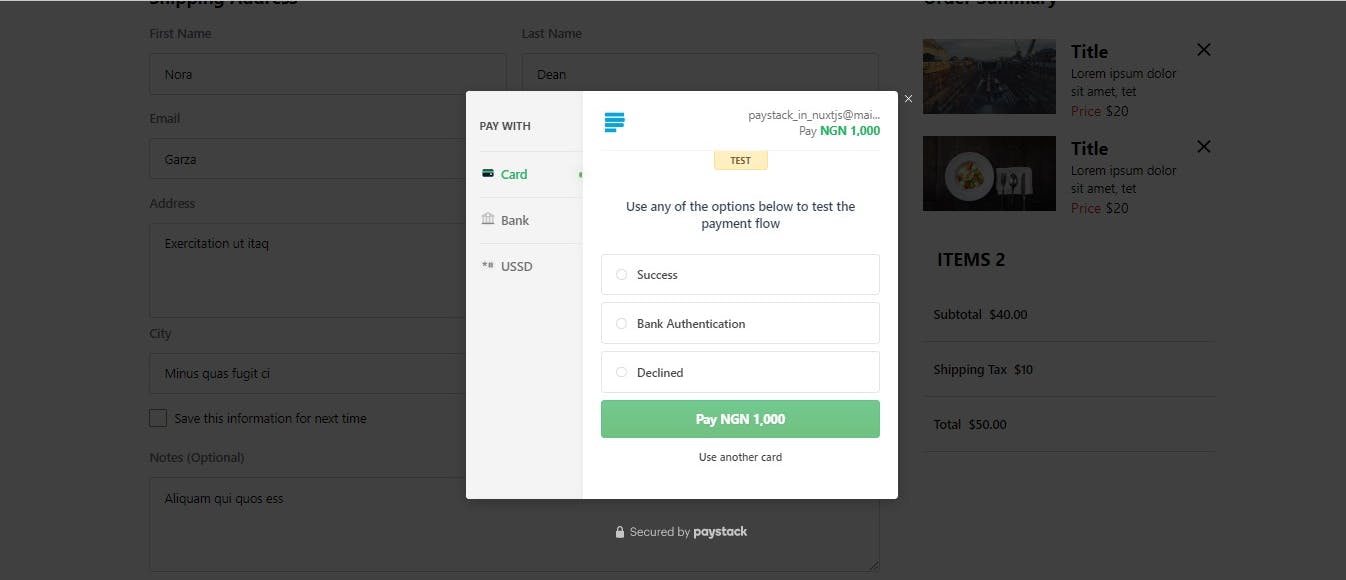
Click on the success option and wala!!!!
Here's the tutorial repository
Thank you for reading this article!!!.
If you find this article helpful, please share it with your network and feel free to use the comment section for questions, answers, and contributions.