

How to setup and connect to Cloud SQL database in Google cloud platform from a Laravel application
Exploring the database Cloud SQL instance setup on Google cloud platform for backend applications


In this article, we'll be exploring database setup on Google cloud platform and integration example in a Laravel application using Cloud SQL.
This setup can be used as a database setup for any programming language or framework. In order to demonstrate the use case of the integration we'll use it in a Laravel application.
Without further redo let's get started with setting up the database on Google cloud platform (GCP)
- Create a Google cloud platform (GCP) Account
If you don't have an account you can create one or login here
- Prepare your project
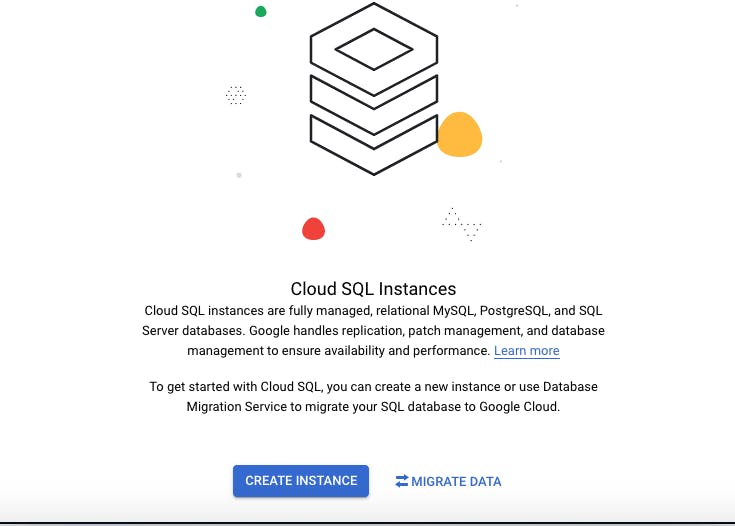
After creating the account you should get this screen

Cloud SQL instances are fully managed, relational MySQL, PostgreSQL, and SQL Server databases. Google handles replication, patch management, and database management to ensure availability and performance.
Search for SQL or Cloud SQL instance on the dashboard

- Create instance
- Select a database engine as per your project requirement
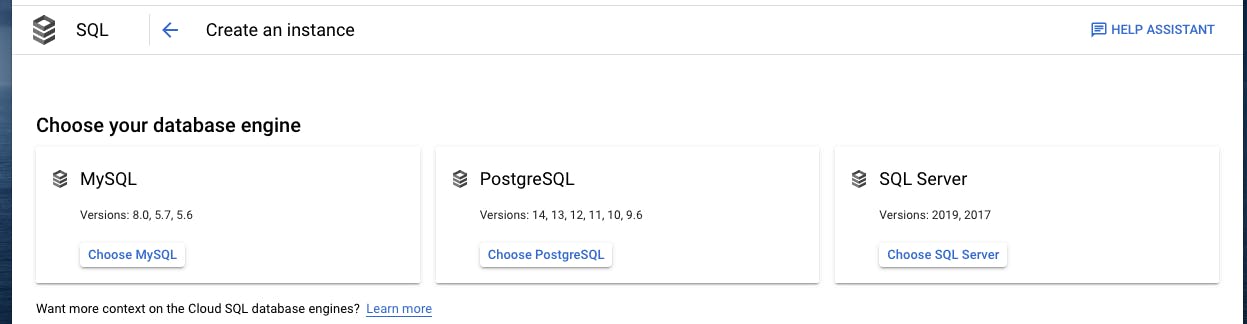
In this tutorial we'll choose SQL for demo purposes
In order to create an instance, you have to enable the Compute Engine API first

Next fill in the details required to create an instance
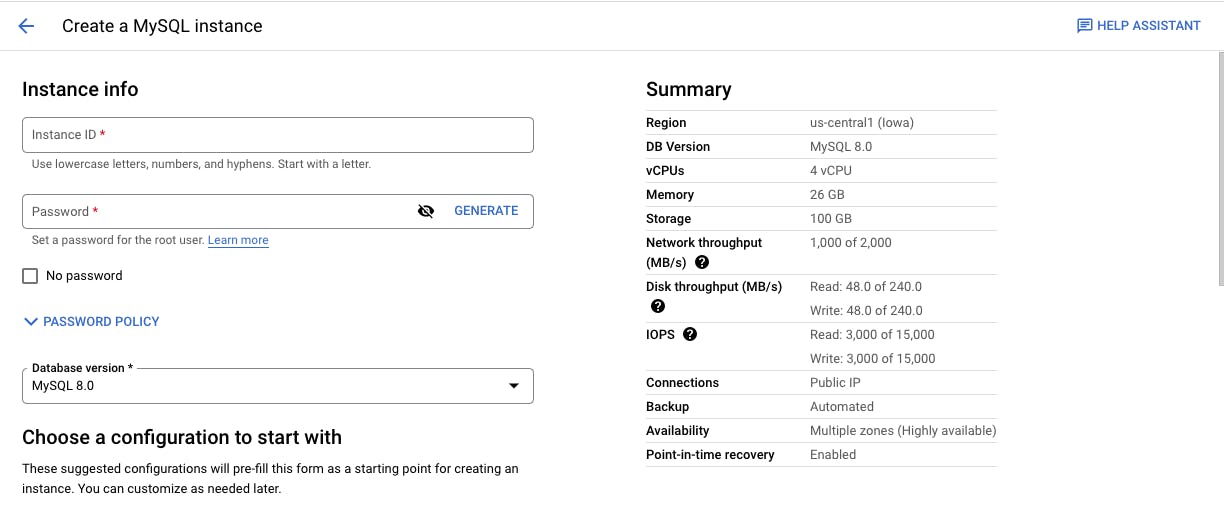
Instance ID
Password (preferably click generate)
Select the MySQL version for your application
Choose a configuration to start with
These suggested configurations will pre-fill this form as a starting point for creating an instance. You can customize as needed later.
Select region
Zonal availability (single or multiple)
Customize your instance
You can also customize instance configurations later
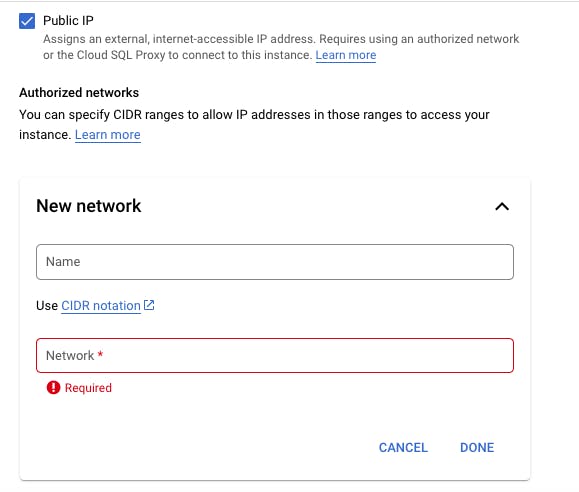
- Connections
Choose how you want your source to connect to this instance, then define which networks are authorized to connect.
You can use the Cloud SQL Proxy for extra security with either option.

Instance IP assignment
- Private IP
- Public IP
Select the instance IP assignment of your choice and define the network IP address
Data Protection
Automated backups and point-in-time recovery
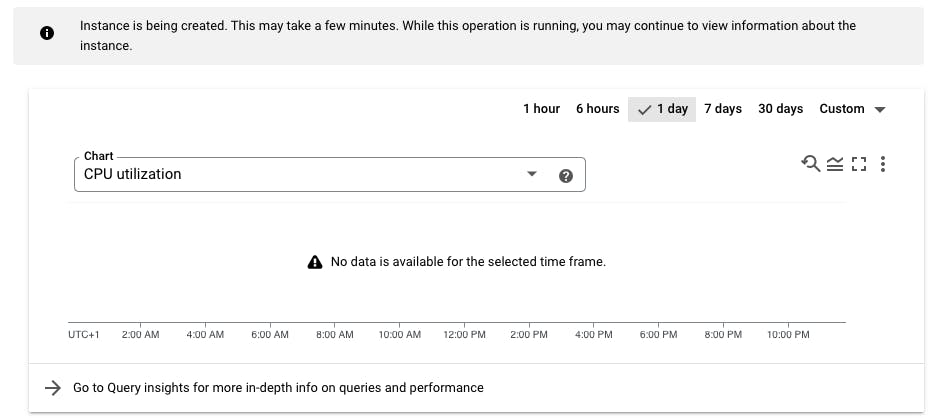
- Click on create instance to continue
Instance dashboard
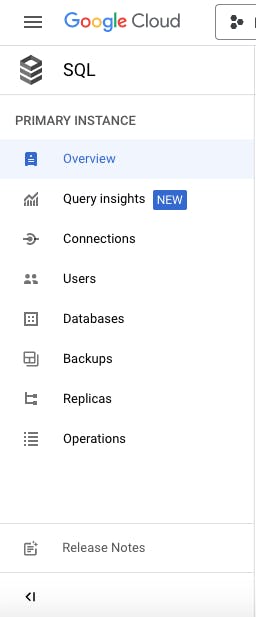
- Instance Summary
- Action Tab

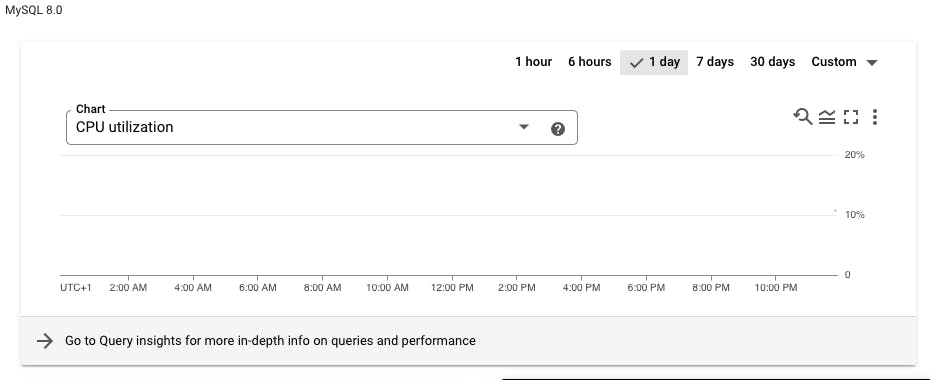
- Database instance is ready
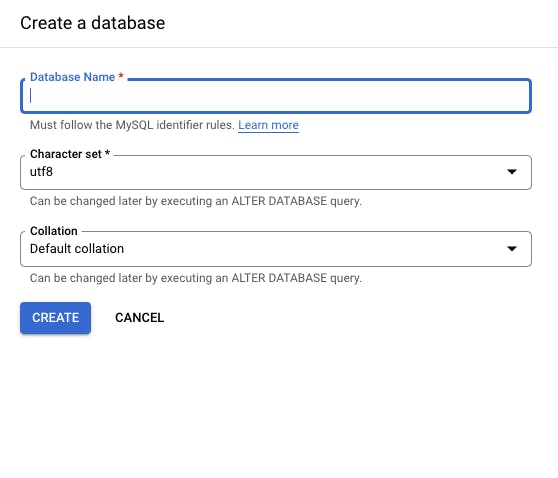
click on databases on the left menu to create a database (kindly note this can also be done from a command line interface)

- Set the name for the database
- click on users in the left menu bar to create a user

- Go to your project and use the credentials as per the programming language or framework requirement.
Below are different ways to connect to the Cloud SQL instance:
For more about connection options (from cloud run, cloud function, App engine, etc....) visit here
Let's do a demo with Laravel application to connect with the SQL instance from a local machine using proxy authentication.
**Don't use these instructions to set up the Cloud SQL Auth proxy for a production environment. **
The Cloud SQL Auth proxy is a Cloud SQL connector that provides secure access to your instances without a need for Authorized networks or for configuring SSL.
Here's the documentation on how it works
- Requirements for using the Cloud SQL Auth proxy
To use the Cloud SQL Auth proxy, you must meet the following requirements:
The Cloud SQL Admin API must be enabled.
You must provide the Cloud SQL Auth proxy with Google Cloud authentication credentials.
You must provide the Cloud SQL Auth proxy with a valid database user account and password.
The instance must either have a public IPv4 address, or be configured to use private IP.
Enable the necessary Google Cloud APIs for the project.

Enable the Cloud SQL Admin API
After downloading the application rename it to cloud_sql_proxy.exe
- Start the Cloud SQL Auth proxy
Start the Cloud SQL Auth proxy in its own terminal so you can monitor its output. Replace INSTANCE_CONNECTION_NAME with the instance connection name you copied in the previous step.
- For Linux environments, use this command to launch the Cloud SQL Auth proxy:
./cloud_sql_proxy -instances=INSTANCE_CONNECTION_NAME=tcp:3306
In PowerShell on Windows, use this command to launch the Cloud SQL Auth proxy:
.\cloud_sql_proxy.exe -instances=INSTANCE_CONNECTION_NAME=tcp:3306
- Get the instance connection name and update the command to launch the Cloud SQL Auth proxy

- Next, open the gcloud terminal or any cli and change directory to the location of the cloud_sql_proxy.exe file

- Update the env file for the Laravel application
DB_CONNECTION=mysql
DB_HOST=127.0.0.1
DB_PORT=3306
DB_DATABASE=db_name
DB_USERNAME=user_name
DB_PASSWORD="user_pwd"
Run the artisan migration command in the Laravel application directory CLI
php artisan migrate
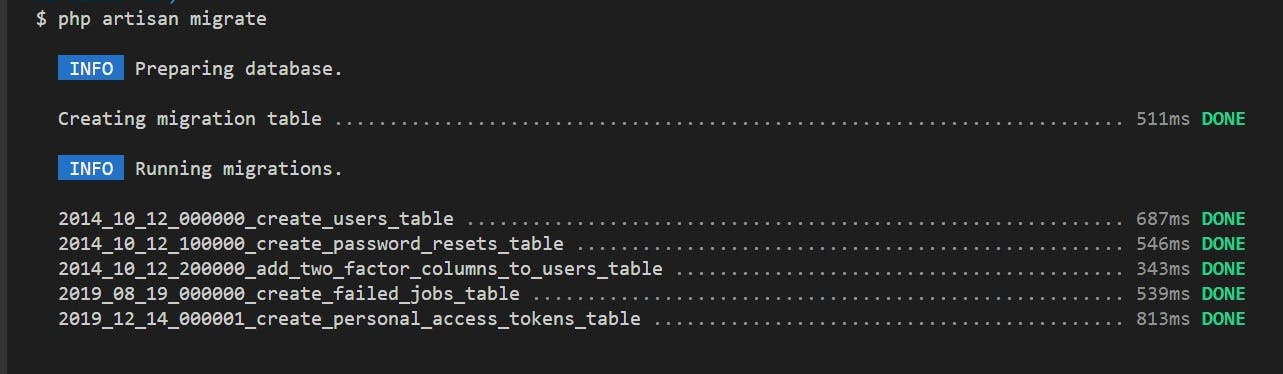
- Here's the activities when the artisan migrate was executed

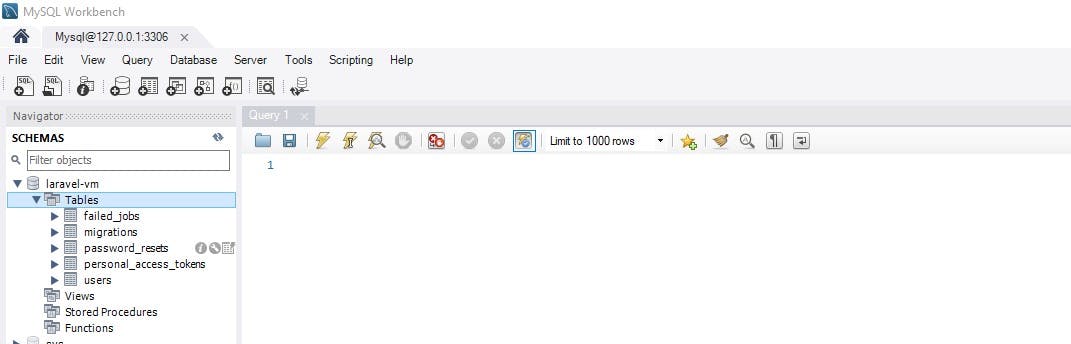
- We can use MySQL workbench to view the database record
If you're new to Google cloud platform or will like to explore other functionalities here are some articles i've published previously.
How to deploy a Laravel application on Google app engine (GAE) in Google cloud platform (GCP).
How to deploy a Laravel application on Google cloud run using Cloud build with build command, continuous integration and deployment will be helpful.
How to upload files to Google cloud storage from a Laravel application
Thank you for reading this article.
Please kindly share with your network and feel free to use the comment section for questions, answers, and contributions.
Do you love this article?? please follow me on Hashnode alemsbaja or @alemsbaja to stay updated on more articles