Onboarding users using the vue-tour package in Nuxtjs
Onboarding and aiding tour guide for users to ease website navigation in Nuxtjs application

I’m a Software Engineer with over 5+ years of experience in Technology with a track record in building web applications, mobile applications and Technical Writing. Readily available to explore innovations in ICT and creatively use them to build solutions. Advancing my career in software engineering and contributing to the growth of tech communities around the world. I’m also passionate about working with organizations especially tech, security experts and airline industries to learn and also make contributions that will be a legacy.
Tech is Easy to Learn - https://amazon.com/dp/B0B8T838K
In this article, we'll be looking at how to onboard or guide users in Nuxtjs application using the vue-tour guide package by Pulsar.
vue-tour is a Lightweight, Simple and Customizable tour plugin for use with Vue.js
Vue Tour provides a quick and easy way to guide your users through your application. You can control the tour on this page by clicking the following buttons.
Go to our documentation if you want to use Vue Tour in a more advanced way.
The aim of the project is to add a tour guide for onboarding users to our website.
Let's start by creating a new Nuxtjs project.
To create a project in Nuxtjs
yarn create nuxt-app tour_guide_in_nuxtjs
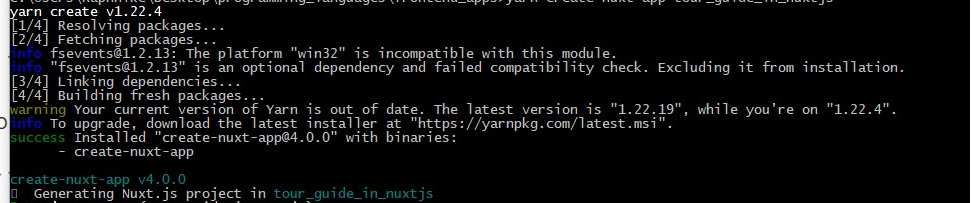
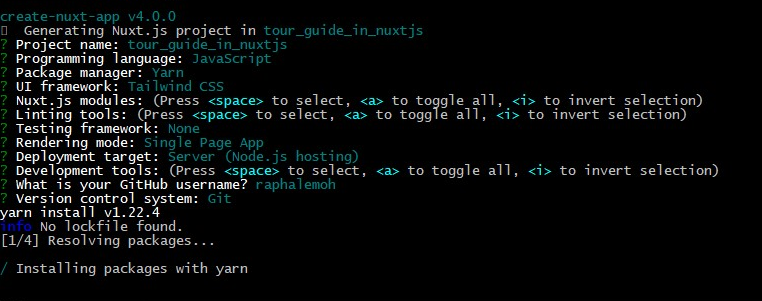
Follow the instructions to setup the application
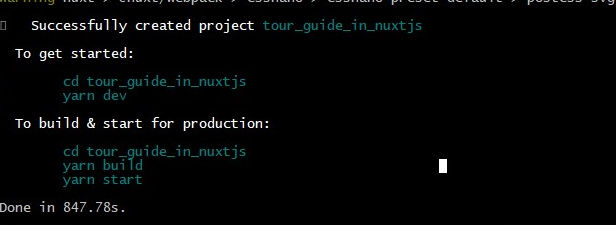
change the directory and open the source code with your favourite editor.
cd tour_guide_in_nuxtjs
Over here let's assume you use vscode... you could the command below to open the project on vscode editor
code .
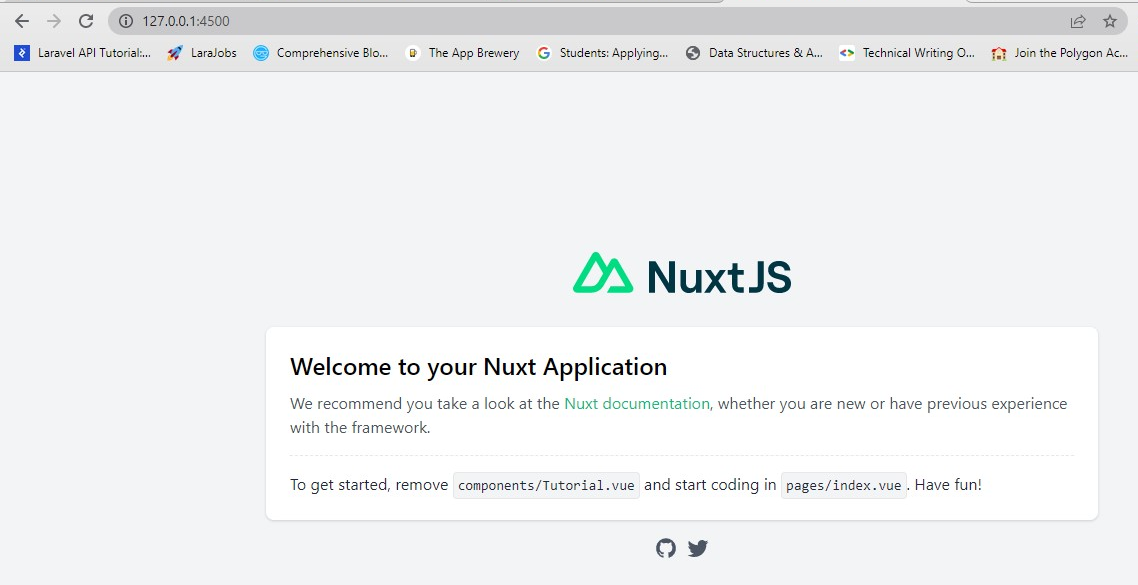
Serve the application using the command below on port 4500
yarn dev --port 4500
We'll be using a Tailwindcss landing page template for the demo of this project from here before adding the vue-tour package
You can find more templates here
- During the project creation, we picked Tailwindcss as the layout choice
Run this command to add the tailwindconfig
npx tailwindcss init

Copy the files from the tailwind.config.js in the landing web template to the Nuxtjs project and update the content section shown below
    content: [
      '*.html',
      '/js/main.js'
    ]
Visit this link for more information on how to setup Tailwindcss
We'll create an assets folder in the Nuxtjs project to keep the CSS and font files from the landing page template.
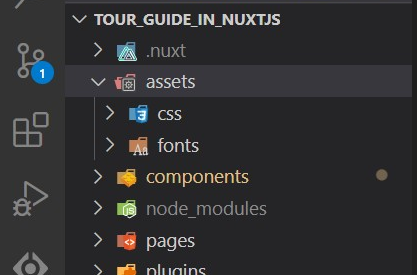
The js and assets/images files will be placed under the static folder
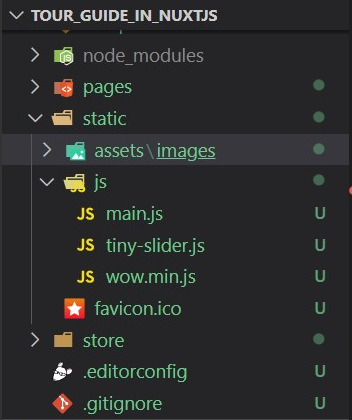
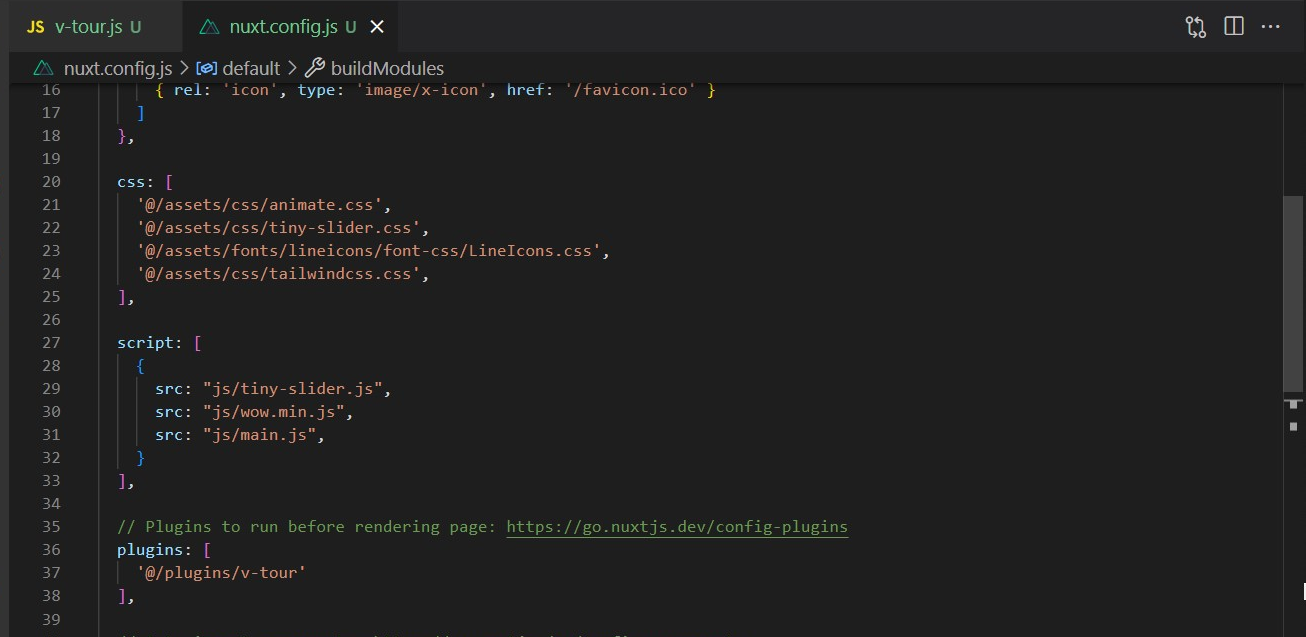
The files can be loaded through nuxt.config.js file and accessed in the vue component.
  css: [
    '@/assets/css/animate.css',
    '@/assets/css/tiny-slider.css',
    '@/assets/fonts/lineicons/font-css/LineIcons.css',
    '@/assets/css/tailwindcss.css',
  ],

  script: [
    {
      src: "js/tiny-slider.js",
      src: "js/wow.min.js",
      src: "js/main.js",
    }
  ],
Next, Let's implement the vue-tour package
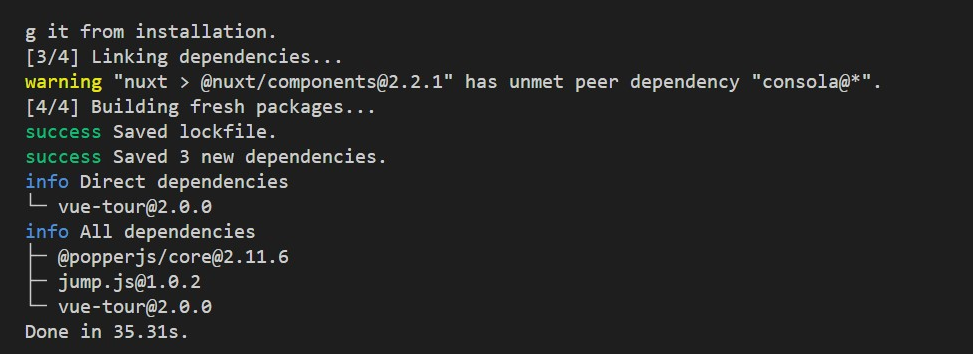
You can install vue-tour using yarn, npm or download the minified build on GitHub.
yarn add vue-tour
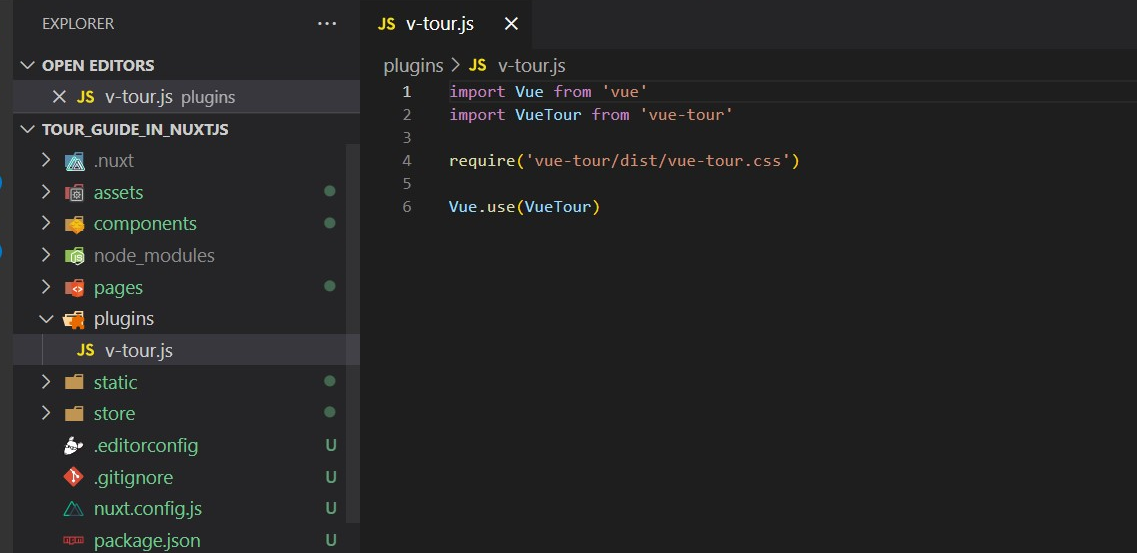
Next, create a plugin folder and a vue-tour plugin file inside the folder and tell Vue to use it. Also, don't forget to include the styles. You can add the styles provided by default or customize them to your own liking.
import Vue from 'vue'
import VueTour from 'vue-tour'

require('vue-tour/dist/vue-tour.css')

Vue.use(VueTour)
Next, register the plugin in the Nuxt config file
  plugins: [
    '@/plugins/v-tour'
  ],
Next, we'll add a v-tour component in the Tutorial component displaying the landing page and pass it an array of steps. The target property of each step can target a DOM element in any component of your app (as long as it exists in the DOM when the concerned step pops up).
<v-tour name="myTour" :steps="steps"></v-tour>
Next we'll add the id attribute to track the step in the HTML section (any element) of the Tutorial component
Simply wrap the section that needs guide within the
block for example <div id="v-step-0">
<a class="navbar-brand mr-5" href="index.html">
<img src="/assets/images/logo.svg" alt="Logo" />
</a>
</div>
Update the script section to display the guide details
<script>
export default {
name: 'my-tour',
data () {
return {
//array of objects containing the steps
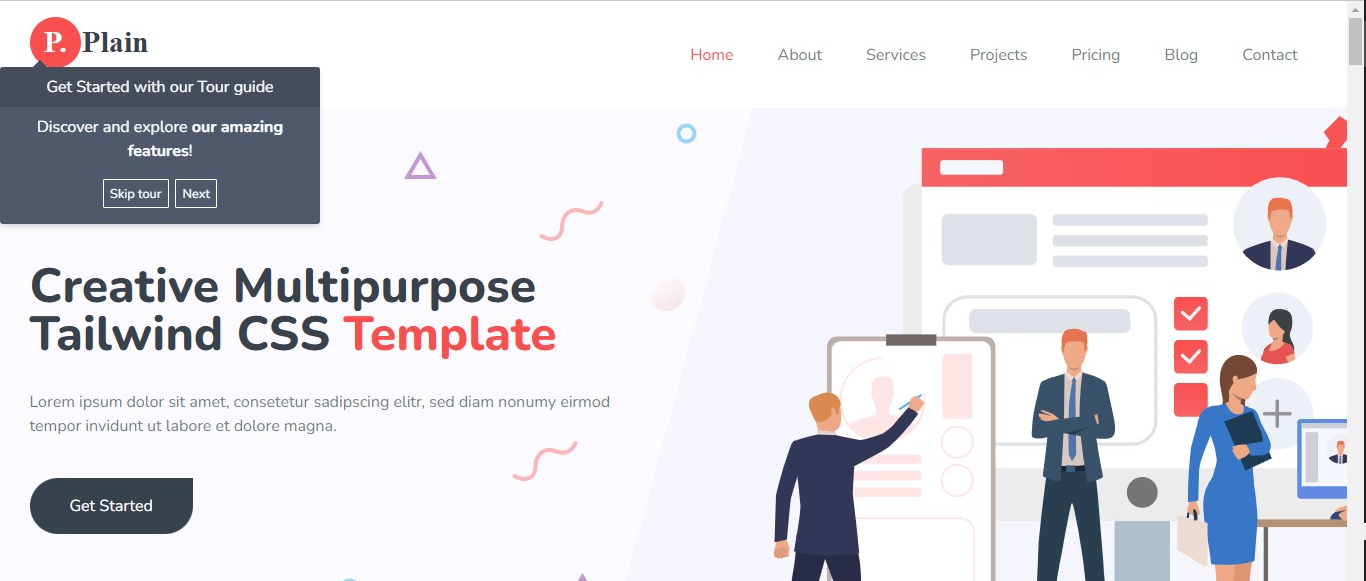
steps: [
{
target: "#v-step-0",
//header of the pop up dialog
header: {
title: "Get Started with our Tour guide",
},
content: `Discover and explore <strong>our amazing features</strong>!`,
},
]
}
},
mounted: function () {
this.$tours['myTour'].start()
}
}
</script>
For this article we've created 10 steps to guide or onboard the user about the landing page
- First Guide
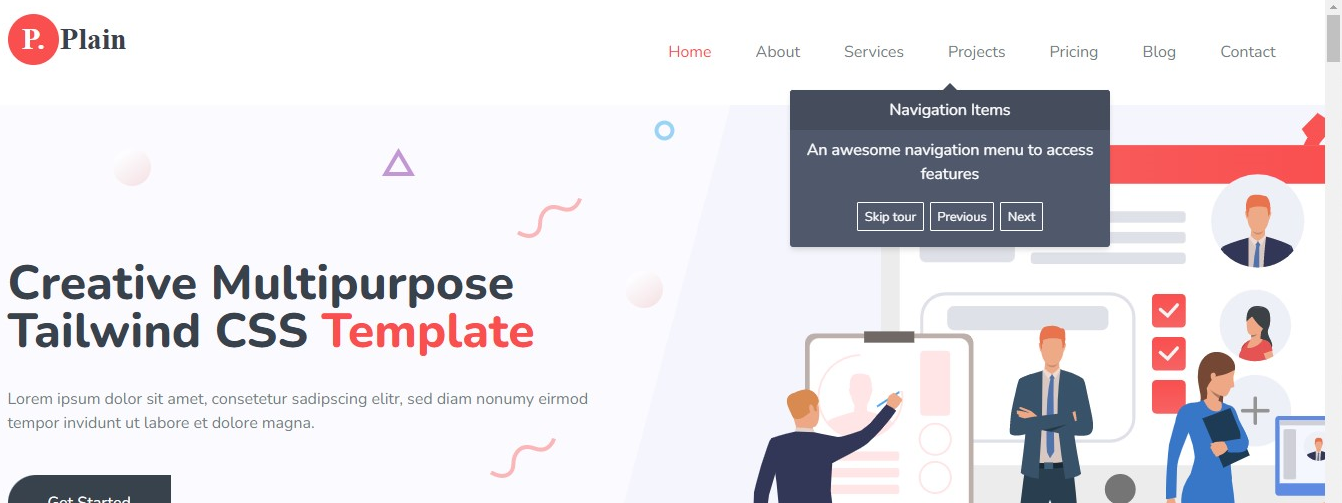
- Navigation guide
- Guide 3
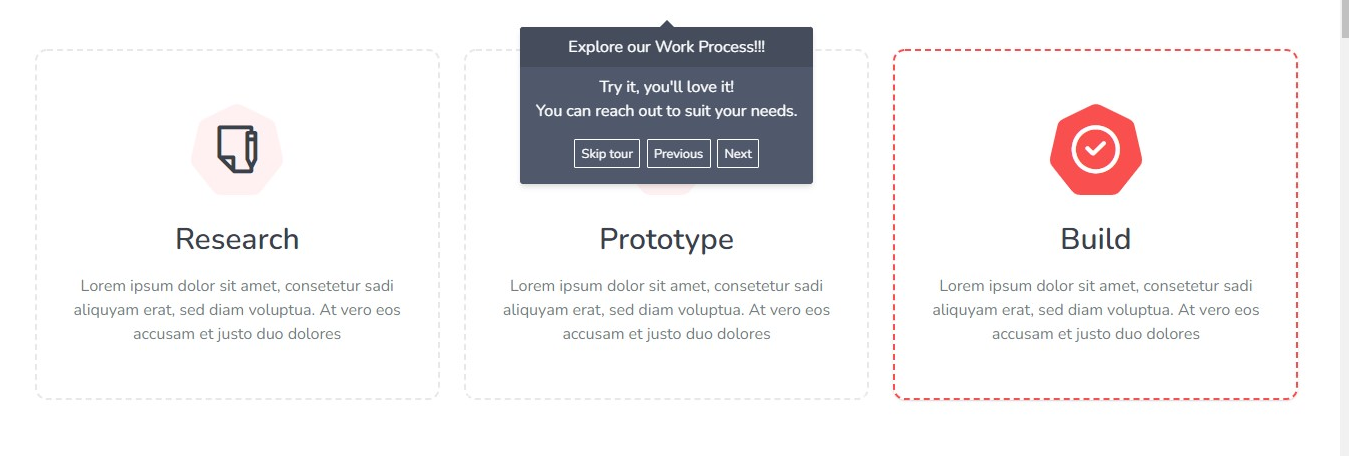
you can use the placement option to change the direction of the pop up.. either right, left, bottom or top.
- Guide 4

- Guide 5.
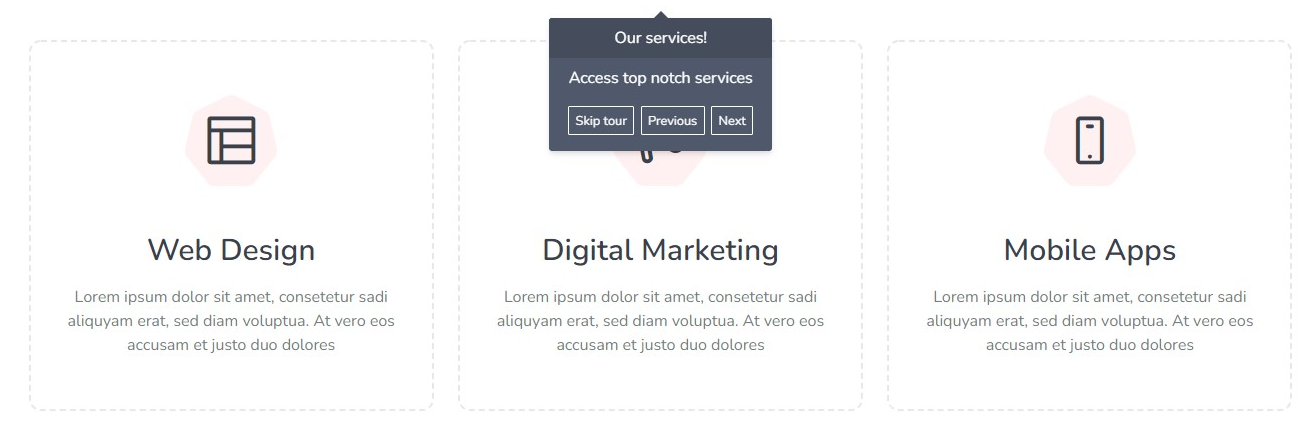
.....
- Guide 10
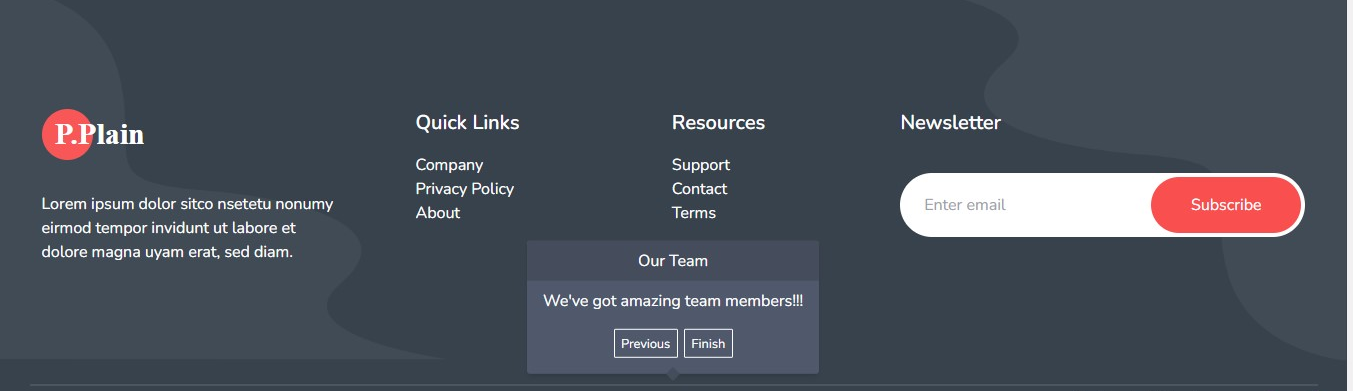
Note:
The dialog has the previous, next and skip tour options.
The last dialog has the previous and finish options
If the content takes up the screen space you could add a height and scroll feature.
In order not to bug users with pop guides you could use cookies or localstorage to keep track of the display status.
Thank you for reading this article!!!.
If you find this article useful, please share it with your network and feel free to use the comment section for questions, answers, and contributions.


