Contact us form made easy with Fabform on Static Website
Contact us form for easy integration in static website using Fabform
In this article, we'll be looking at how to use Fabform Forms to manage the contact us forms on static website forms.
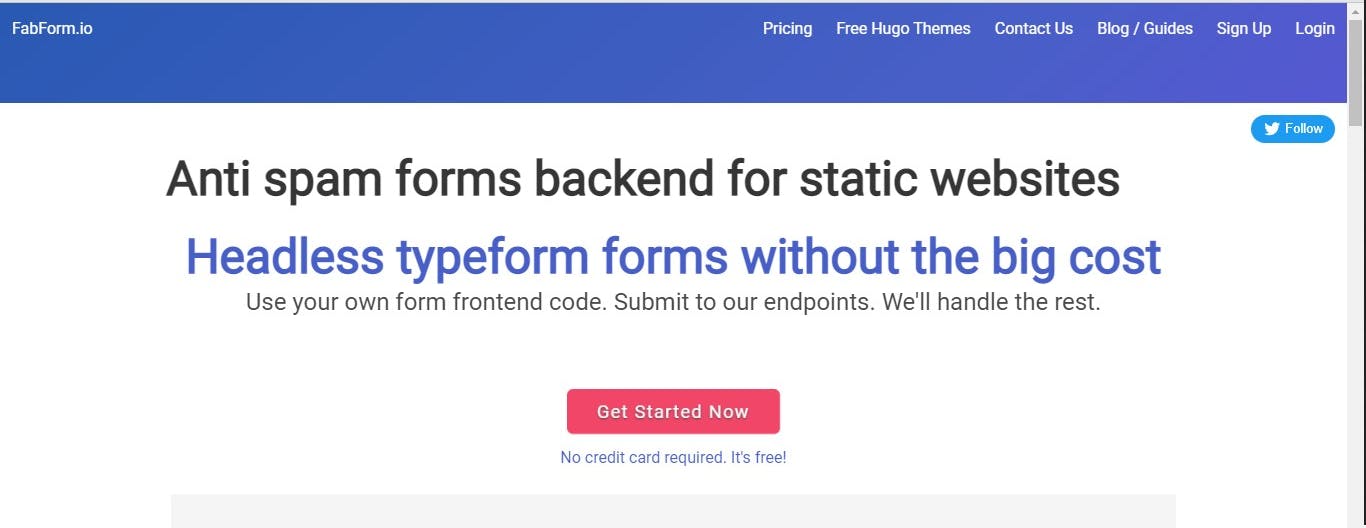
Powerful Forms Backend.
No Server Code is required.
Easy setup. Simply set your form’s action to our endpoint, add unique names to your form fields and you're done!
With Fabform captcha spam is blocked. It validates your form data server-side and uses A.I to protect you from spam.
Form submissions are saved to the FabForm Universal Inbox and can be sent to Google Sheets, Airtable. You can view form submissions, see daily analytics reports, and export to CSV or JSON.
3rd party integrations are triggered
With Fabform's direct integrations - data can be sent to any service of your choice - no Zapier required Works with Airtable, Email, Google Sheets and others.
Fabforms backend works with wix, duda, webflow, static site generators like Hugo, Jekyll, 11ty.dev and other CMS platforms.
<form action="https://fabform.io/f/{form-id}" method="post">
</form>
If you don't have an account you can Signup here and verify your email address or sign
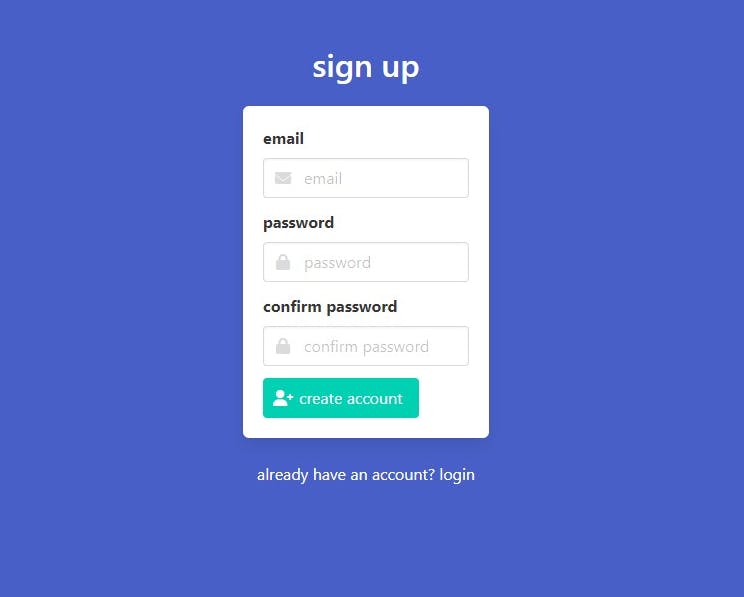
In the dashboard click on create endpoint to create one for your form.

- Set form name
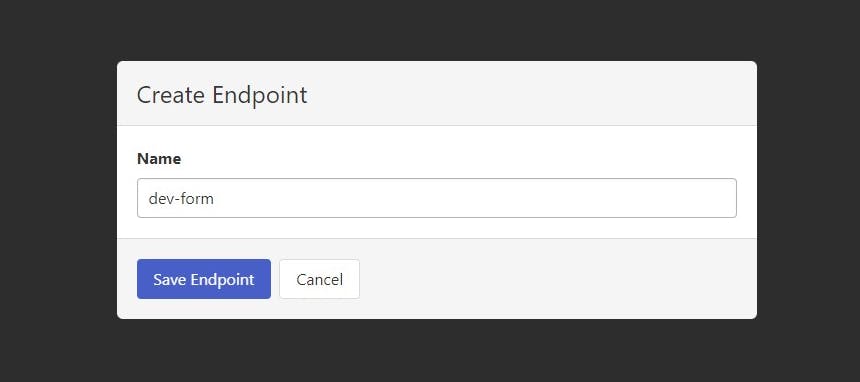
- Click on dev-form endpoint

Endpoint: 73Af___
There are no form submissions for the 73A___ endpoint.
- Click on the settings icon to customize the endpoint
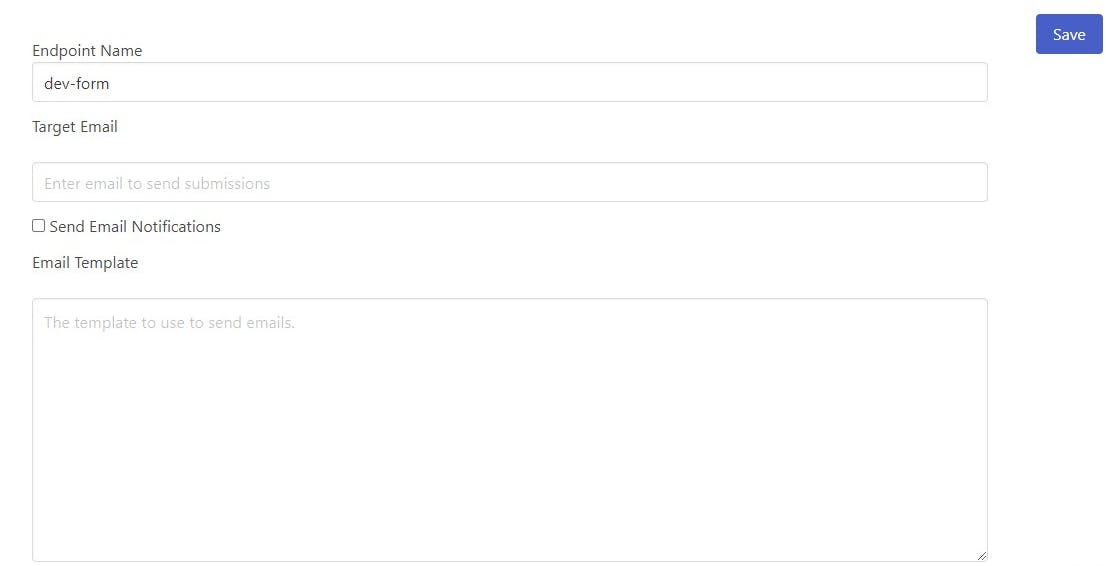
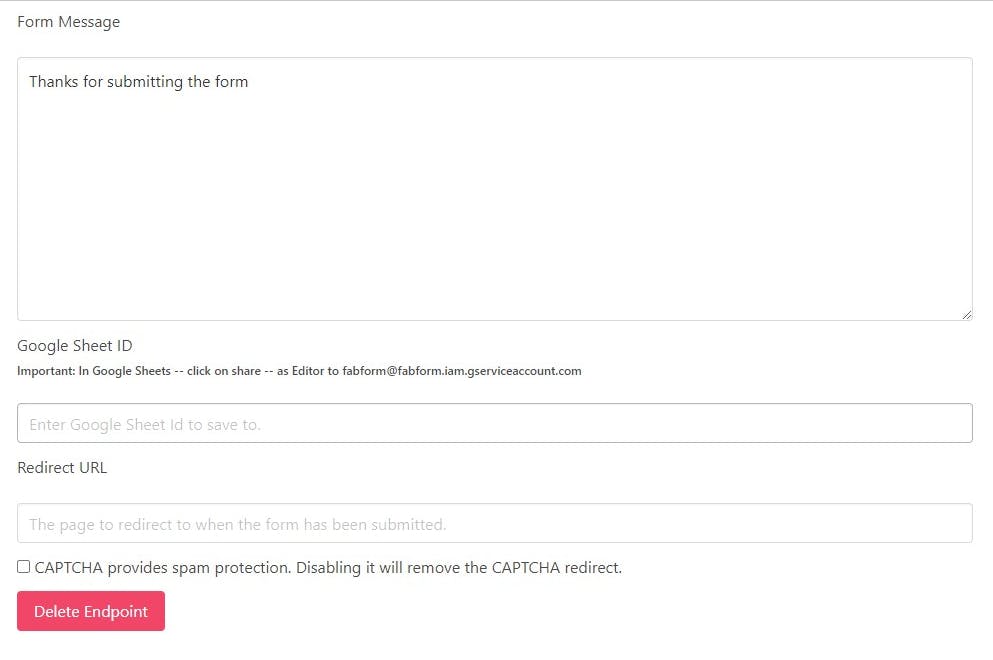
On the settings page, you can
Set a custom respond
Add a redirect URL after the contact us form is submitted
Target Email ( email you want to use to receive submission)
Email Template (the template to use to send emails)
Let's test the Fabform by clicking the test option
Fill the following details...
First Name:
Last Name:
Email:
Click the test Form button to proceed
- Click submit

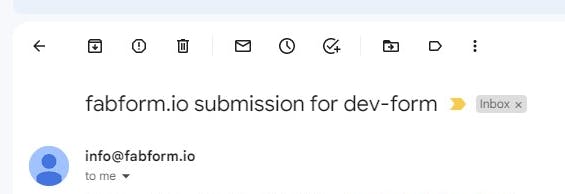
- Form submission from Fabform integration in Gmail
This is the code to embed in your website to accept form submissions on a static website form.
<form action="https://fabform.io/f/73**__" method="post">
  <label for="firstName">First Name</label>
  <input name="firstName" type="text" required>
  <label for="lastName">Last Name</label>
  <input name="lastName" type="text" required>
  <label for="email">Email</label>
  <input name="email" type="email" required>
  <button class="button is-link" type="submit">Test Form</button>
</form>
Note: this form can be customized with your page's CSS
Thank you for reading this article!!!.
If you find this article helpful, please share it with your network and feel free to use the comment section for questions, answers, and contributions.
