How to build a flutter web view app with splash screen using very good adventure
Building webview app with a splash screen to load a website using very good adventure
In this article, we'll be building a flutter webview app using very good adventures developed with 💙 by Very Good Ventures 🦄
Very Good Ventures is the leading app development consultancy that works with the biggest companies to design, build, and scale successful Flutter apps. We do more with the resources available, reach any screen from a single codebase, and implement best practices for long-term growth. source
A Very Good Command Line Interface for Dart.
To install very good adventure run the command below on a command-line interface
dart pub global activate very_good_cli
We'll be building a flutter app for this online church e-church platform I'm working on hosted on Herokuapp
Change directory to your preferred locations for your mobile apps
Next, we'll use the command below to create the echurch mobile app
very_good create echurch

Create a very good project in seconds based on the provided template. The Very Good Core template is used by default.
Awesome!!! here is the output

If the above command isn't recognized
Register the environment on your system operating system.
if you're on the windows platform make sure to add this path in the environment variable.
C:\Users\your_pc_name\AppData\Local\Pub\Cache\bin
There are numerous commands in very good adventure to customizing the app for example
very_good create echurch --desc "Online church"
Run the command below to see global options
"very_good help" to see global options.
Why you should use very good adventure to build your flutter mobile apps
Out of the box, Very Good Core includes:
✅ Cross Platform Support - Built-in support for iOS, Android, Web, and Windows (MacOS/Linux coming soon!)
✅ Build Flavors - Multiple flavor support for development, staging, and production
✅ Internationalization Support - Internationalization support using synthetic code generation to streamline the development process
✅ Sound Null-Safety - No more null-dereference exceptions at runtime. Develop with a sound, static type system.
✅ Bloc - Integrated bloc architecture for scalable, testable code which offers a clear separation between business logic and presentation
✅ Testing - Unit and Widget Tests with 100% line coverage (Integration Tests coming soon!)
✅ Logging - Built-in, extensible logging to capture uncaught Flutter and Dart Exceptions
✅ Very Good Analysis - Strict Lint Rules which are used at Very Good Ventures
✅ Continuous Integration - Lint, format, test, and enforce code coverage using GitHub Actions
Learn more here
Next, change directory and open the codebase in vscode
cd echurch

code .
Launch the emulator (We're using vscode without android studio been installed)
Pixel1 is one of the emulators been setup on my local machine.
emulator -avd Pixel1
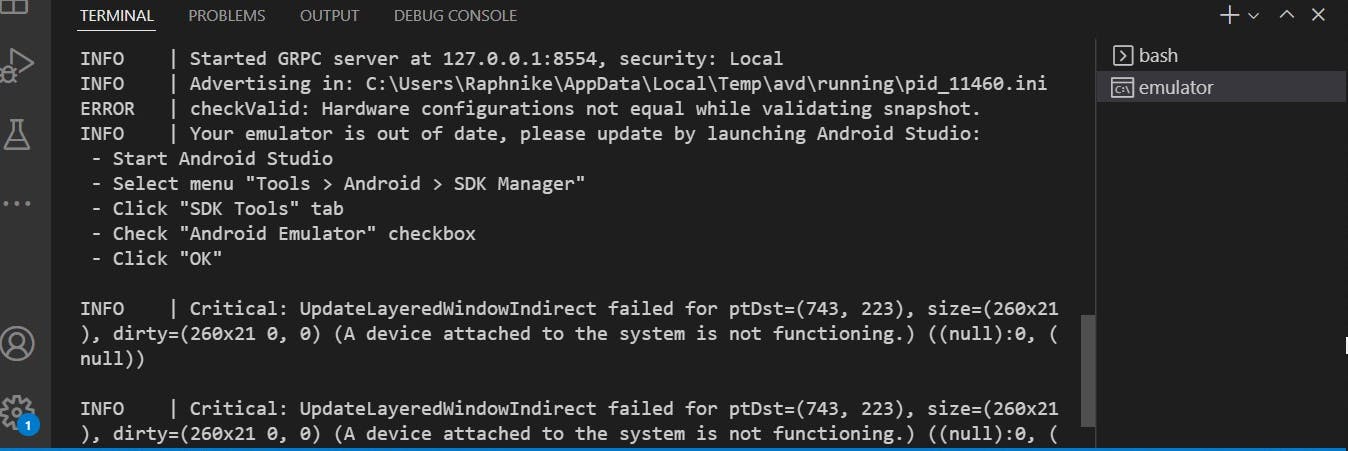
Yoo!!! working but got some errors to be resolved
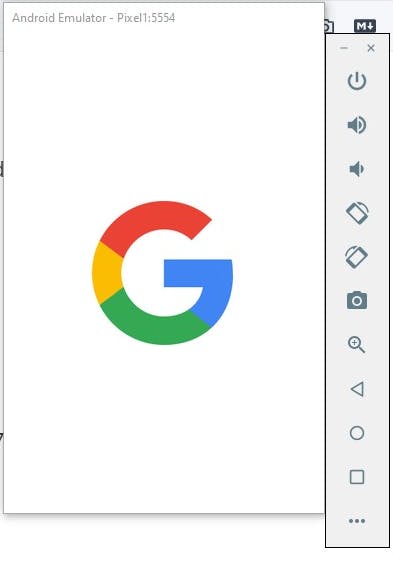
If the internet isn't working on the emulator use the command below
emulator -avd Pixel1 -dns-server 8.8.8.8
Click on the emulator-5554(android-arm) to see the available devices.

Each project created using good adventure comes with the build flavors out of the box — development, staging, and production. You can run them by using the built-in launch configuration for VSCode and Android Studio or using the following commands:
# Development
$ flutter run --flavor development --target lib/main_development.dart

# Staging
$ flutter run --flavor staging --target lib/main_staging.dart

# Production
$ flutter run --flavor production --target lib/main_production.dart
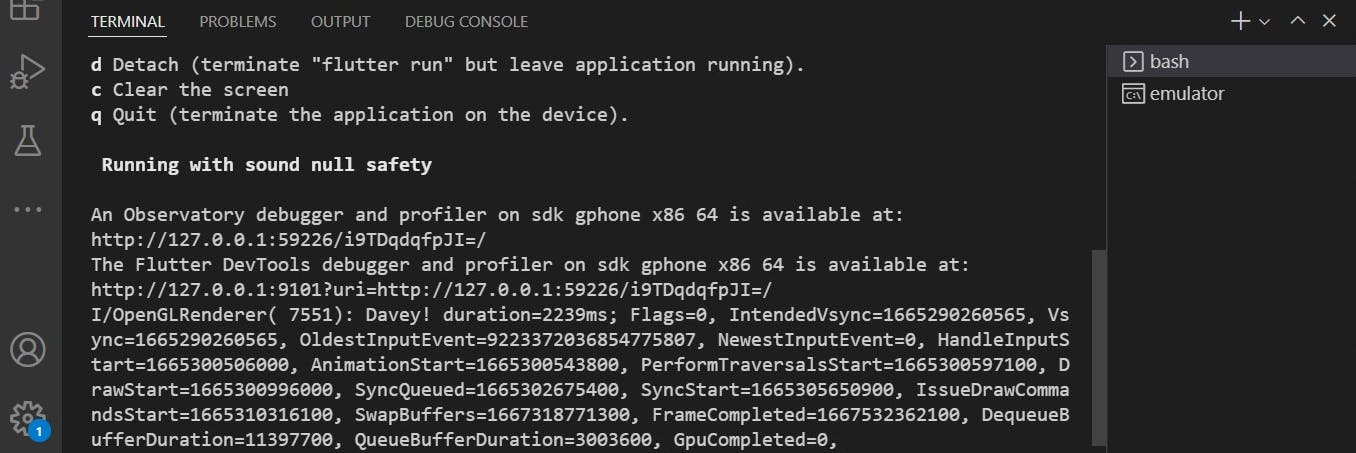
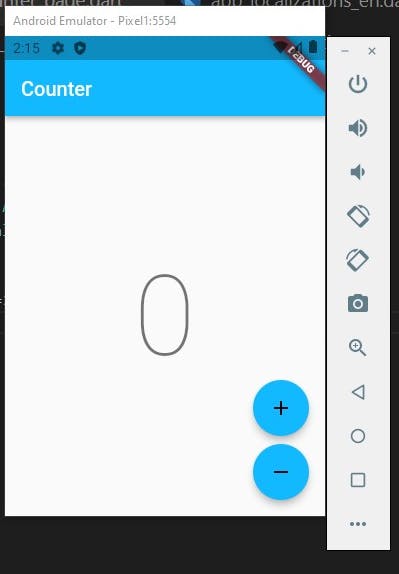
Let's run the development flavor command to see the basic flutter app
flutter run --flavor development --target lib/main_development.dart
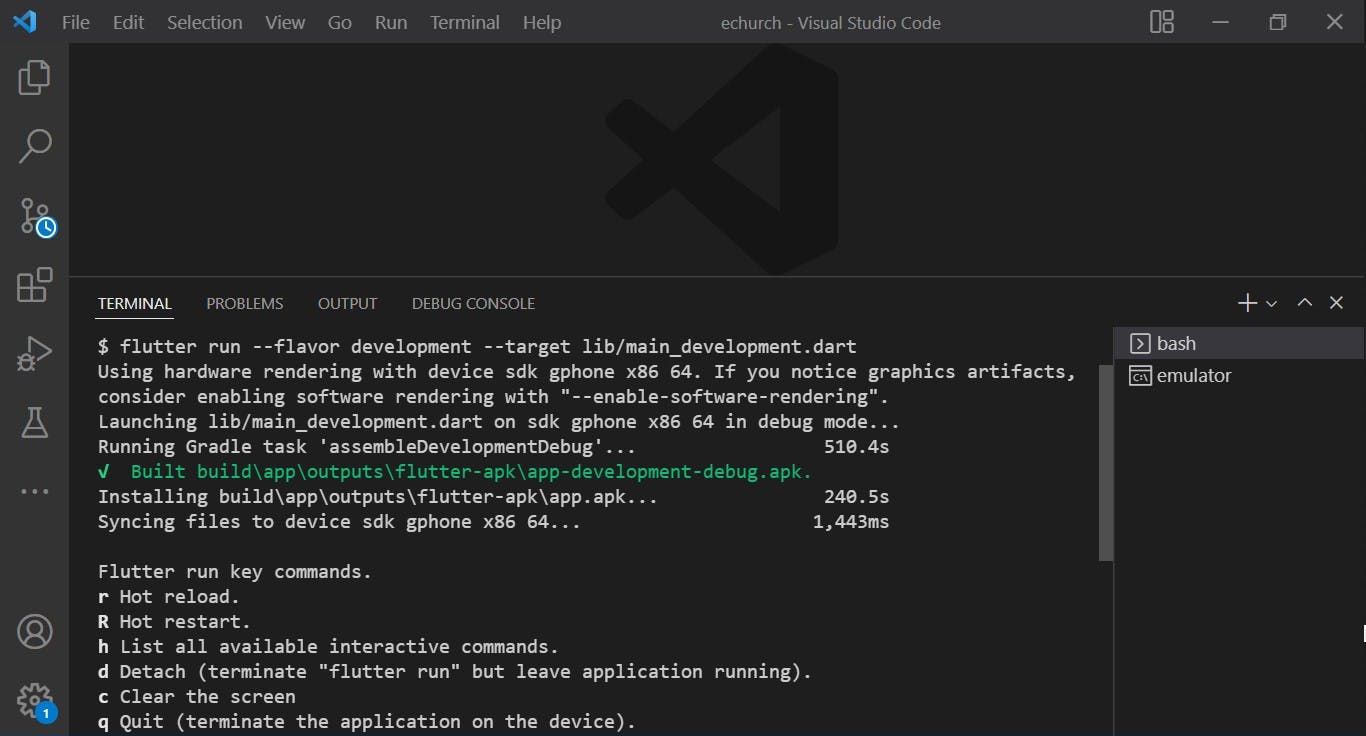
Next let's add the flutter webview package
A Flutter plugin that provides a WebView widget.
On iOS the WebView widget is backed by a WKWebView; On Android the WebView widget is backed by a WebView.
flutter pub add webview_flutter


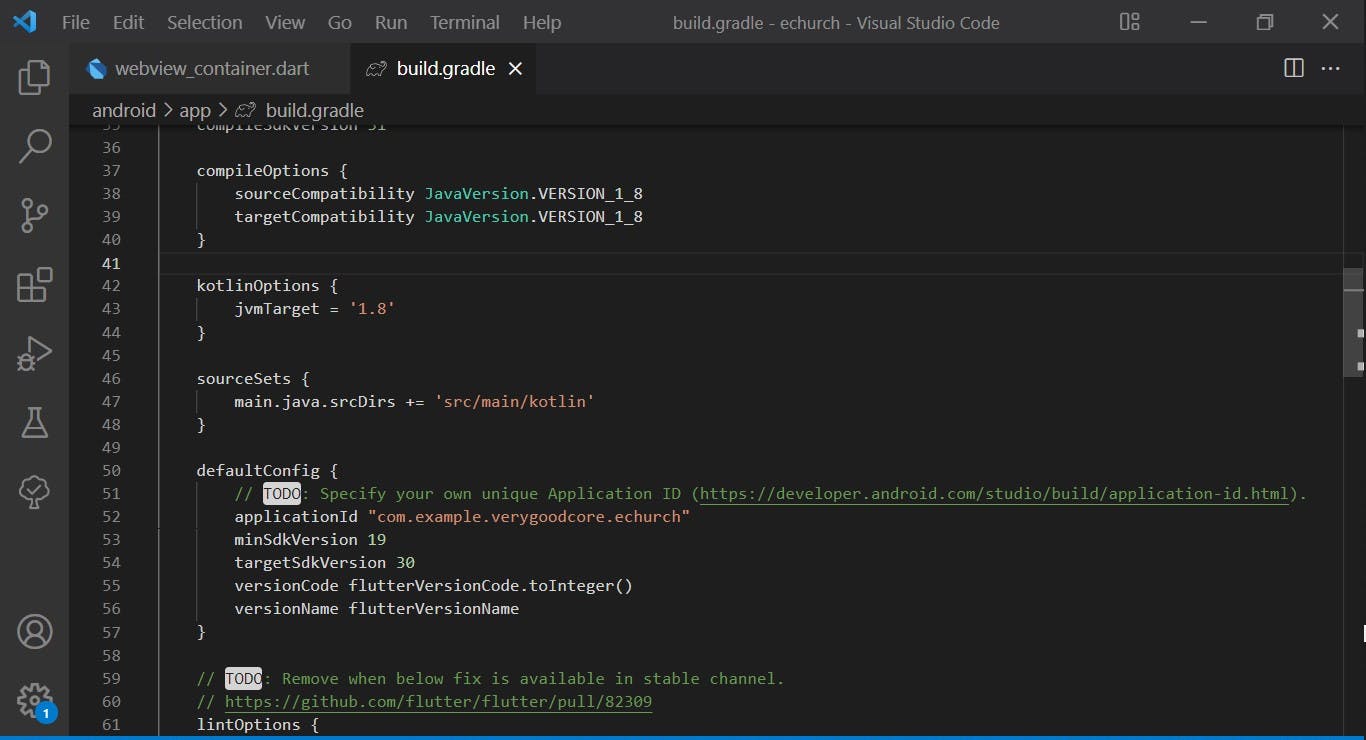
The mode is currently enabled by default. You should however make sure to set the correct minSdkVersion in android/app/build.gradle if it was previously lower than 19:
android {
    defaultConfig {
        minSdkVersion 19
    }
}
Next, we'll create a WebViewContainer widget
      home: const WebViewContainer(
        url: 'https://e-church.herokuapp.com/',
        title: 'eChurch',
      ),
In the lib folder, create a new folder webview under the app folder
create a new file for the WebViewContainer widget webview_container.dart
..path\flutter_apps\echurch\lib\app\webview\webview_container.dart
import 'package:flutter/material.dart';
import 'package:webview_flutter/webview_flutter.dart';

class WebViewContainer extends StatefulWidget {
//define a constructor to accept the two parameters passed (URL and title)
  const WebViewContainer({
    Key? key,
    required this.url,
    required this.title,
  }) : super(key: key);

  final String url;
  final String title;

//because of the no_logic_in_create_state we'll not pass any parameter into the WebViewContainerState() instead we'll  use widget to access the parameter in the state
  @override
  WebViewContainerState createState() => WebViewContainerState();

}

class WebViewContainerState extends State<WebViewContainer> {
  @override
  Widget build(BuildContext context) {
    return Scaffold(
      appBar: AppBar(
//pass in the title here
        title: Text(widget.title),
      ),
      body: Column(
        children: [
          Expanded(
            child: WebView(
//pass in the key here
              key: widget.key,
              javascriptMode: JavascriptMode.unrestricted,
//pass in the url
              initialUrl: widget.url,
            ),
          ),
        ],
      ),
    );
  }
}
Save changes and then run the development flavor command
flutter run --flavor development --target lib/main_development.dart
Awesome!!!
![image.png] (cdn.hashnode.com/res/hashnode/image/upload/..)
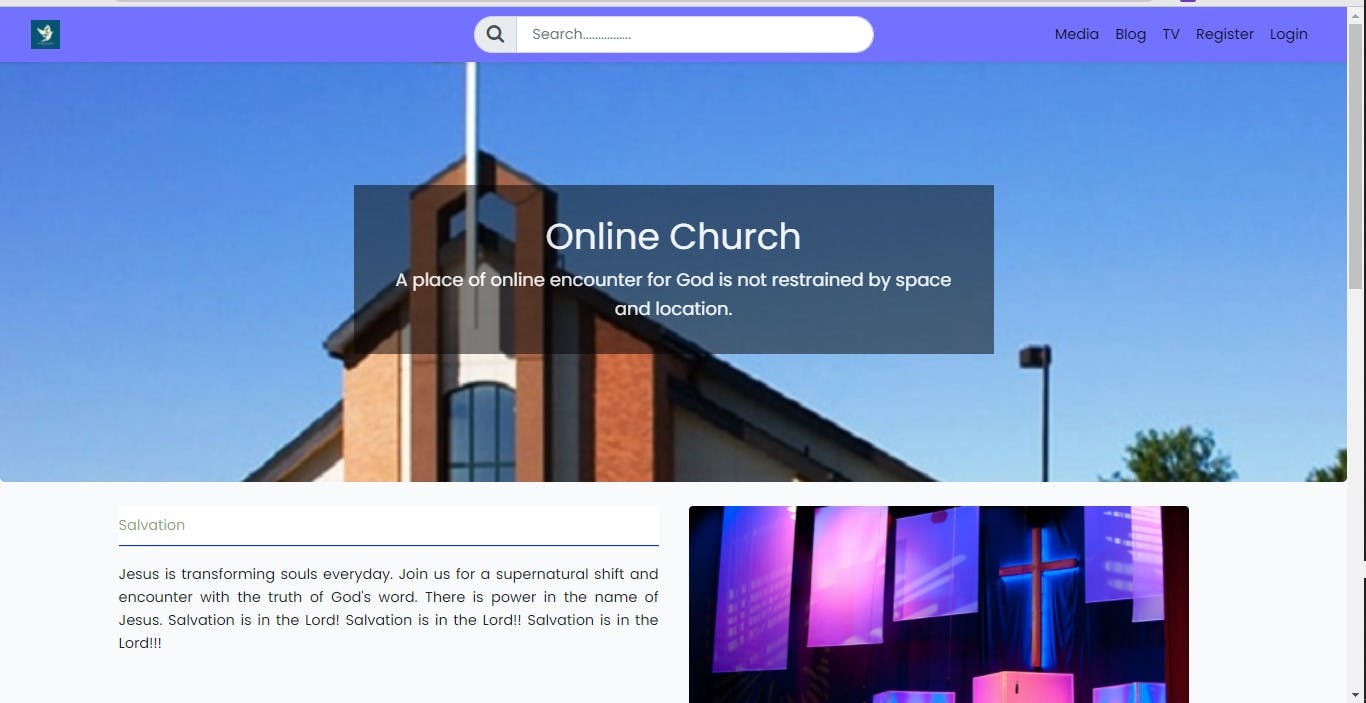
Web version of the echurch hosted on herokuapp on chrome
Add the build runner package to the pubspec.yaml file so we can run the command below to resolve conflicts of files if there are any.
build_runner: ^2.1.7
flutter pub get
flutter packages run build_runner build --delete-conflicting-outputs
Let's add a splash screen view to spice up the app
Add the splash screen view to your package's pubspec.yaml file: ensure to have it properly indexed
dependencies:
  splash_screen_view: ^3.0.0
If your settings do not automatically update the packages run the command below
flutter packages get
Next, let's import the package at the top of the app.dart file
import 'package:splash_screen_view/SplashScreenView.dart';
Here's the widget for the splashcreen view
      home: SplashScreenView(
        navigateRoute: const MyApp(),
        duration: 10000,
        imageSize: 130,
//create an assets folder and add the image to be displayed on the splash screen
        imageSrc: 'assets/logo.png',
//text displayed on the splash screen
        text: 'eChurch',
//apply animation to the text
        textType: TextType.ColorizeAnimationText,
        textStyle: const TextStyle(
          fontWeight: FontWeight.bold,
          color: Colors.black,
          fontSize: 30,
        ),
        colors: const [
          Colors.black,
          Colors.blue,
          Colors.black,
          Colors.blue,
        ],
        backgroundColor: Colors.white,
      ),
Created a class(widget) for the MyApp() which loads the intended page after the splash screen
class MyApp extends StatelessWidget {
  const MyApp({Key? key}) : super(key: key);

  @override
  Widget build(BuildContext context) {
    return const MaterialApp(
      home: WebViewContainer(
        url: 'https://e-church.herokuapp.com/',
        title: 'eChurch',
      ),
    );
  }
}
Run to see the output
flutter run --flavor development --target lib/main_development.dart
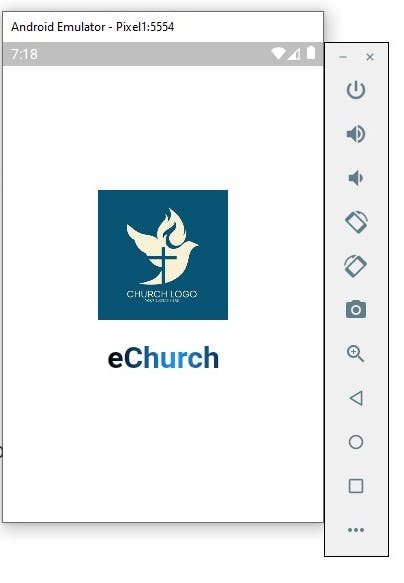
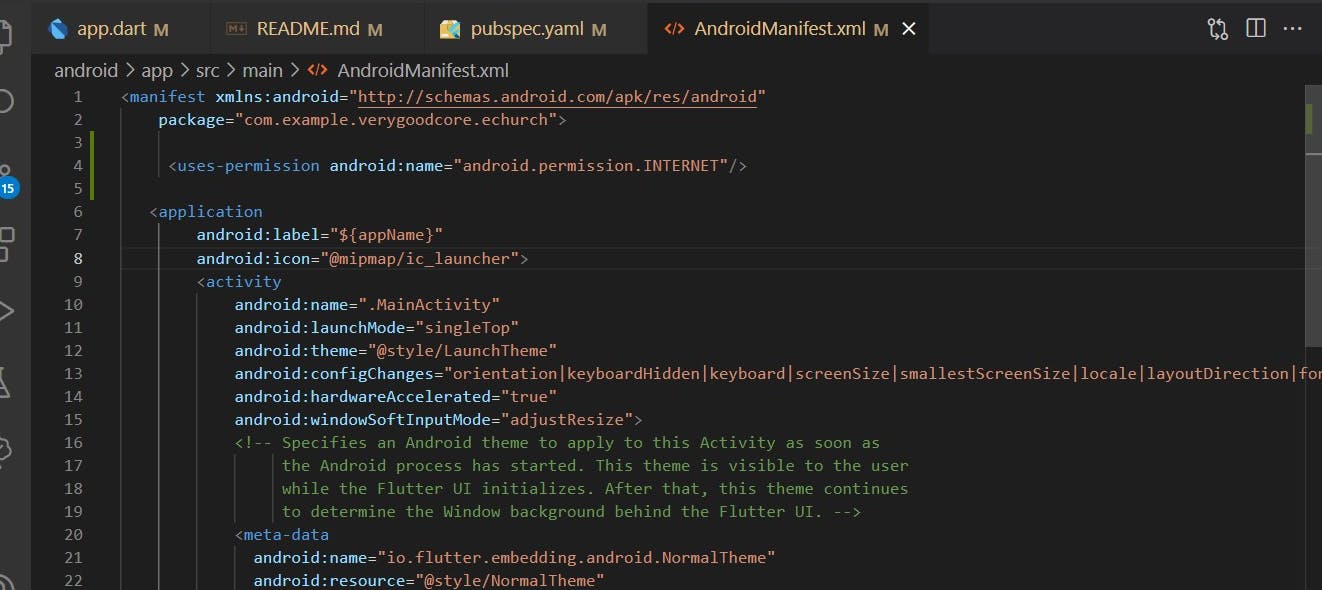
To test the app on external devices we need to grant access permission to the internet. Open the AndroidManifest.xml under the main folder and add the internet permission
..path\flutter_apps\echurch\android\app\src\main\AndroidManifest.xml
<uses-permission android:name="android.permission.INTERNET"/>
The good part is with a single command we can generate a production app with different configuration as desired.
flutter run --flavor production --target lib/main_production.dart
Production build app is located at
..........\echurch\build\app\outputs\flutter-apk

Tutorials repository
Thank you for reading this article.
Please kindly share with your network and feel free to use the comment section for questions, answers, and contributions.
Do you love this article?? please follow me on Hashnode alemsbaja or Twitter @alemsbaja to stay updated for more articles
