Phone number authentication using Firebase 9 in Laravel 9 with Tailwindcss
Using firebase web version 9 modular to authenticate user phone number in a Laravel application with tailwindcss


Introduction
In this article, we'll be looking at how to authenticate a user's phone number using firebase web version 9 modular in a Laravel application.
Phone numbers can be verified on Laravel using the firebase phone authentication service. Firebase Web Phone authentication documentation
I did a demo of this setup for Laravel 11 application using Firebase phone authentication. Check it out on my Youtube channel.
Advantages of validating phone numbers
It helps to ensure the phone number entered by the user is correct.
Enforces the validation of the phone number used by the users.
Guarantees success for application notifications and 2FA (Two factor authentication) since the phone number is validated.
The proof of identity is important to the user to avoid impersonation.
Enforces users and app security proof when combined with other authentication strategies.
In a bit to get on board with exploring the features of using firebase phone authentication, let's start with a fresh Laravel 9 app installation
laravel new laravel_firebase_phone_authentication
OR
composer create-project laravel/laravel_firebase_phone_authentication
After successful installation change the directory to laravel_firebase_phone_authentication
cd laravel_firebase_phone_authentication
-- Run
php artisan serve
Next let's setup the firebase phone authentication here

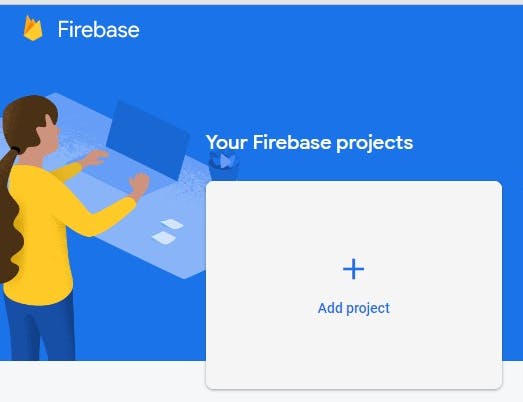
Next, let's create a firebase project
The project is named as laravel-phone-no-verification
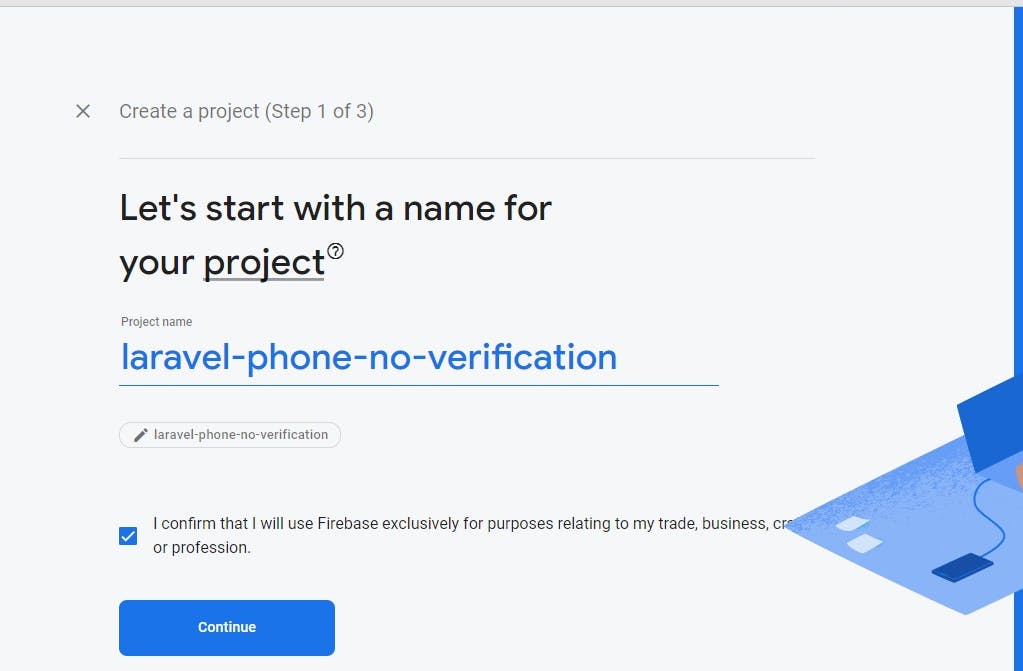
Next, click on continue
If you're using this for a real project enable the analytics for the project

But for this tutorial, we'll ignore enabling the analytics

Next, click on create project
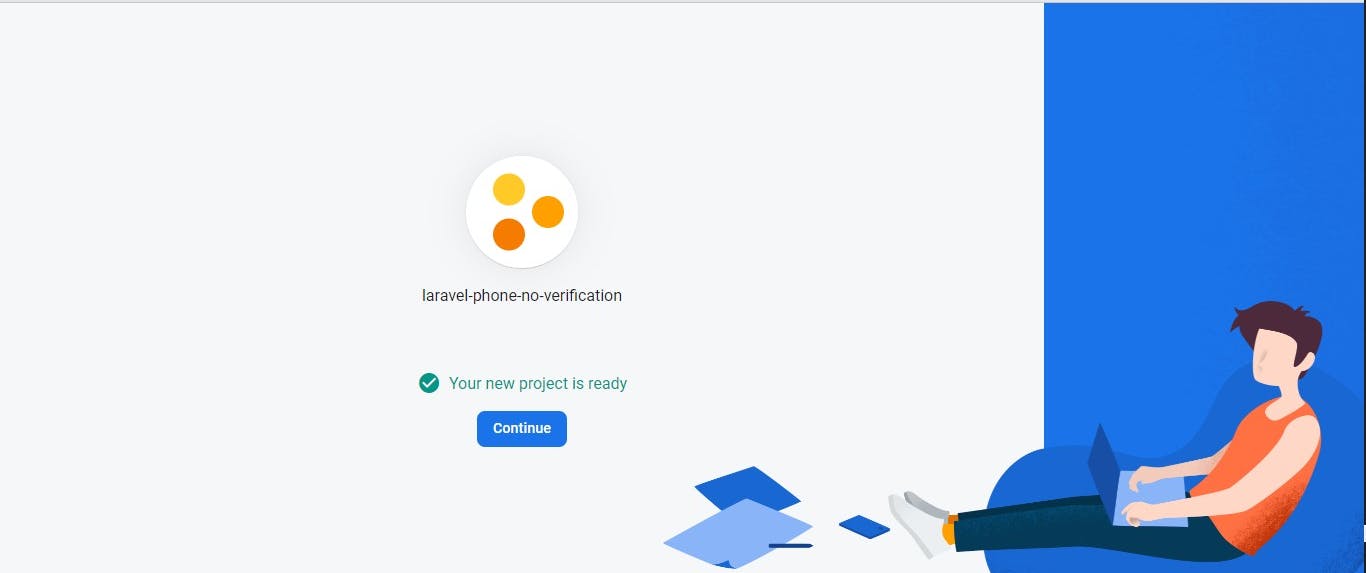
Next, click on continue to access the project dashboard
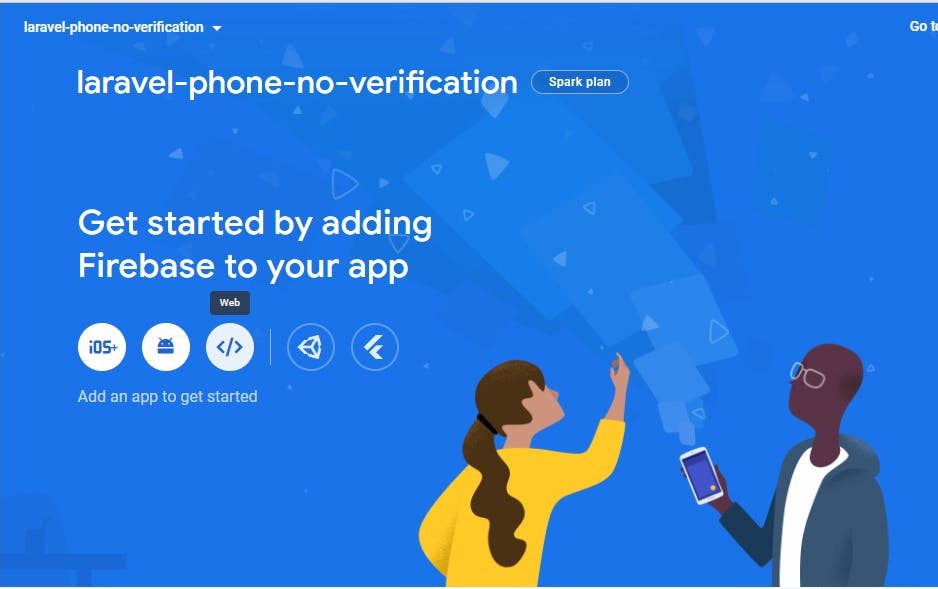
Click on the web icon as shown in the previous image ....
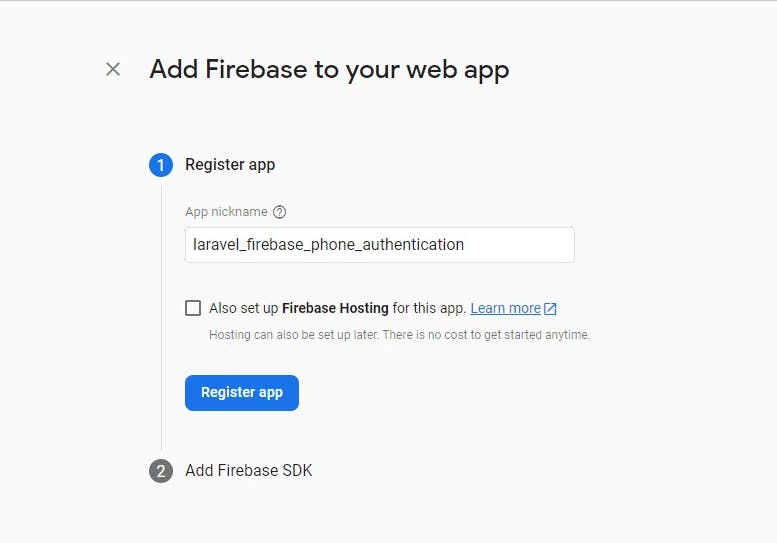
Next, set the app name and click on the register app button
Next, click select the script tag to access the script for the integration to a web application
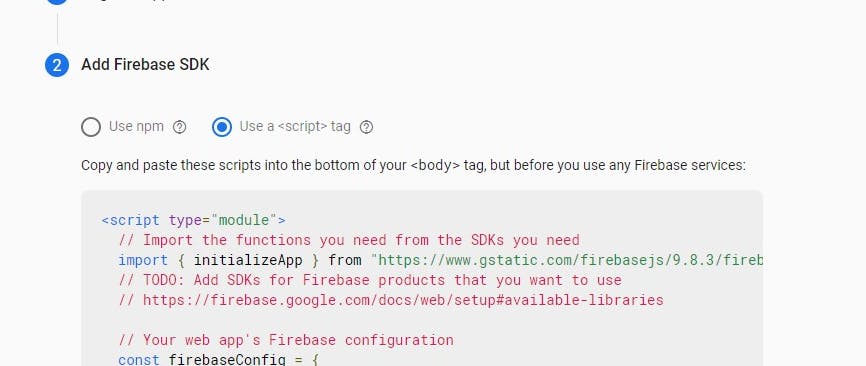
Then click on the continue to console.
Next, click on the authentication card
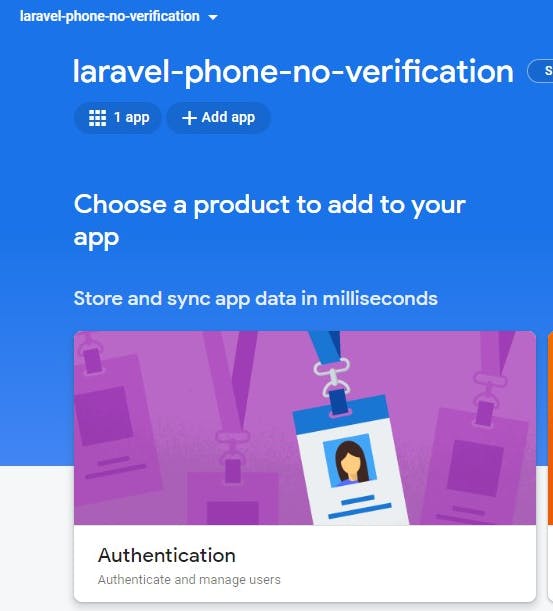
- Click on get started

- Next, click on the phone icon because for this application we'll be authenticating phone number
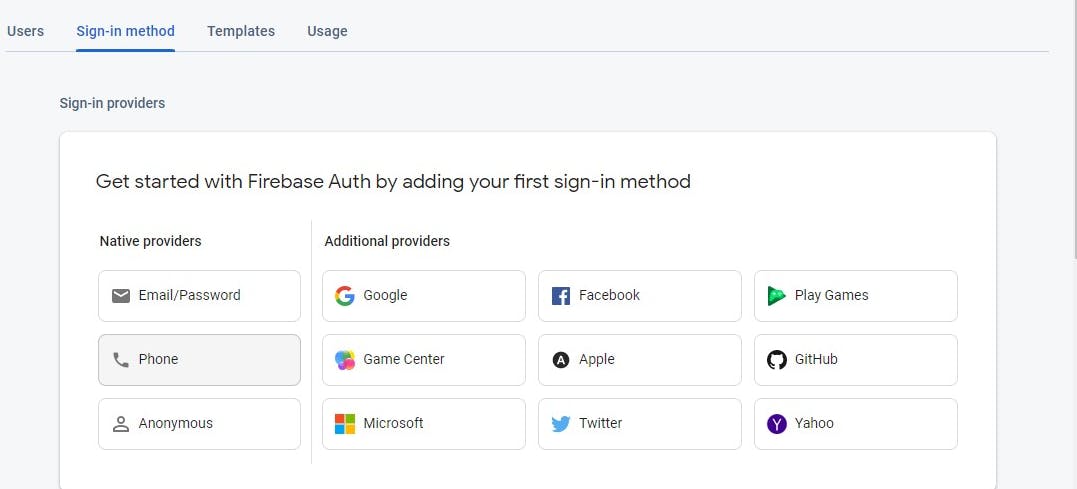
- Next toggle the enable button to allow users to sign in with a mobile phone number, using Firebase SDK phone verification and user authentication tools.
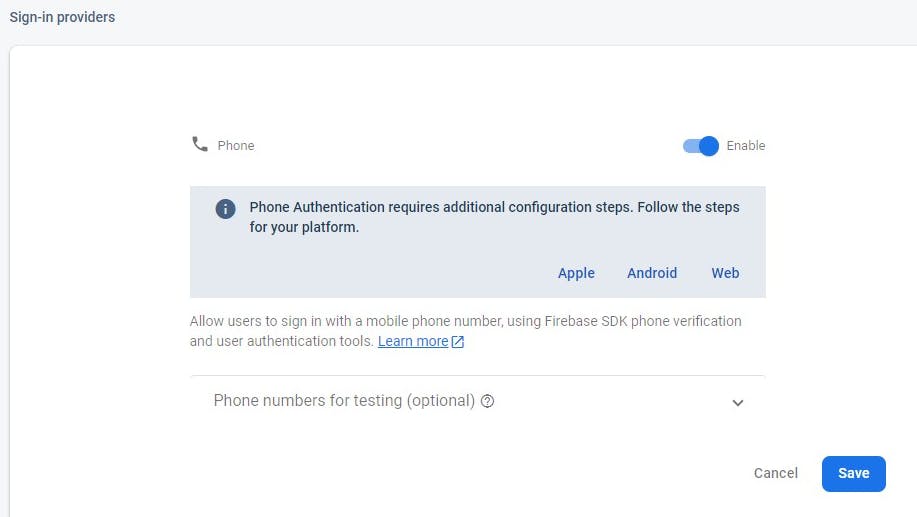
Click on the **Save ** button.
For more information about the firebase phone authentication
NOTE
Currently, there are two recommended web versions for authenticating users:
Web version 9 (modular) - we'll be using the modular approach in this article
Web version 8 (namespace)

It's recommended to use the npm but there is an Alternative setup to npm for web projects
For this tutorial we'll be using CDN libraries
https://www.gstatic.com/firebasejs/9.8.3/firebase-app.js

https://www.gstatic.com/firebasejs/9.8.3/firebase-auth.js
- Next, Add and initialize the Authentication SDK
// TODO: Replace the following with your app's Firebase project configuration
// See: https://firebase.google.com/docs/web/learn-more#config-object
const firebaseConfig = {
  // ...
};

// Initialize Firebase
const app = initializeApp(firebaseConfig);


// Initialize Firebase Authentication and get a reference to the service
const auth = getAuth(app);
Note: We'll be using the welcome.blade.php file for this tutorial demo with tailwindcss cdn
Let's update the script section of the
//jquery cdn library

<script src="https://code.jquery.com/jquery-3.6.0.min.js"></script>

//firebase modular script setup

<script type="module">

//import the initializeApp
    import {
        initializeApp
    } from "https://www.gstatic.com/firebasejs/9.8.3/firebase-app.js";

//import the getAuth, RecaptchaVerifier & signInWithPhoneNumber

  import {
        getAuth,
        RecaptchaVerifier,
        signInWithPhoneNumber
    } from 'https://www.gstatic.com/firebasejs/9.8.3/firebase-auth.js';


    //replace this section with the firebase config object from your firebase console
    const firebaseConfig = {
        apiKey: "",
        authDomain: "laravel-phone-no-verification.firebaseapp.com",
        projectId: "laravel-phone-no-verification",
        storageBucket: "laravel-phone-no-verification.appspot.com",
        messagingSenderId: "",
        appId: ""
    };

    //initialize firebase config
    const app = initializeApp(firebaseConfig);

//authenticate app communication to firebase
    const auth = getAuth(app);

//code update at the Recaptcha widget section

</script>
- Next, set up the reCAPTCHA verifier
Setup reCAPTCHA
Before you can sign in users with their phone numbers, you must set up Firebase's reCAPTCHA verifier. Firebase uses reCAPTCHA to prevent abuse, such as by ensuring that the phone number verification request comes from one of your app's allowed domains.
You don't need to manually set up a reCAPTCHA client; when you use the Firebase SDK's RecaptchaVerifier object, Firebase automatically creates and handles any necessary client keys and secrets.
The RecaptchaVerifier object supports invisible reCAPTCHA, which can often verify the user without requiring any user action, as well as the reCAPTCHA widget, which always requires user interaction to complete successfully.
The underlying rendered reCAPTCHA can be localized to the user's preference by updating the language code on the Auth instance before rendering the reCAPTCHA. The aforementioned localization will also apply to the SMS message sent to the user, containing the verification code.
- Note
You can use this code to set the language on the Recaptcha
//english default
auth.languageCode = 'en';

//french
auth.languageCode = 'fr';
Forms of Recaptcha
The phone number verification has the Recaptcha verification in various forms
import { getAuth, RecaptchaVerifier } from "firebase/auth";

const auth = getAuth();
window.recaptchaVerifier = new RecaptchaVerifier('sign-in-button', {
  'size': 'invisible',
  'callback': (response) => {
    // reCAPTCHA solved, allow signInWithPhoneNumber.
    onSignInSubmit();
  }
}, auth);
import { getAuth, RecaptchaVerifier } from "firebase/auth";

const auth = getAuth();
window.recaptchaVerifier = new RecaptchaVerifier('recaptcha-container', {}, auth);
import { getAuth, RecaptchaVerifier } from "firebase/auth";

const auth = getAuth();
window.recaptchaVerifier = new RecaptchaVerifier('recaptcha-container', {
  'size': 'normal',
  'callback': (response) => {
    // reCAPTCHA solved, allow signInWithPhoneNumber.
    // ...
  },
  'expired-callback': () => {
    // Response expired. Ask user to solve reCAPTCHA again.
    // ...
  }
}, auth);
recaptchaVerifier.render().then((widgetId) => {
  window.recaptchaWidgetId = widgetId;
});
After render resolves, you get the reCAPTCHA's widget ID, which you can use to make calls to the reCAPTCHA API:
const recaptchaResponse = grecaptcha.getResponse(recaptchaWidgetId);
- In this tutorial, we'll use Using Recaptcha Widget
Remove the //code update at the Recaptcha section under the script tag and add this code below it.
auth.languageCode = 'en';
//when the window loads render the Recaptcha
window.onload = function() {
render();
};
function render() {
// <div id="recaptcha-container" class="mb-4"></div>
//recaptcha-container is an id of the place where you want to display the recaptcha
window.recaptchaVerifier = new RecaptchaVerifier('recaptcha-container', {
//size of the Recaptcha
'size': 'normal',
'callback': (response) => {
//response from Recaptcha when successful
//alert the user to enter a phone number
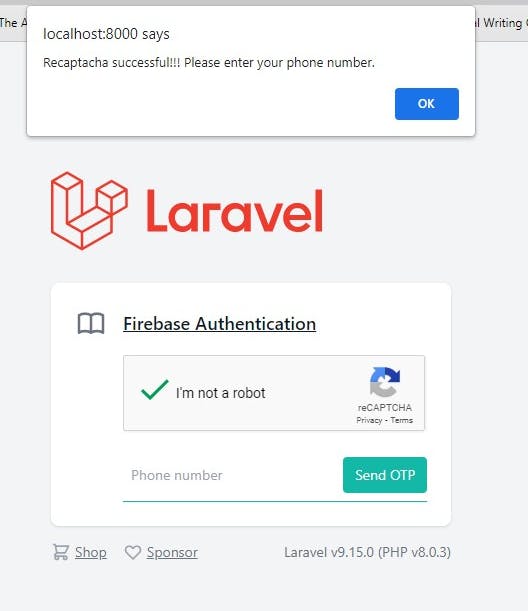
alert('Recaptacha successful!!! Please enter your phone number.')
//the send OTP button is enabled if it's successful
$("#send_otp").removeAttr('disabled')
},
'expired-callback': () => {
//notify the user that the Recaptcha has expired
alert('Recaptach expired!!! Please try again.')
}
}, auth);
//render the Recaptcha
recaptchaVerifier.render();
}
- Next, Send a verification code to the user's phone
To initiate phone number sign-in, we'll present the user with an interface that prompts them to provide their phone number, and then call signInWithPhoneNumber to request that Firebase send an authentication code to the user's phone by SMS:
- Get the user's phone number.
Legal requirements vary, but as a best practice and to set expectations for your users, you should inform them that if they use phone sign-in, they might receive an SMS message for verification and standard rates apply.
- Call signInWithPhoneNumber, passing to it the user's phone number and the RecaptchaVerifier you created earlier.
Implementation
Tailwindcss phone input code section update
<form class="w-full max-w-sm" style="display: block;" id="phone_input">
<div id="recaptcha-container" class="mb-4"></div>
<div class="flex items-center border-b border-teal-500 py-2">
<input id="phone_number" class="appearance-none bg-transparent border-none w-full text-gray-700 mr-3 py-1 px-2 leading-tight focus:outline-none" type="text" placeholder="Phone number" aria-label="Full name">
<button class="flex-shrink-0 bg-teal-500 hover:bg-teal-700 border-teal-500 hover:border-teal-700 text-sm border-4 text-white py-1 px-2 rounded" type="button" onclick="sendOTP();" disabled id="send_otp">
    Send OTP
</button>
</div>
</form>
- When the user clicks on the send OTP button the sendOTP function is triggered
//in the script module type the function isn't accessed as usual except with window.sendOTP
window.sendOTP = function() {
//get the user phone number
var phoneNumber = $("#phone_number").val();
//get the verified recaptcha
const appVerifier = window.recaptchaVerifier;
const auth = getAuth();
//pass the auth, phoneNUmber and verifier to the signInWithPhoneNumber method
signInWithPhoneNumber(auth, phoneNumber, appVerifier)
.then((confirmationResult) => {
//store the confirmation result
window.confirmationResult = confirmationResult;
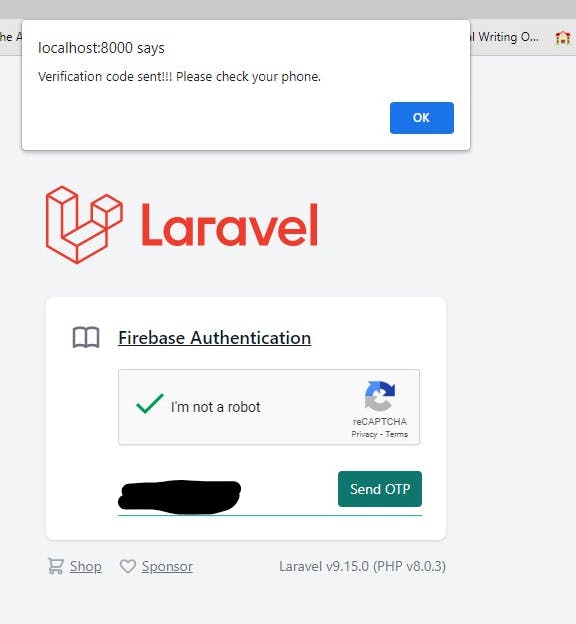
// alert the user
alert('Verification code sent!!! Please check your phone.')
//show verification code input section and hide phone number section
$("#verification_input").show();
$("#phone_input").hide();
}).catch((error) => {
//If signInWithPhoneNumber results in an error, reset the reCAPTCHA so the user can try again:
//reset the recaptcha if there's an error
window.recaptchaVerifier.render().then(function(widgetId) {
grecaptcha.reset(widgetId);
});
//you can add the error message to the user interface
alert(error.message)
});
}
The signInWithPhoneNumber method issues the reCAPTCHA challenge to the user, and if the user passes the challenge, requests that Firebase Authentication send an SMS message containing a verification code to the user's phone.
Sign in the user with the verification code
After the call to signInWithPhoneNumber succeeds, prompt the user to type the verification code they received by SMS. Then, sign in the user by passing the code to the confirm method of the ConfirmationResult object that was passed to signInWithPhoneNumber's fulfilment handler
Implementation
Taillwindcss verify code input section update
<form class="w-full max-w-sm" style="display: none;" id="verification_input">
<div class="flex items-center border-b border-teal-500 py-2">
<div id="recaptcha-container"></div>
<input id="verification_code" class="appearance-none bg-transparent border-none w-full text-gray-700 mr-3 py-1 px-2 leading-tight focus:outline-none" type="text" placeholder="Enter OTP" aria-label="Verification code">
<button class="flex-shrink-0 bg-teal-500 hover:bg-teal-700 border-teal-500 hover:border-teal-700 text-sm border-4 text-white py-1 px-2 rounded" type="button" onclick="verifyOTP();">
    Verify OTP
</button>

<button class="flex-shrink-0 border-transparent border-4 text-teal-500 hover:text-teal-800 text-sm py-1 px-2 rounded" type="button" onclick="tryAgain();">
    Retry
</button>
</div>
</form>
The Verify OTP button will trigger the verifyOTP function
window.verifyOTP = function() {
//get the verification code entered by the user
const code = $("#verification_code").val();
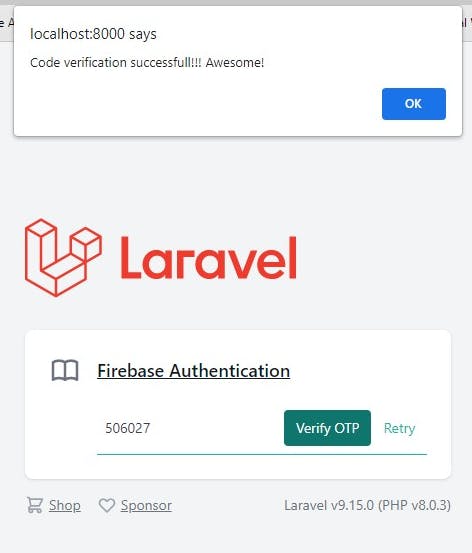
confirmationResult.confirm(code).then((result) => {
//if successful notify the user
alert('Code verification successfull!!! Awesome!')
const user = result.user;
//hide the verification input section
$("#verification_input").hide();
$("#verification_code").val("");
$("#phone_input").show();
//you can do other stuff here as per your project requirements
}).catch((error) => {
//you can add the error message to the user interface
alert(error.message)
});
}
The Retry again button will trigger the tryAgain function to show the phone input section
    window.tryAgain = function() {
        $("#verification_input").hide();
        $("#phone_input").show();
        $("#verification_code").val("");
    }
Debugging
If you see the error on the image below while testing
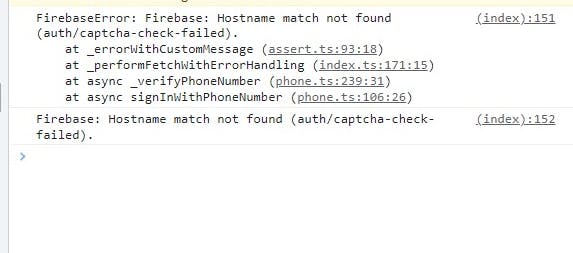
It means your domain isn't recognized on Firebase authorized domain.
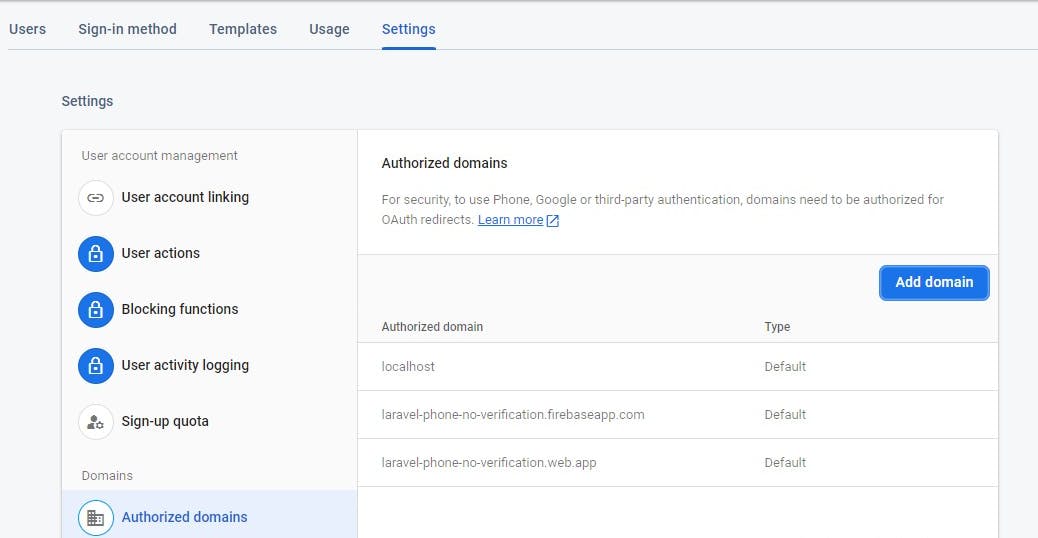
Head over to Firebase Console -> Authentication -> sign-in-method -> Authorized Domains and add your domain.
Next steps
After a user signs in for the first time, a new user account is created and linked to the credentials—that is, the user name and password, phone number, or auth provider information—the user signed in with. This new account is stored as part of your Firebase project and can be used to identify a user across every app in your project, regardless of how the user signs in.
In your apps, the recommended way to know the auth status of your user is to set an observer on the Auth object. You can then get the user's basic profile information from the User object. See Manage Users.
In your Firebase Realtime Database and Cloud Storage Security Rules, you can get the signed-in user's unique user ID from the auth variable, and use it to control what data a user can access.
You can allow users to sign in to your app using multiple authentication providers by linking auth provider credentials to an existing user account.
To sign out a user, call signOut:
    window.signOut = function() {
        //import signOut
        const auth = getAuth();
        signOut(auth).then(() => {
            // Sign-out successful.
            alert('Sign-out successful')
        }).catch((error) => {
            // An error happened.
            alert(error.message)
        });
    }
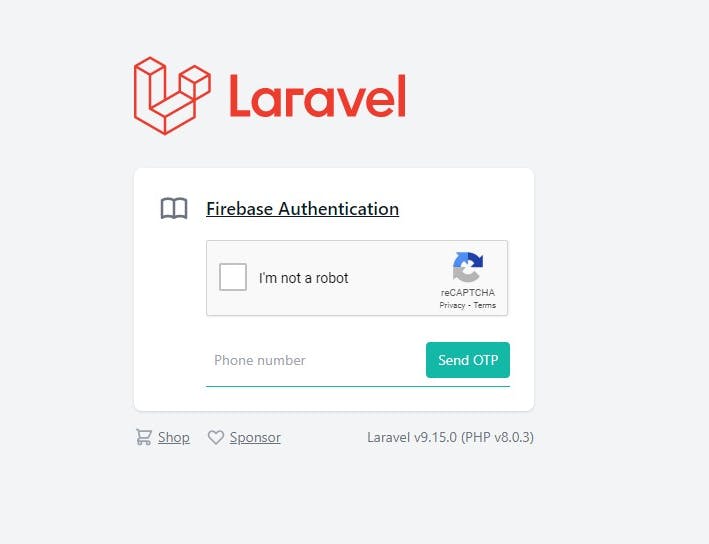
- Demo screenshot
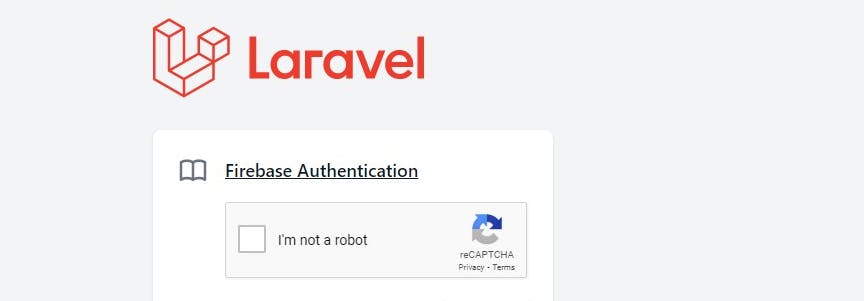
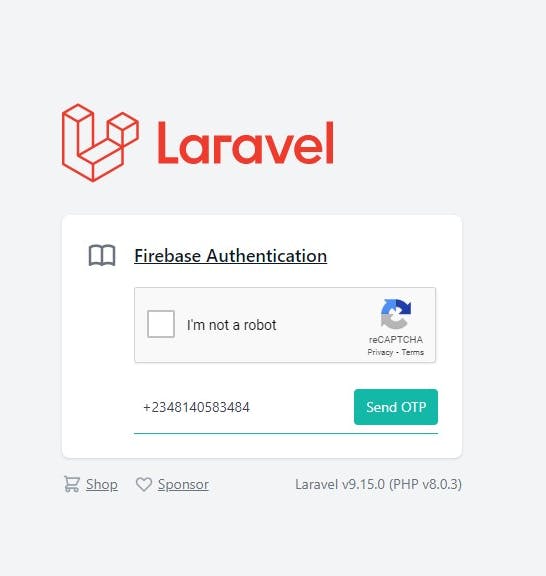
Form display
Recaptcha successful
Verification code sent
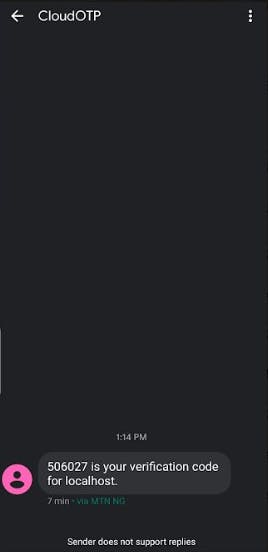
OTP received
OTP verified successfully

If you find this article useful kindly share it with your network and feel free to use the comment section for questions, answers, and contributions. Thank you!