Complete Laravel 8 Authentication Using Laravel Fortify and Bootstrap 4 - Part 1
Laravel Authentication Using Fortify and Bootstrap without requiring Laravel UI

I’m a Software Engineer with over 5+ years of experience in Technology with a track record in building web applications, mobile applications and Technical Writing. Readily available to explore innovations in ICT and creatively use them to build solutions. Advancing my career in software engineering and contributing to the growth of tech communities around the world. I’m also passionate about working with organizations especially tech, security experts and airline industries to learn and also make contributions that will be a legacy.
Tech is Easy to Learn - https://amazon.com/dp/B0B8T838K
Laravel 8 recommends the use of Jetstream which uses tailwindcss for it's frontend with either of livewire or inertia.js. The Laravel UI in previous versions is still available with a new version but it's advisable that users migrate to recommended authentication features such as Jetstream, Breeze or Fortify because it might be removed in subsequent versions.
How about those who don't know tailwindcss and javascript. In this article we'll be looking at using Laravel Fortify to build a full authentication system with two way factor using bootstrap 4 for the user interface.
If you intend to look into Jetstream or Breeze you could take a look at the laravel 8 documentation for guides. Pretty simple for those who familiar with Javascript and tailwindcss.
Laravel Fortify is a frontend agnostic authentication backend implementation for Laravel. Fortify registers the routes and controllers needed to implement all of Laravel's authentication features, including login, registration, password reset, email verification, and more.
Laravel Fortify essentially takes the routes and controllers of Laravel Breeze and offers them as a package that does not include a user interface. This allows you to still quickly scaffold the backend implementation of your application's authentication layer without being tied to any particular frontend opinions.
Since we've chosen to install Fortify, our user interface will make requests to Fortify's authentication routes. The choice of the frontend is bootstrap 4 for different parts of the authentication features provided in Fortify.
Let's start with a **fresh laravel app installation **
if you've laravel installed
laravel new laravel8_fortify_with_bootstrap
**OR **
composer create-project laravel/laravel laravel8_fortify_with_bootstrap
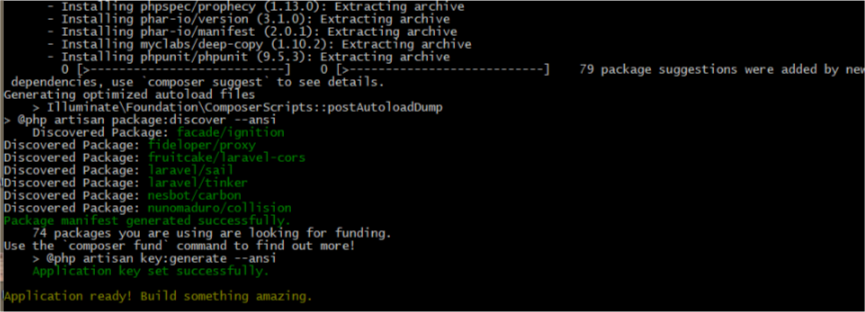
After successful installation change directory to laravel8_fortify_with_bootstrap
cd laravel8_fortify_with_bootstrap
Install Fortify
composer require laravel/fortify
Next, publish Fortify's resources using the vendor:publish command:
php artisan vendor:publish --provider="Laravel\Fortify\FortifyServiceProvider"

Here is the service provider that was published. We'll be setting the codes to display the view on this file

Register the file within the provider array of your app configuration file
App\Providers\FortifyServiceProvider::class,

Here is the action folder created where we can customize the authentication logics

Fortify comes with 6 features. You can comment the any of the method to disable the feature. For the first part of this article we'll comment the other 5 and work with registration method only.

Open project in your favorite editor and go to .env file to setup the database connection details for your machine
DB_CONNECTION=mysql
DB_HOST=127.0.0.1
DB_PORT=3306
DB_DATABASE=laravel8_fortify_with_bootstrap
DB_USERNAME=root
DB_PASSWORD=
Next migrate your database
php artisan migrate

Install npm and Bootstrap dependencies
npm install

npm install --save bootstrap jquery popper.js cross-env
Import packages in the resources/js/bootstrap.js file
try {
    window.Popper = require('popper.js').default;
    window.$ = window.jQuery = require('jquery');

    require('bootstrap');
} catch (e) {
}
Rename the css folder in the resource folder to sass

Import packages in the resources/sass/app.scss file
// bootstrap
@import "~bootstrap/scss/bootstrap";
Open the webpack.mix.js and update it
 mix.js('resources/js/app.js', 'public/js')
 .sass('resources/sass/app.scss', 'public/css');
Next compile the installed assets
npm run dev
Please Note: if this error occurs
ERROR in ./node_modules/bootstrap/dist/js/bootstrap.esm.js 6:0-41 Module not found: Error: Can't resolve '@popperjs/core' in
Run the command below and recompile
npm i @popperjs/core --save
In this article we'll stop at adding the auth views and setting up the register logic
Add Auth Views
You can get sample auth views from this repo Laravel Fortify with Bootstrap 4 or use your bootstrap custom snippets in each file as desired.
In the root of resources/views folder create auth folderlayouts folder & home.blade.php
create the following files in the folders respectively
resources/views/layouts/app.blade.php
resources/views/auth/login.blade.php
resources/views/auth/register.blade.php
resources/views/home.blade.php
Add the following methods to Fortify Provider file
app/Providers/FortifyServiceProvider
        Fortify::loginView(function () {
            return view('auth.login');
        });

        Fortify::registerView(function () {
            return view('auth.register');
        });
We're simply telling fortify do render the views we've setup using these boot methods

We need to set up the home view for redirect after successful registration or login Open > routes/web.php
Route::middleware(['auth'])->group(function () {
    Route::view('home', 'home')->name('home');
});

Next serve the app
php artisan serve
on your browser navigate to the following routes
http://127.0.0.1:8000/register

http://127.0.0.1:8000/login

After successful registration or login this is the end view

Congratulations we've setup the register, login and home view using laravel fortify and bootstrap 4.
Here is the link to the second par of the article: Complete Laravel 8 Authentication Using Laravel Fortify and Bootstrap 4 - Part 2
Find this helpful or resourceful?? kindly share and feel free to use the comment section for questions, answers, and contributions.


