Hosting Laravel Apps on Heroku with database
The easy way to testing apps on production environment for free
Using fee based production environment for testing is quite expensive for a project that's most likely isn't a paid one probably trying to build up a portfolio as a developer to show case your skills to the world. There are quite a number of platforms that can be use for testing apps with the feel of a production environment but in this article we'll be hosting laravel application on Heroku with database.
Glad right!!! Let's get started
Heroku is a Platform as a Service cloud computing system that can be used to deploy applications similar to production servers. It enhances continuous integration and continuous deployment at ease to keep the project updated with the local machine or Github repository.
Imagine using a command as simple as git push master heroku to make changes to a live website so the client can be kept abreast with the development and updates of the product. Super cool right?
In this tutorial we'll be creating a basic authentication app using laravel. Heroku has support for PHP application hence we can deploy the laravel application without the tussle of server configuration.
Let's start with a fresh laravel app installation
laravel new deploy_laravelapp_on_heroku
OR
composer create-project laravel/deploy_laravelapp_on_heroku
After successful installation change directory to deploy_laravelapp_on_heroku
cd deploy_laravelapp_on_heroku
To keep this article simple we'll require the laravel ui for authentication scaffolding which won't be supported in future version of laravel.
More so if you really want to stick to the new scaffolding using laravel fortify without requiring laravel ui you could take a look at this tutorial
Next
composer require laravel/ui
php artisan ui bootstrap --auth
npm install && npm run dev
if it fails to compile the assets or throws an error run this command again
Next
npm run dev
Next
php artisan serve

If everything was done properly you should see this on the browser
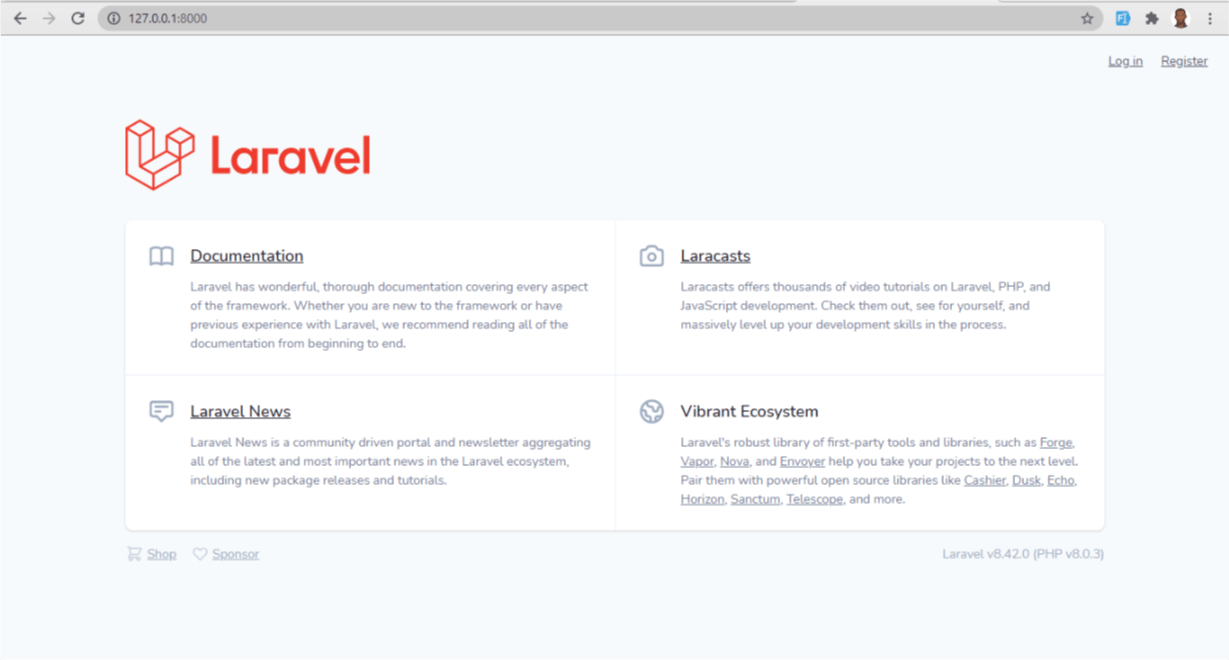
since we're using herokuapp for the hosting we don't need to modify the .env file for database configuration.
Next open the project in your favorite editor Create a file called Procfile
Note no extension for this file
Procfile
Please note the spelling Procfile
Next open the file and paste the snippet below. What this does is to inform heroku on how to locate the index.php file as the web root of the application.
web: vendor/bin/heroku-php-apache2 public/
We can directly host laravel applications to heroku without having to push it to Github which is pretty easy but we'll be pushing our app to Github and then link it to an app on heroku.
After creating a repository on Github let's link the local app to the remote repository.
git init
Next
git add .
Next
git commit -m "deploy laravel app on heroku"
Next
git branch -M main
Next
git remote add origin https://github.com/RaphAlemoh/deploy_laravelapp_on_heroku.git
Next
git push -u origin main
Next
If you don't have an account on heroku you can create one here
We can create an app on Heroku dashboard or from the Heroku Toolbelt basically similar to the command line prompt.
On the app directory on CMD run the following command
heroku login
Enter your login details so we can run commands from cmd to Heroku without opening the browser
After successful login next is to create the app. If we don't specify the name Heroku will create a random name for the app.
heroku create hosting-laravel-app-on-heroku
Run
git remote -v

Please note
If the github repository name is same as the app name on heroku it automatically sets the Github repository by default but in a case where the repository name is not same with the heroku app name you can run the command below to sync heroku with the github repository from the command prompt
heroku git:remote -a heroku-app-name
Next open the .env file on laravel project copy the APP_KEY and paste it
heroku config:set APP_KEY=paste_the_app_key_here

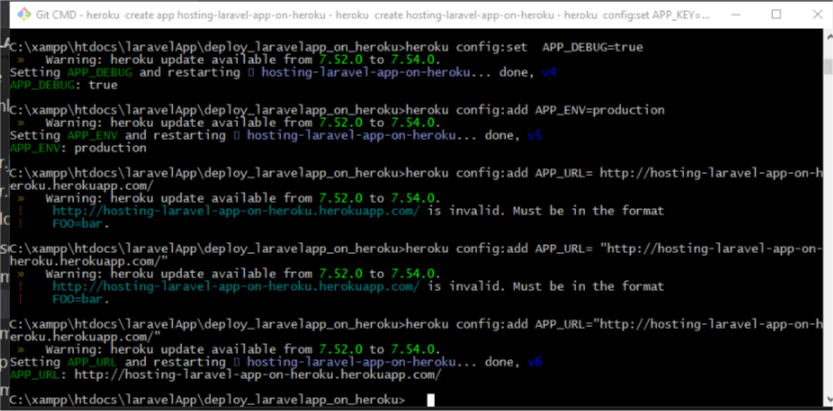
If you want to see the errors set the debug to true but after testing please ensure to turn it to false you can do so with a command on cmd or go to the config var on heroku dashboard and update it.
heroku config:unset APP_DEBUG
Also note you can use (add or set)
Next
heroku config:set APP_DEBUG=true
Next
heroku config:add APP_ENV=production
Next
heroku config:add APP_URL="http://hosting-laravel-app-on-heroku.herokuapp.com/"
Next
heroku config:add APP_NAME="hosting laravel app on heroku"
Database connection - the big part!!!
We'll setup postgre database(easy and it's free with 5mb that's quite large for testing purposes yea!) since we're having a need to communicate with a database to store user details
heroku addons:create heroku-postgresql:hobby-dev
To connect the app with Heroku we need to setup the environment variables run the commands below to get the details of the remote database created
heroku pg:credentials:url
Next
heroku config:add DB_CONNECTION="pgsql"
Next copy the dbhost=value.amazonaws.com
heroku config:add DB_HOST="....amazonaws.com"
Next copy the port=6232
heroku config:add DB_PORT="6232"
Next copy the dbname=de9qtoert7ycce2
heroku config:add DB_DATABASE="de9qtoert7ycce2"
Next copy the user=afzaottphzualakatu
heroku config:add DB_USERNAME="afzaottphzualakatu"
Next copy the password=ye36ee6116736d31fuytr23465a0af6a340308ae28347t5g4trg2f76tr3t76
heroku config:add DB_PASSWORD="ye36ee6116736d31fuytr23465a0af6a340308ae28347t5g4trg2f76tr3t76"
Next run the command below to update the heroku github repository
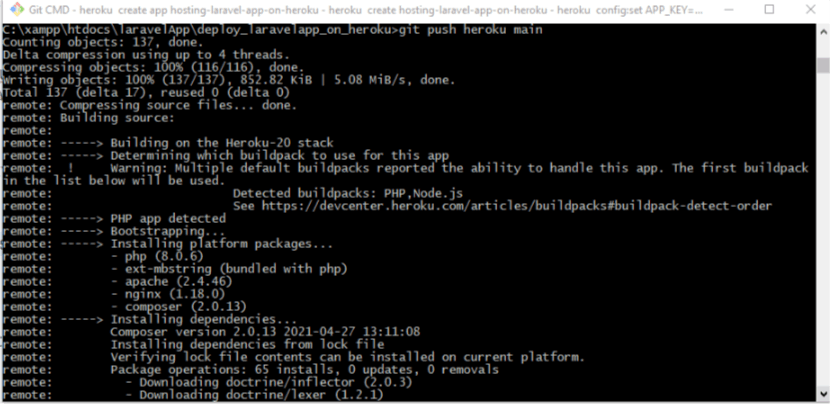
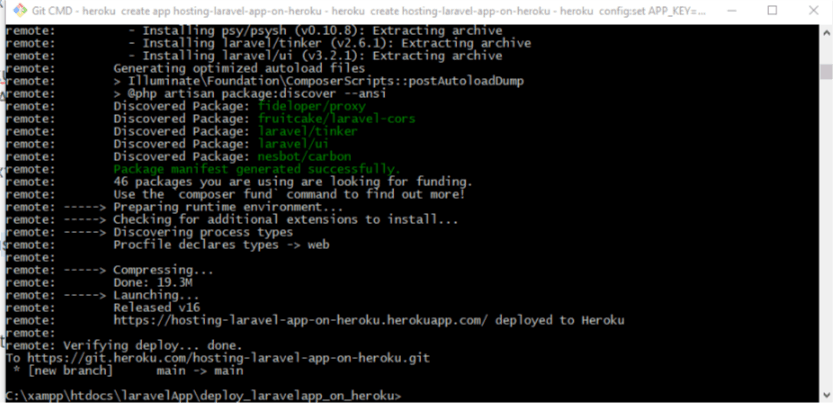
git push heroku main
If all things were done properly you should get this image
Next
heroku run bash
Next
php artisan migrate:fresh
Next (you'll be prompted to confirm you want to run such query) type yes and press enter
yes

Our app can be accessed by anyone in the world! Yea yea awesome...
http://hosting-laravel-app-on-heroku.herokuapp.com/
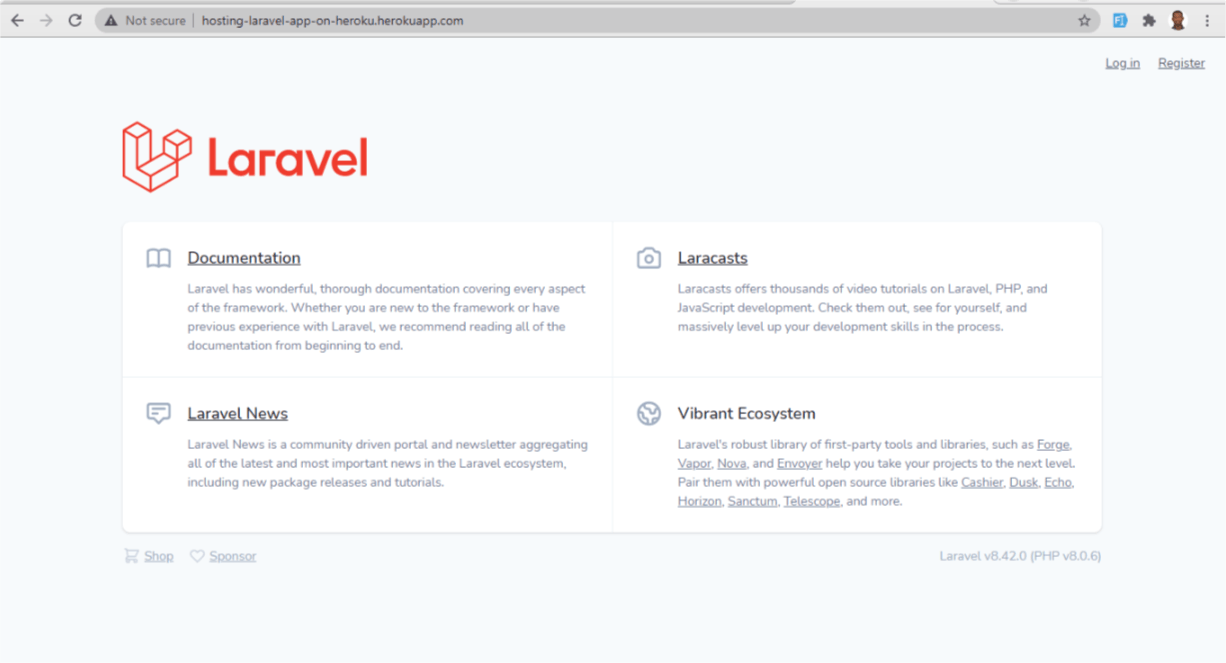
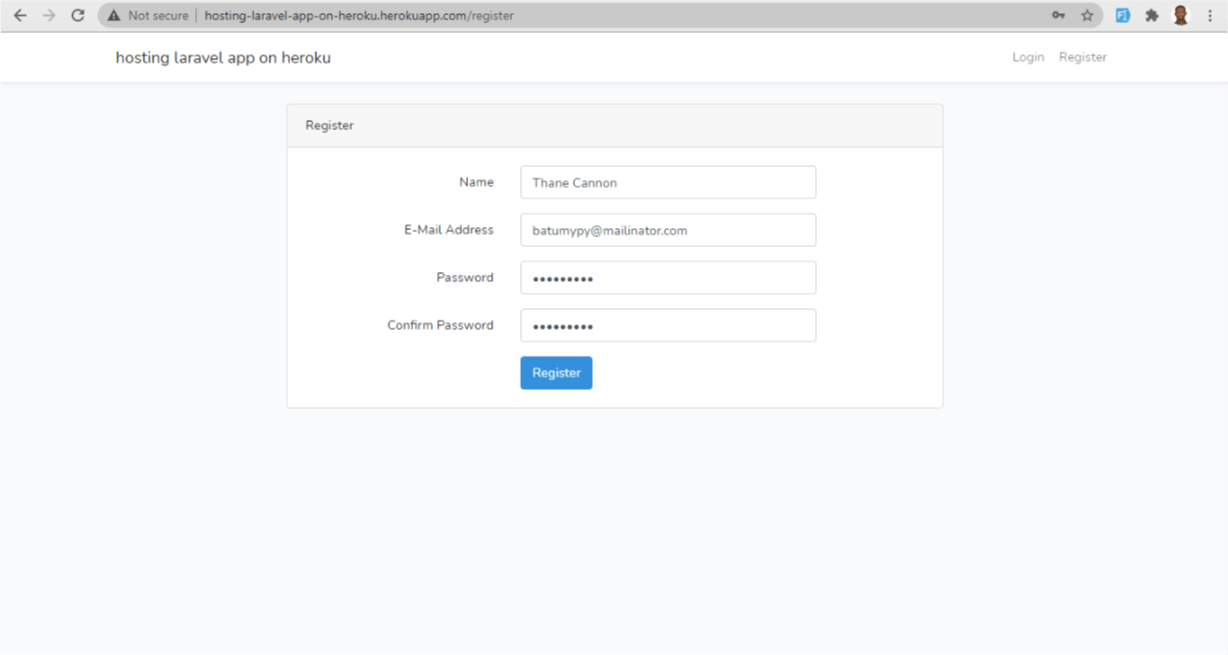
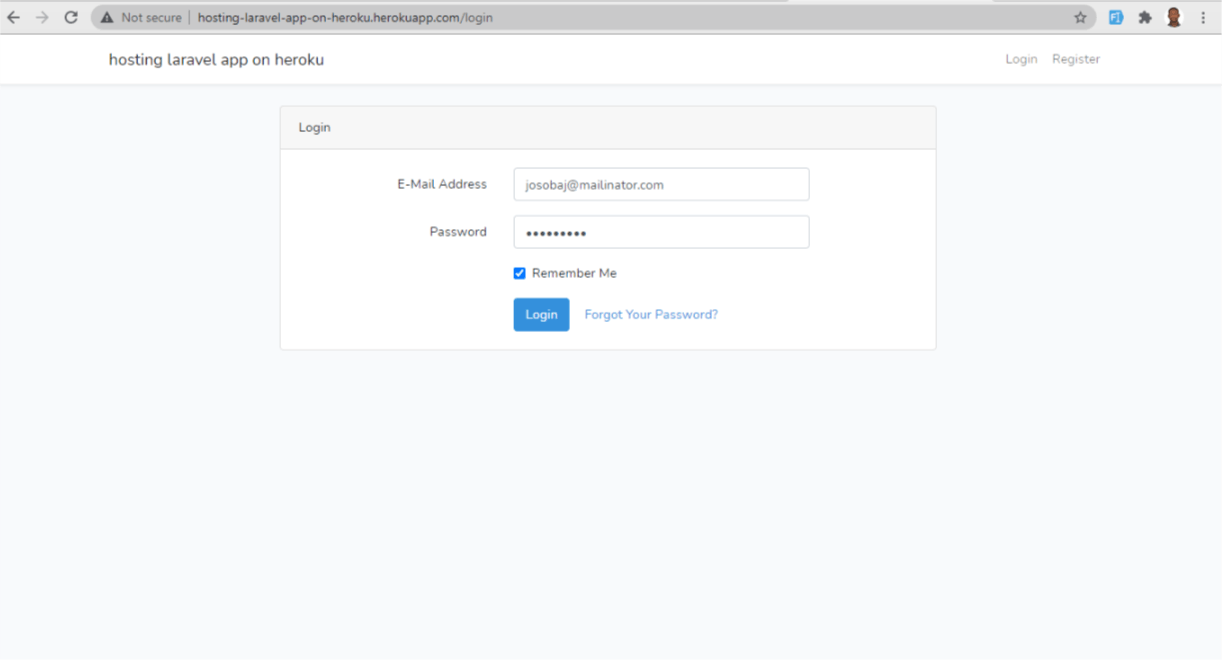
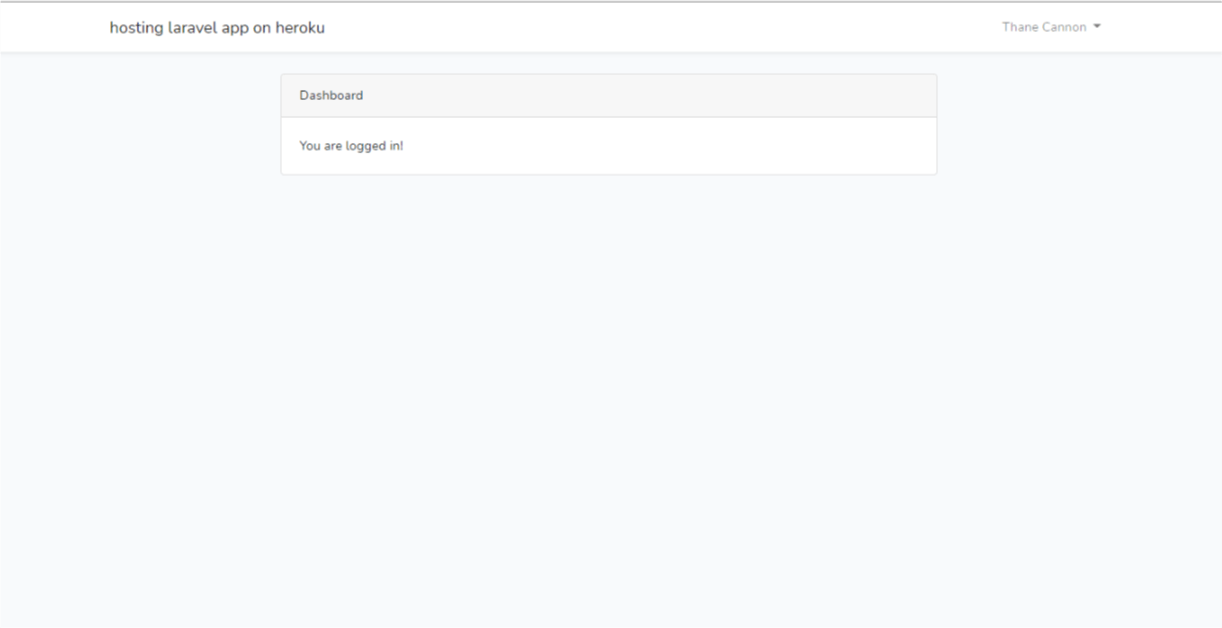
Congratulations we've successfully hosted a laravel app on Heroku with database.
Github repository for this tutorial
Thank you for reading this article.
Stay tune for the next article on how to handle file uploads on Heroku using Cloudinary
Please kindly share with your network and feel free to use the comment section for questions, answers and contributions.
You love this article?? please follow me on hashnode or twitter @alemsbaja to stay updated for more articles.
