How to create an alert in a Laravel application using prologuephp alerts package
Exploring the prologuephp alerts package for displaying information in a Laravel application


Table of contents


No headings in the article.
In this article, we'll be looking at how to create alert messages in a Laravel application using the prologue alerts package.
I'll be using this article: Laravel 9: Building a blog application with Bootstrap 5 to demo the usage of alerts after publishing a blog post.
Benefits of Alerts
It raises a quick notice to the user.
can be customized
makes the alert messages more presentable and readable
Alerts for Laravel 5, 6, 7, 8 and 9.
Global site messages in Laravel 9 - 5. Helps trigger notification bubbles with a simple API, both on the current page and on the next page (using flash data).
You may wish to clone the repository to follow this tutorial or change the directory to the project you want to use in implementing this package.
To install the package run
composer require prologue/alerts

For Laravel 5.4 and below, register the service provider in app/config/app.php.
You can skip this step if you're not using Version 5.4 and below
'Prologue\Alerts\AlertsServiceProvider',
Add the alias to the list of aliases in app/config/app.php.
'Alert' => 'Prologue\Alerts\Facades\Alert',
Configuration
The packages provide you with some configuration options.
To create the configuration file, run this command in your command line app:
php artisan vendor:publish --provider="Prologue\Alerts\AlertsServiceProvider"
The configuration file will be published here: config/prologue/alerts.php as shown in the image below.

Usage
- Adding Alerts
Since the main AlertsMessageBag class which powers the package is an extension of Illuminate's MessageBag class, we can leverage its functionality to easily add messages.
Alert::add('error', 'Error message');
Adding Alerts Through Alert Levels
By default, the package has some alert levels defined in its configuration file. The default levels are success, error, warning and info. The AlertsMessageBag checks if you call one of these levels as a function and registers your alert which you provided with the correct key.
This makes adding alerts for certain alert types very easy:
Alert::info('This is an info message in a Laravel application.');
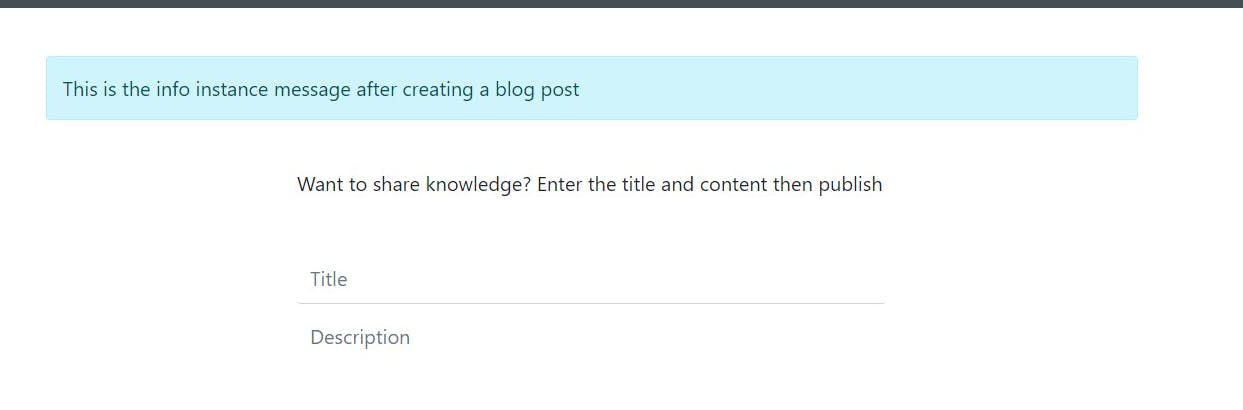
- Update the store method to make use of the info method
        Alert::info('This is the info instance message after creating a blog post')->flash();

        return redirect()->route('posts.create')->with('alerts', Alert::all());
Alert::error('Whoops, something has gone wrong!!!');
Useful for returning errors with the red color flag on the letters.
You can of course add your own alert levels by adding them to the config file published initially.
Flashing alerts to the session
Sometimes you want to remember alerts when you're, for example, redirecting to another route. This can be done by calling the flash method. The AlertsMessageBag class will put the current set of alerts into the current session which can then be used after the redirect.
// Add some alerts and flash them to the session.
Alert::success('You have successfully logged in')->flash();

// Display the alerts in the admin dashboard view.
return View::make('dashboard')->with('alerts', Alert::all());
Displaying Alerts
Remember that the AlertsMessageBag class is just an extension of Illuminate's MessageBag class, which means we can use all of its functionality to display messages.
@foreach (Alert::all() as $alert)
    {{ $alert }}
@endforeach
Or if you'd like to display a single alert for a certain alert level.
@if (Alert::has('success'))
    {{ Alert::first('success') }}
@endif
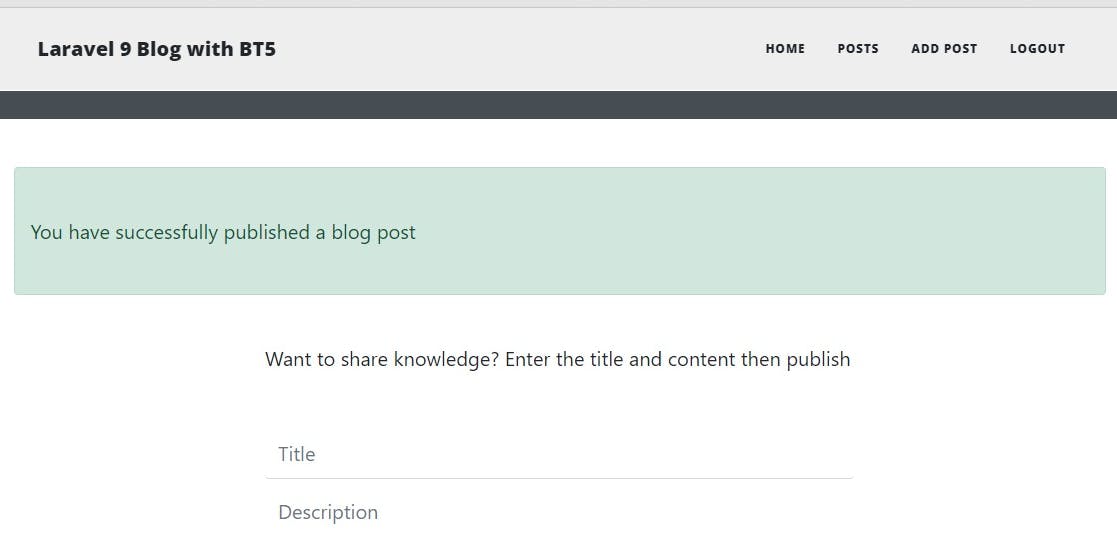
Let's display a message after the user has successfully published a blog post.
- Update the store method
        Alert::success('You have successfully published a blog post')->flash();

        return redirect()->route('posts.create')->with('alerts', Alert::all());
- Update the create.blade.php view file
            @if (Alert::has('success'))
            @foreach (Alert::all() as $alert)
            <div class="alert alert-success">
                <p>{{ $alert }}</p>
            </div>
            @endforeach
            @endif
Display all messages for each alert level:
@foreach (Alert::getMessages() as $type => $messages)
    @foreach ($messages as $message)
        <div class="alert alert-{{ $type }}">{{ $message }}</div>
    @endforeach
@endforeach
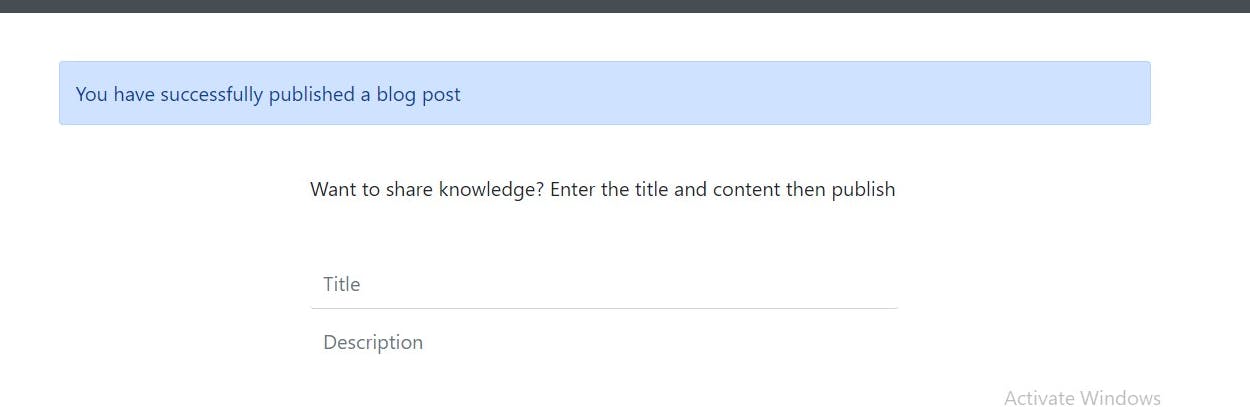
Let's use the alert-primary class to flash a message after creating a blog post using the add method.
Alert::add('primary', 'You have successfully published a blog post')->flash();
- Checking For Alerts
Sometimes it can be important to see if alerts do exist, such as only load javascript/styles if they are there are some (helps for better performance).
As demonstrated earlier on, we can check if there's a flash message to avoid errors
Alert::has(); // Will check for any alerts
Alert::has('error'); // Will check for any alerts listed as errors.
You can also get the current number of alerts.
Alert::count(); // Will give you a total count of all alerts based on all levels within your alerts config.
Alert::count('error'); // Will tell you only the amount of errors and exclude any levels.
- Credits
Created by Dries Vints - he first got the idea after a blog post by Todd Francis. This package uses much of the concepts of his blog post as well as the concept of alert levels which Illuminate's Log package uses. Maintained by Cristian Tabacitu thanks to its use in Backpack for Laravel.
Please kindly share with your network and feel free to use the comment section for questions, answers, and contributions.