How to deploy a Laravel application on Google cloud run using Cloud build with build command, continuous integration and deployment
Laravel deployment on Google cloud run using docker to build the cloud build image and deploy ( by build command or CI/CD )
In this article, we'll be using the Google cloud build to deploy a Laravel application to cloud run.
If your preference is deployment on the Google App Engine. You'll find this article very useful.
We'll host the Laravel application used in demonstrating google cloud features integration in Laravel, you can find the repository here if you intend to try out how it works following this tutorial.
Cloud Build is a service that executes your builds on Google Cloud.
Cloud Build can import source code from a variety of repositories or cloud storage spaces, execute a build to your specifications, and produce artefacts such as Docker containers or Java archives.
Docker Cloud Build uses Docker to execute builds. For each build step, Cloud Build executes a Docker container as an instance of docker run. Currently, Cloud Build is running Docker engine version 20.10.17.
You can also use Cloud Build to help protect your software supply chain. Cloud Build features meet the requirements of Supply chain Levels for Software Artifacts (SLSA) level 3.
We'll use the build steps provided by Cloud Build: Cloud Build has published a set of supported open-source build steps for common languages and tasks.
Cloud build uses the cloudbuild.yaml file to determine the configuration to use for deploying the application.
- Create a Google cloud platform (GCP) Account
If you don't have an account you can create one or log in here to continue.
- After creating the account you should get this screen

In the Google Cloud console, on the project selector page, select or create a Google Cloud project.
Make sure that billing is enabled for your Cloud project. Learn how to check if billing is enabled on a project.
Next, let's enable the Cloud Build, Cloud Run, Container Registry, and Resource Manager APIs.
Search for Cloud build API on the dashboard and enable it.

- Click on enable
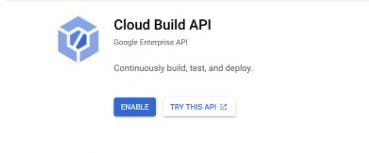
great!

- It'll create a cloud build service account for the project

- Setup required IAM permissions
If your image is stored in the same Cloud project as the one you want to deploy to or if your image is public in Container Registry, you require the following IAM permissions:
Go to the cloud build settings page and set the status of the Cloud Run Admin role to ENABLED:

- When you click to enable the Cloud Run admin it'll show this window
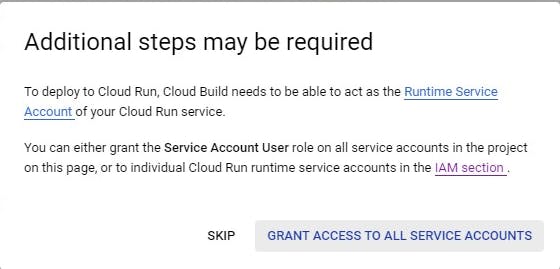
Click on grant access to all service accounts
- Next, Cloud Run
Cloud Run and Cloud Run for Anthos are compute platforms that enable you to run stateless containers in a serverless environment. Using Cloud Build, you can deploy container images from Container Registry and Artifact Registry to Cloud Run. You can deploy an existing image, build and deploy an image, or automate the deployment.
- Search for cloud run and enable it.

Pushing (uploading) and pulling (downloading) images are two of the most common Container Registry tasks. This document focuses on pushing and pulling images with Docker.
- Enabled Container Registry in your project.

NB: Transition to Artifact Registry
Artifact Registry is the recommended service for managing container images. Container Registry is still supported but will only receive critical security fixes. Learn more about options to transition to Artifact Registry.
Adding a registry
You can add the following Container Registry registries to a project:

- Pushing an image to a registry
To push any local image to Container Registry using Docker or another third-party tool, you need first to tag it with the registry name and then push the image.
- Building and deploying a container
Cloud Build enables you to build the container image, store the built image in Container Registry, and then deploy the image to Cloud Run.
- To build and deploy a container image:
We'll create a config file named cloudbuild.yaml in the root directory of the project

In the build config file, we'll add docker build steps to build the image and push it to Container Registry, and then add a gcloud build step to invoke the gcloud run deploy command to deploy the image on Cloud Run:
steps:
# Build the container image
- name: 'gcr.io/cloud-builders/docker'
#specify the name of the image
  args: ['build', '-t', 'gcr.io/$PROJECT_ID/IMAGE', '.']
# Push the container image to Container Registry
- name: 'gcr.io/cloud-builders/docker'
  args: ['push', 'gcr.io/$PROJECT_ID/IMAGE']
# Deploy container image to Cloud Run
- name: 'gcr.io/google.com/cloudsdktool/cloud-sdk'
  entrypoint: gcloud
#specify the service name and the region
  args: ['run', 'deploy', 'SERVICE-NAME', '--image', 'gcr.io/$PROJECT_ID/IMAGE', '--region', 'REGION',
        "--platform", "managed",
        "--port", "8080"]
images:
- gcr.io/$PROJECT_ID/IMAGE
Where:
SERVICE-NAME is the name of the Cloud Run service.
REGION is the region of the Cloud Run service you are deploying.
PROJECT_ID is your Google Cloud project ID where your image is stored.
IMAGE is the name of your image in Container Registry.
Next, let's setup docker to enable the building of images to run on Google cloud run
Cloud run needs a dockerfile and an application that run on 8080 port.
Add docker and docker-compose
We'll create a Dockerfile on the root directory of the laravel project
Dockerfile
- Content of the docker file
# Dockerfile
#latest composer to get the dependencies
FROM composer:2.3.10 as build
WORKDIR /app
COPY . /app
RUN composer install && composer dumpautoload
RUN php artisan optimize:clear

#PHP Apache docker image for php8.1
FROM php:8.1.0RC5-apache-buster
#adds library support for different image upload
RUN apt update && apt install -y zlib1g-dev libpng-dev libwebp-dev libjpeg-dev libfreetype6-dev && rm -rf /var/lib/apt/lists/*

RUN docker-php-ext-install pdo pdo_mysql
#adds gd library support for different image upload
RUN docker-php-ext-configure gd --with-jpeg --with-webp --with-freetype
RUN docker-php-ext-install gd

#000-default.conf is used to configure the web-server to listen to port 80 which Cloud run requires
EXPOSE 80
COPY --from=build /app /var/www/
COPY docker/000-default.conf /etc/apache2/sites-available/000-default.conf
RUN chmod 777 -R /var/www/storage/ && \
  echo "Listen 8080">>/etc/apache2/ports.conf && \
  chown -R www-data:www-data /var/www/ && \
  a2enmod rewrite
- create a folder and file inside of it named docker and \docker\000-default.conf respectively
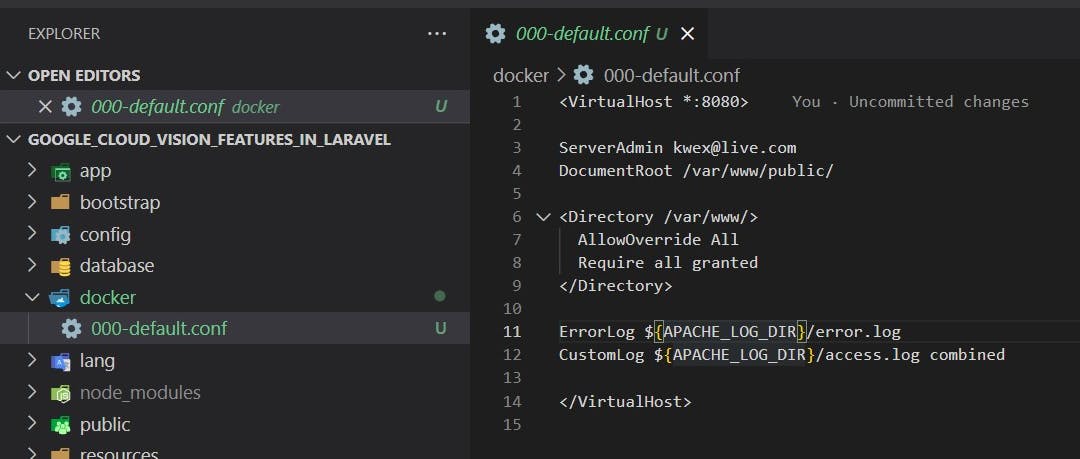
- 000-default.conf
<VirtualHost *:8080>

ServerAdmin webmaster@localhost
DocumentRoot /var/www/public/

<Directory /var/www/>
  AllowOverride All
  Require all granted
</Directory>

ErrorLog ${APACHE_LOG_DIR}/error.log
CustomLog ${APACHE_LOG_DIR}/access.log combined

</VirtualHost>
- Let's create docker-compose.yml file in the root directory of the project
version: '3.8'
services:
    main:
        build:
            context: .
            dockerfile: Dockerfile
        command: 'php artisan serve --host=127.0.0.1'
        volumes:
            - .:/app
        ports:
            - 8000:80
Next, we'll navigate to the project root directory and run the following command,
REGION flag is one of the supported build regions to run the build submission:
gcloud builds submit --region=REGION
- Since the region has been specified in the cloudbuild.yaml file the region flag can be ignored
gcloud builds submit

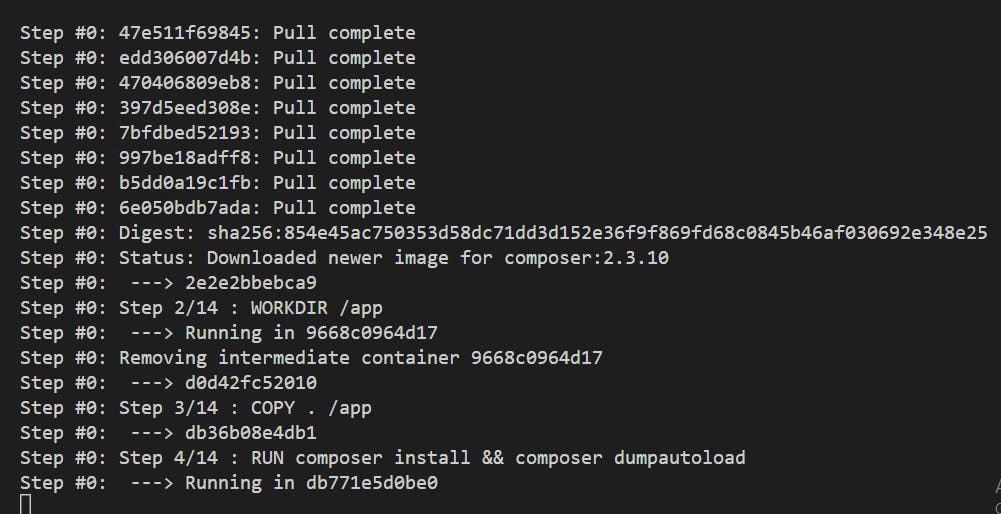
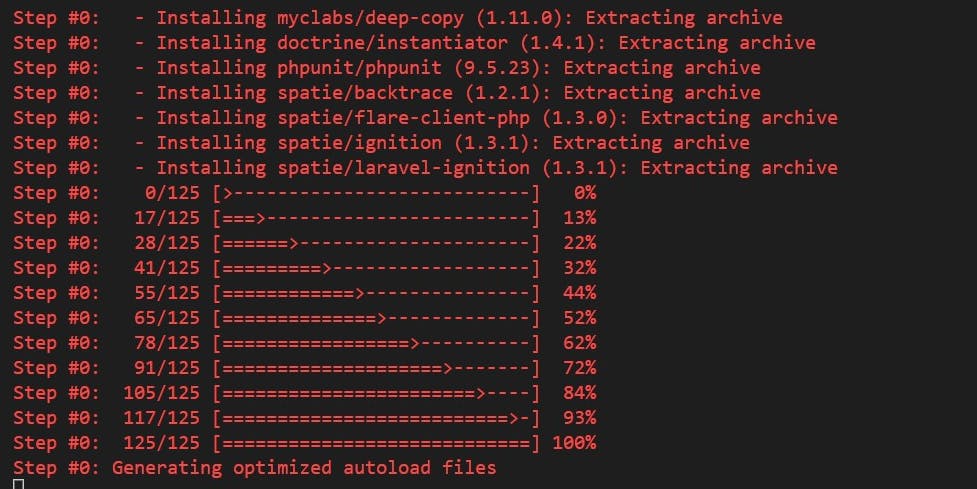

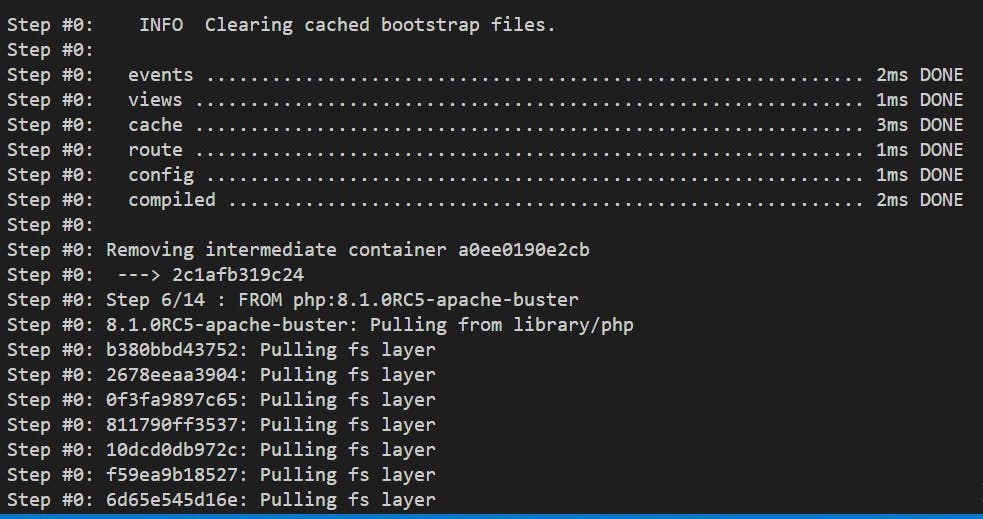
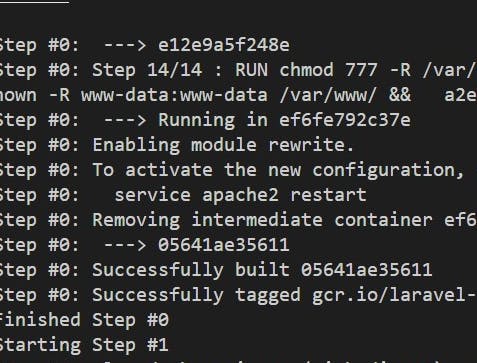
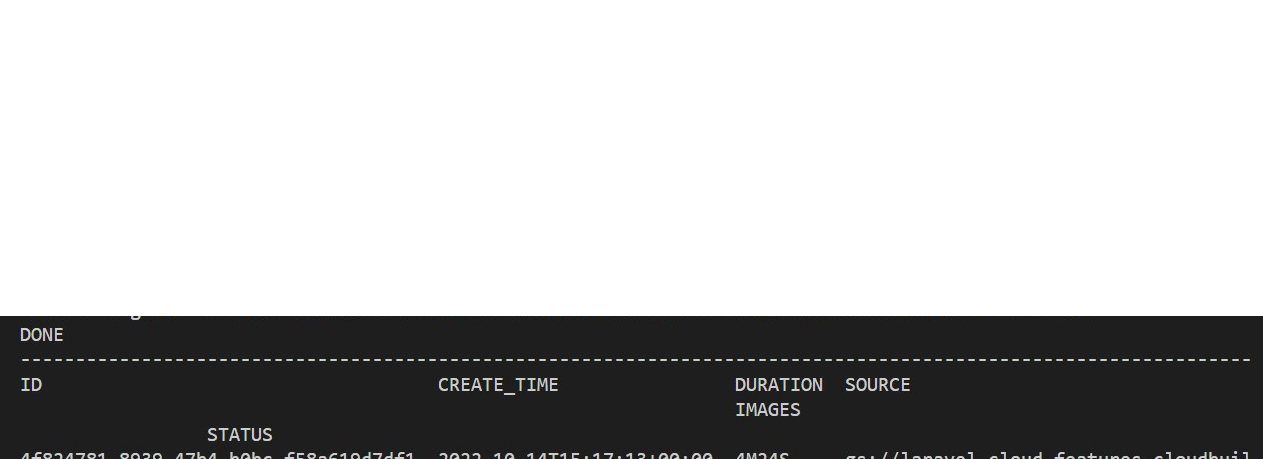
- After successful completion, a success message is displayed along with the URL of the deployed service.
It automatically creates the service after deployment

- Before launching the app we need to define the environment variables for the Laravel application
Go to cloud run and click on the service for the project created

Click on edit and deploy new revision
Click the select to specify the containing image URL

- Pick the image you want to associate with the service either from the container registry or artifact registry

- scroll downwards to locate the section to specify the environment variable
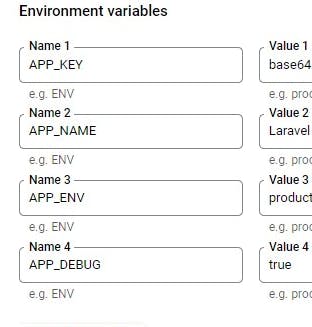
- Click on deploy to effect env variables to the project service

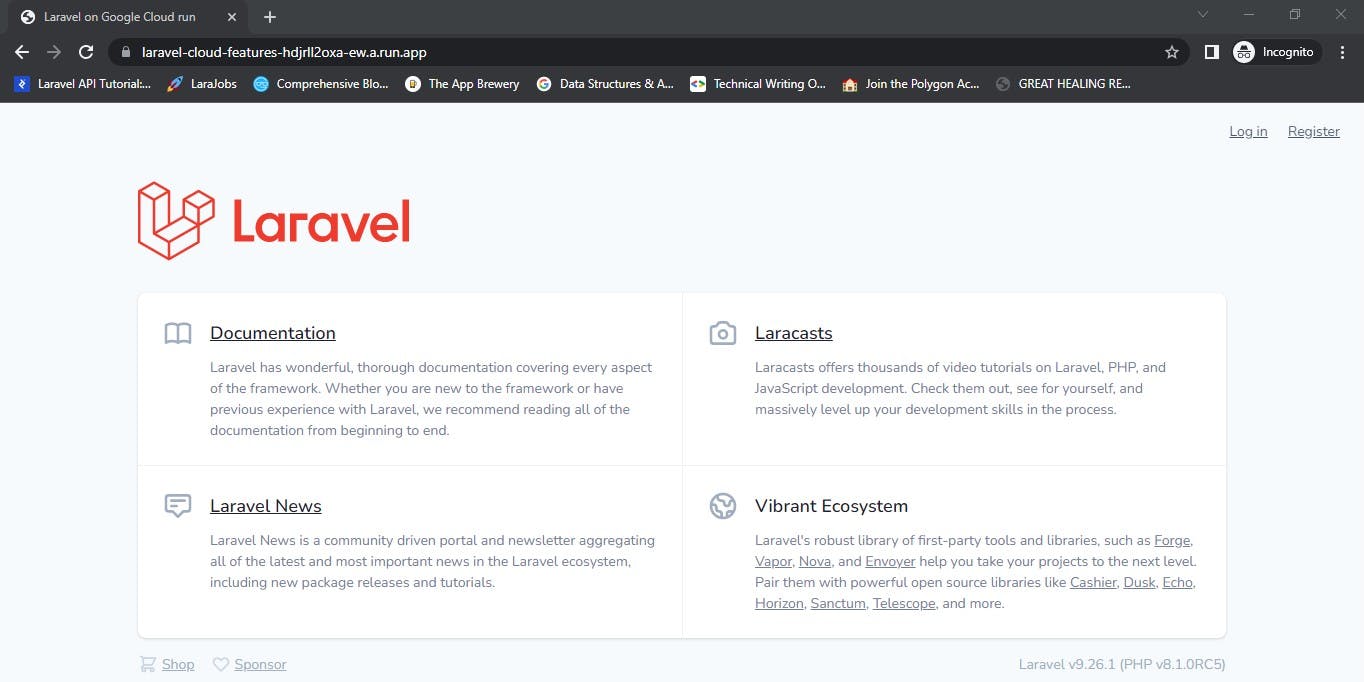
- To view the app click on the URL showing on the service account

Yes!!!!!!!!!!! we are live
- Manage custom domain for the application

- You can also do custom domain mappings

- Alternatively, you can reference the secret manager values by their versions as environment variables
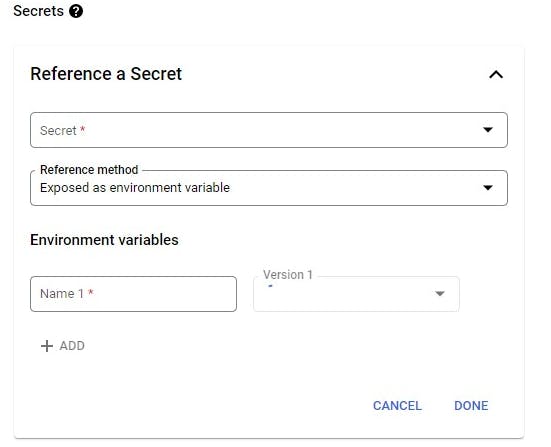
- If you want to use the secret manager
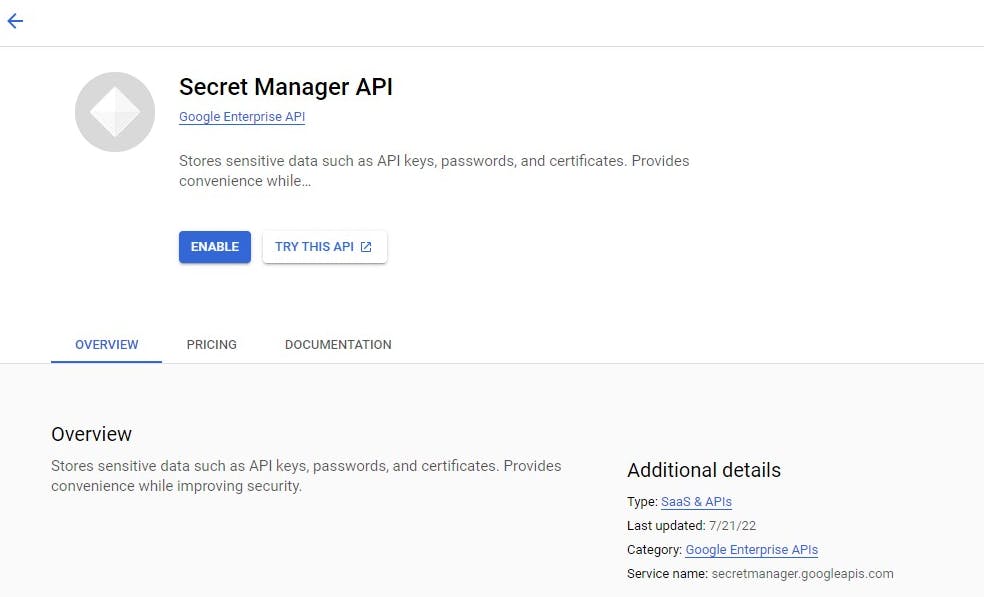
Search for secret manager on the console

- Enable it and start setting the secrets to be accessed in the service for the project (pretty easy)
You can automate the deployment of your software to Cloud Run and Cloud Run for Anthos by creating Cloud Build triggers. You can configure your triggers to build and deploy images whenever you update your source code.
- To automate your deployment:
In your repository root, add a config file with steps to build the image, push the image to Container Registry, and then invoke the gcloud run deploy command:
 steps:
 # Build the container image
 - name: 'gcr.io/cloud-builders/docker'
   args: ['build', '-t', 'gcr.io/$PROJECT_ID/SERVICE-NAME:$COMMIT_SHA', '.']
 # Push the container image to Container Registry
 - name: 'gcr.io/cloud-builders/docker'
   args: ['push', 'gcr.io/$PROJECT_ID/SERVICE-NAME:$COMMIT_SHA']
 # Deploy container image to Cloud Run
 - name: 'gcr.io/google.com/cloudsdktool/cloud-sdk'
   entrypoint: gcloud
   args:
   - 'run'
   - 'deploy'
   - 'SERVICE-NAME'
   - '--image'
   - 'gcr.io/$PROJECT_ID/SERVICE-NAME:$COMMIT_SHA'
   - '--region'
   - 'REGION'
 images:
 - 'gcr.io/$PROJECT_ID/SERVICE-NAME:$COMMIT_SHA'
Where:
SERVICE-NAME is the name of the Cloud Run service. REGION is the region of the Cloud Run service you are deploying. The use of the $COMMIT_SHA substitution variable is populated by Cloud Build when triggered from a Git repository.
We'll explore the second option (build trigger) below.
- Create a build trigger with the config file created in the previous step:
Open the Triggers page:
Click on manage repositories

- Click on connect host

- Click on Github and Fill in the pop
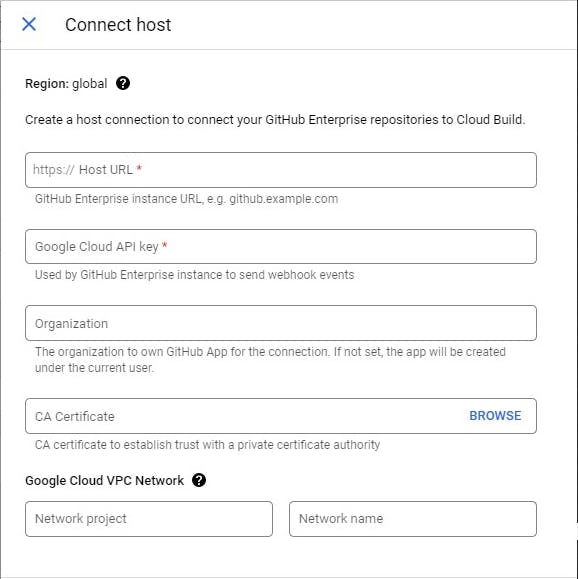
the host URL - github.com
click the Google Cloud API key to generate one
click on connect and authorise Google cloud to access Github

- specify a unique cloud build app name for the authorization and continue
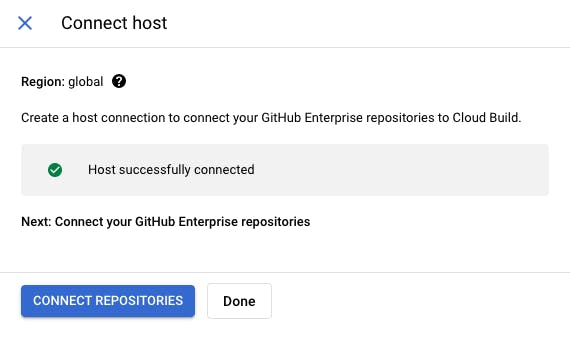
- Next, click on connect repository
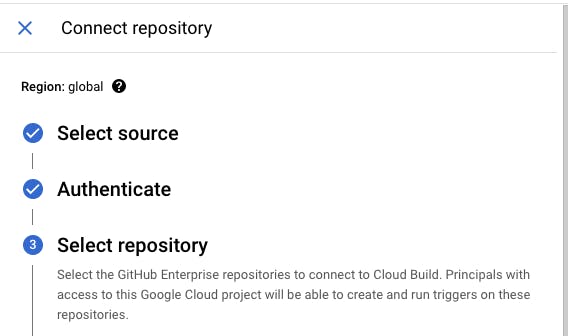
select the source (github enterprise or github cloud build app)
authenticate access
select repository
then click on connect
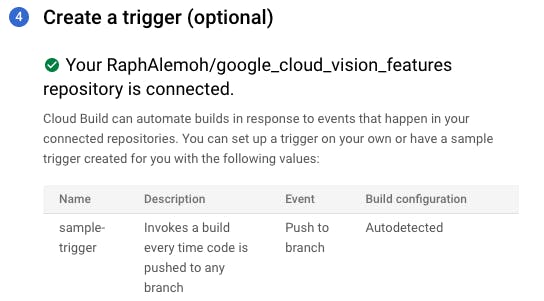
- Next, click on create trigger
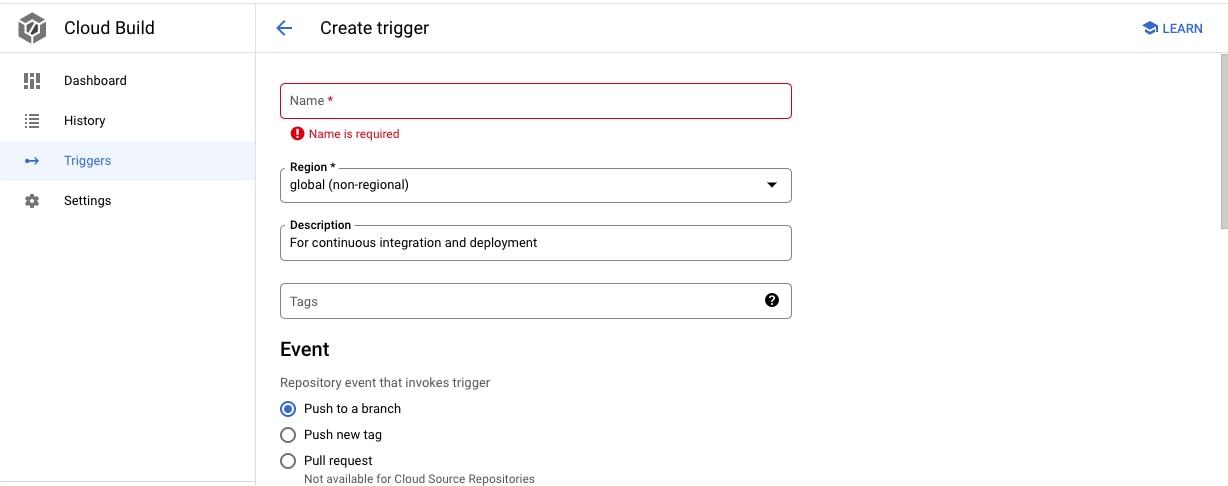
specify the name, description, region, event (push to a branch or to a tag), source (repository and branch for deployment),
select the configuration (type and location)
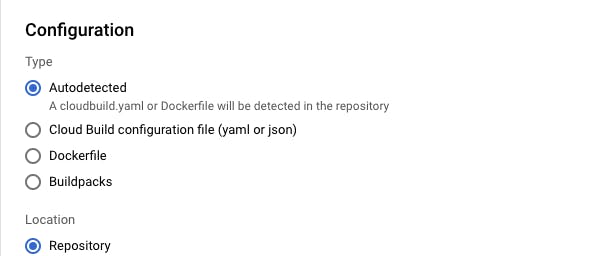
- For security purposes we'll ignore the cloudbuild.yaml in the .gitignore file because Docker can be detected to build the application image automatically.

- To set approval for deployment, build logs and service account associated with the trigger we could use the advance setting option
Service account: Select the service account to use when invoking your trigger. If you do not select a service account, the default Cloud Build service account is used.
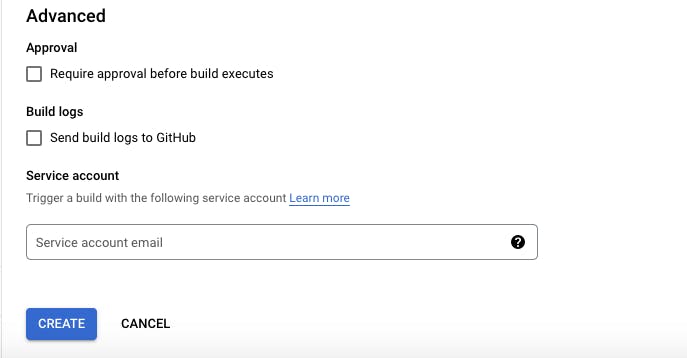
Visit here for more information about cloud trigger.
We are finished! From now on, whenever we push to your repository, a build and deployment to the service is automatically invoked.
NB Anytime you push new code to your repository, you will automatically trigger a build and deploy it to your Cloud Run service.

Ensure to push to the branch that's been set on Trigger to enable automatic build and deployment

- Build triggered to build the application after pushing to the branch

- Build details

- Build deployment details

- To view build history go to Cloud build and select the region

Find this helpful or resourceful?? kindly share and feel free to use the comment section for questions, answers, and contributions.
