How to use Google cloud vision API safe search detection to detect explicit content on image uploads in Laravel
Using Google cloud vision API to detect explicit or unwanted content based on the application's functionality of an uploaded image in Laravel

In this article, we'll be looking at how to use the Google cloud vision API to detect explicit content and avoid unwanted image uploads in a Laravel application.
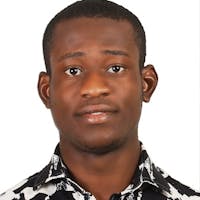
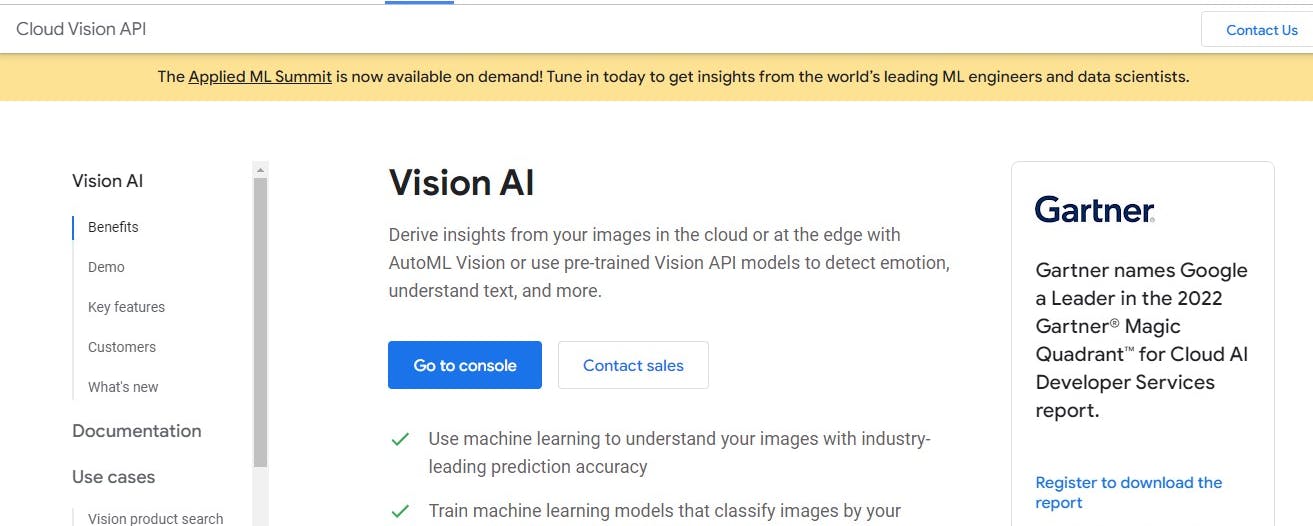
Vision AI
Derive insights from images with AutoML Vision. Detect emotion and understand text with pre-trained Vision API models.
New customers get $300 in free credits to spend on Vision AI. All customers get 1,000 units for analyzing images free per month, not charged against your credits.
Use machine learning to understand your images with industry-leading prediction accuracy
Train machine learning models that classify images by your custom labels using AutoML Vision
Detect objects and faces, read handwriting, and build valuable image metadata with Vision AP
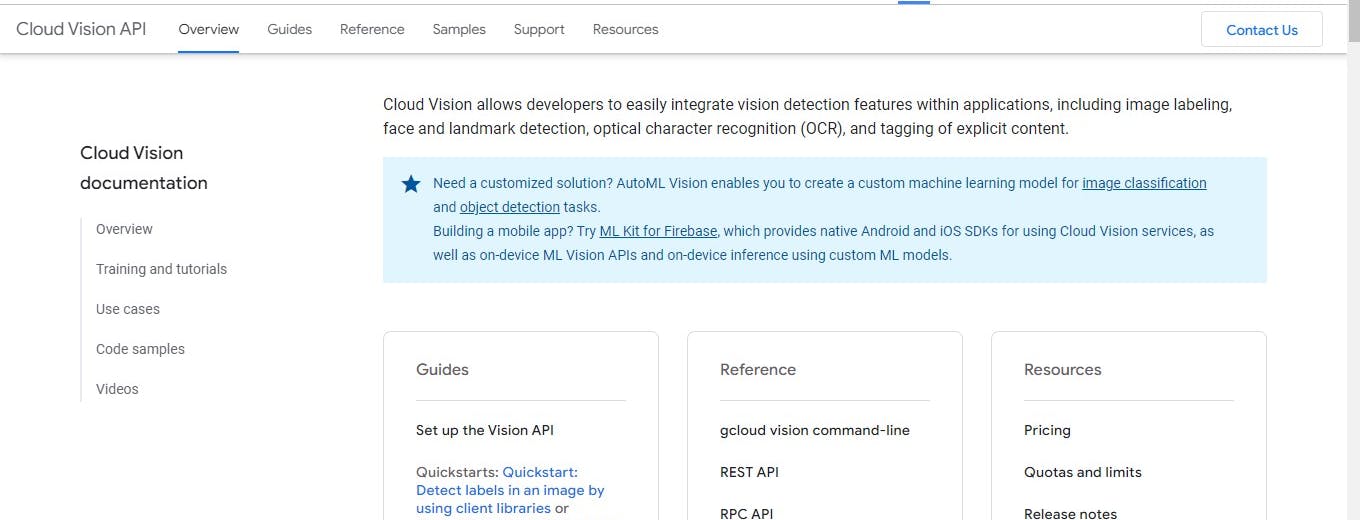
Vision API
Vision API offers powerful pre-trained machine learning models through REST and RPC APIs. Assign labels to images and quickly classify them into millions of predefined categories. Detect objects and faces, read printed and handwritten text, and build valuable metadata into your image catalog.
For more information visit Vision API docs
Note: this could be applicable to any programming language or framework.
This laravel project is named google_cloud_vision_features_in_laravel in order to enable progressive documentation of different features of Google Cloud Vision API that will be demonstrated.
In order to keep this article brief, we'll be using this project from this article approach to applying the safe search detection on images.
We'll use this article on Complete Laravel 8 Authentication Using Laravel Fortify and Bootstrap 4 to set up the application authentication.
For this tutorial - we'll stop at the login and register section of the article mentioned above.
If you're using Laravel 9.19 the default scaffolding comes with Vite. Here's how to Migrate
NB: we'll be using this project for subsequent tutorials
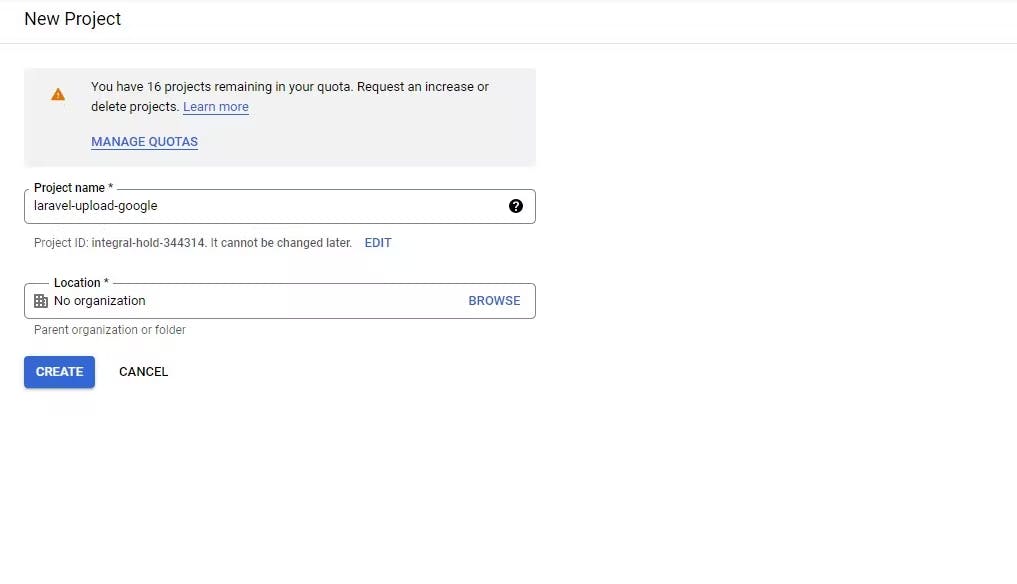
Next, create a new project in the Google console
Click on the new project button
Next enter the preferred details for the project
After creating the project the details are shown on the dashboard
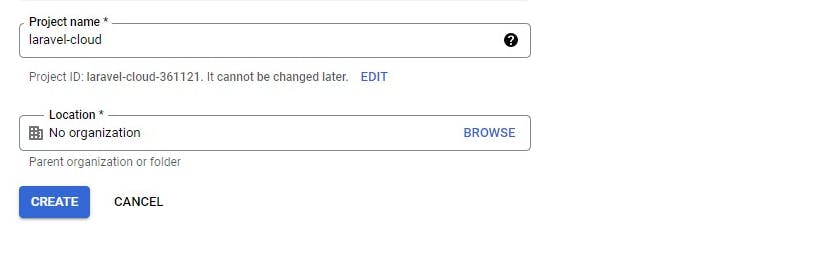
Project name
laravel-cloud-xxxx

Project number
15331649xxx

Project ID
laravel-cloud-xxxx
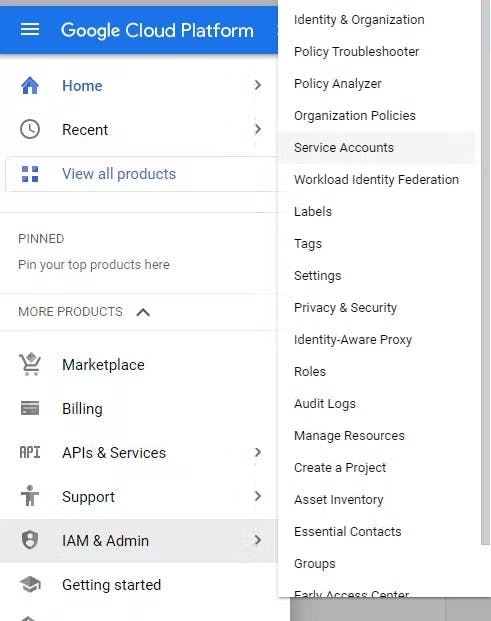
Next, create a service account for this project to obtain the json file of the credentials
Click on the navigation and hover over the IAM $ Admin then click on the service accounts
Click on create service account to add a service account for the project created

Fill in the service account details
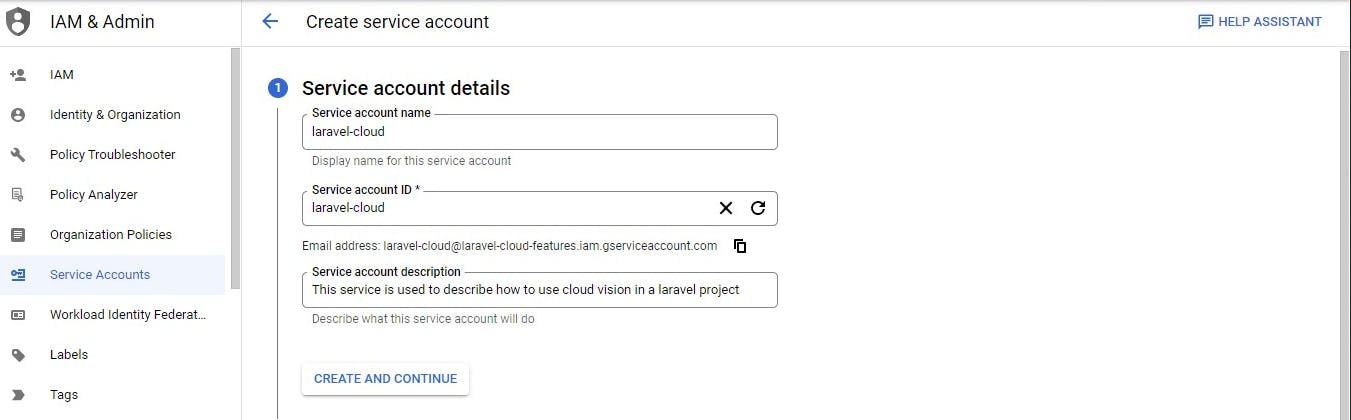
Click create and continue
Grant this service account access to project is optional and we can update it later.
Click Continue
Click on Done
You'll get down here..
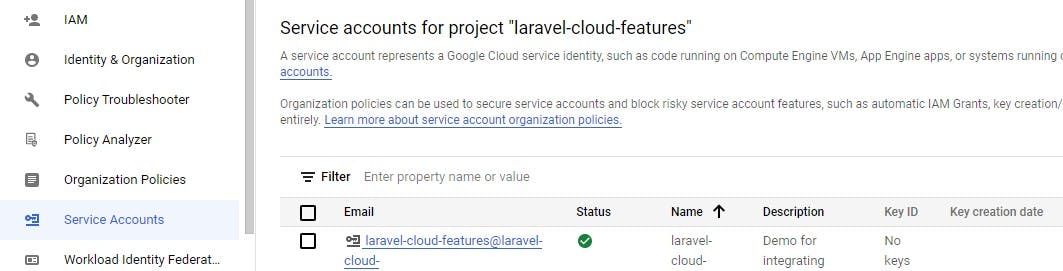
Next, click on the service created and go to the keys tab section to access json file with the configuration for this project.

Click on create new
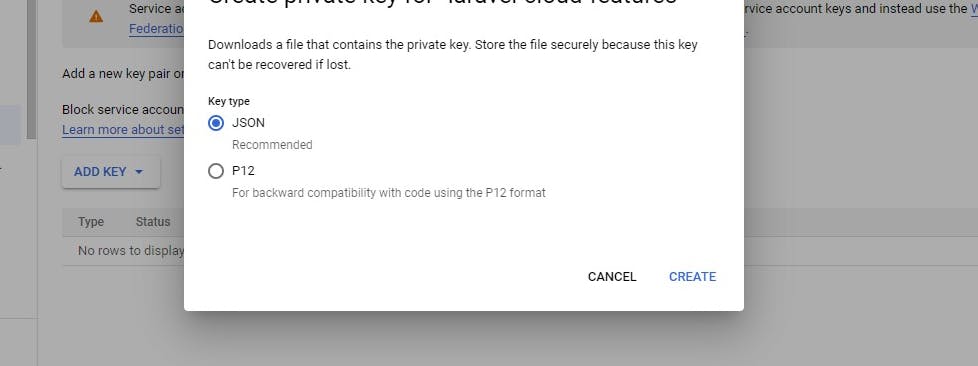
Then click on create and it'll automatically download the JSON file to your computer.
NB; There's a warning not to expose the json file.
Please keep this JSON file or credentials confidential or git ignore the file from going to version control systems
Keep the JSON file in Laravel's config folder.
We can also use the env variable to create the content of the JSON file and pass it into the array.
Next, Let's move to Google cloud vision API integration
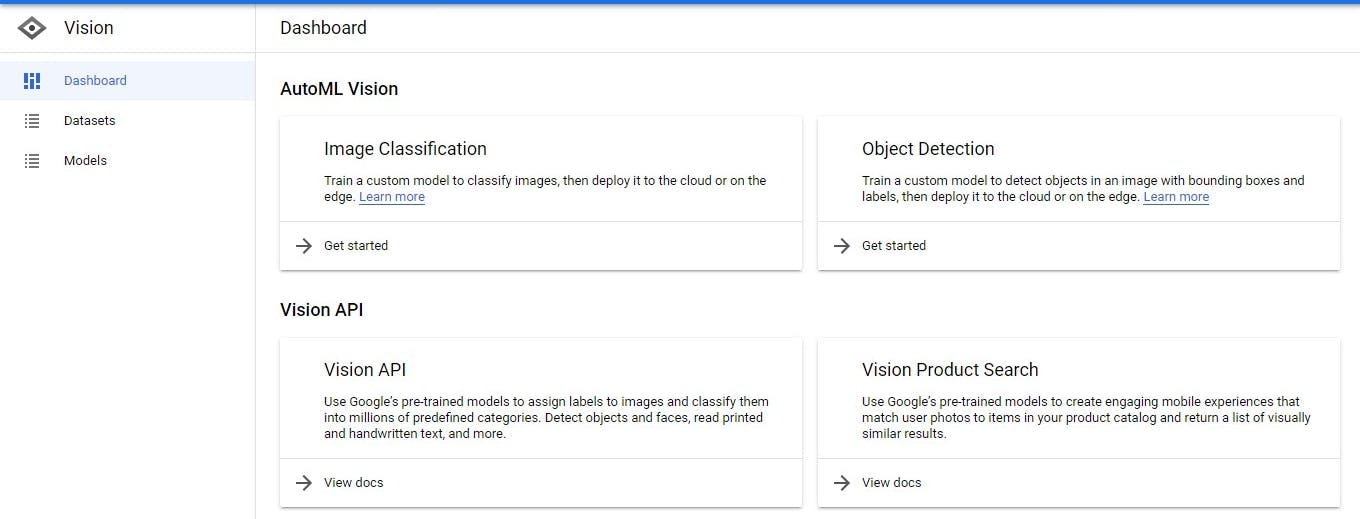
Go to console
The console view
NB You need to enable billing to use this API if you've exhausted the free trial
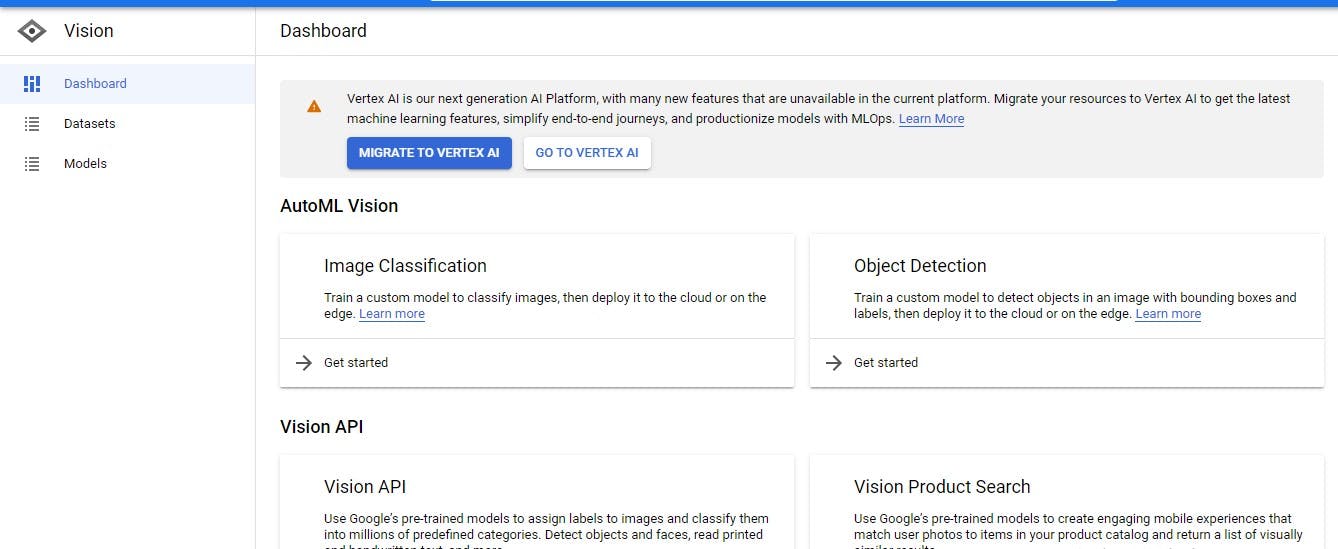
Search for cloud vision in the console to enable it
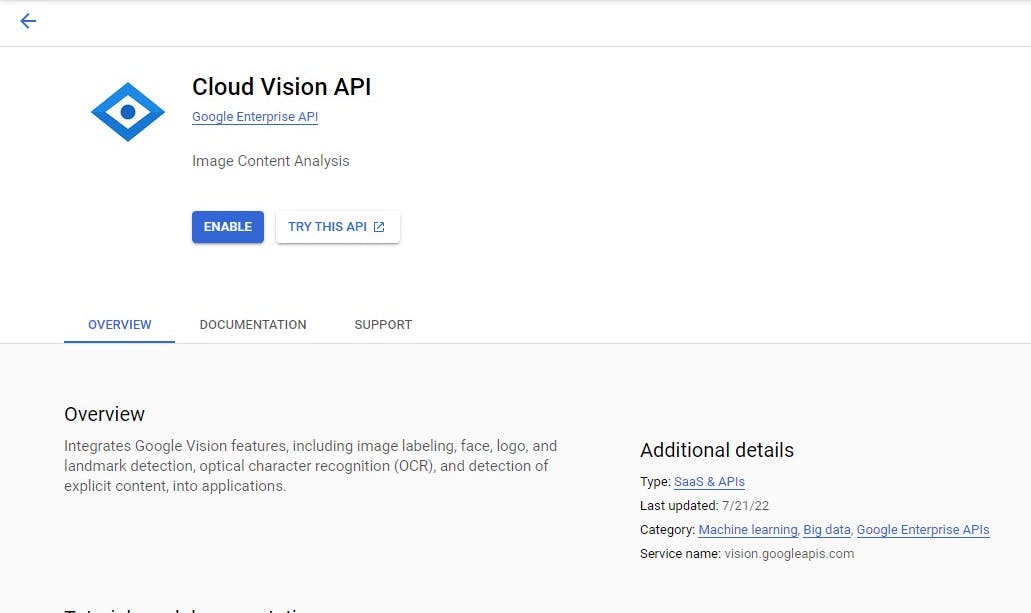
After enabling the screen below shows the usage of the API
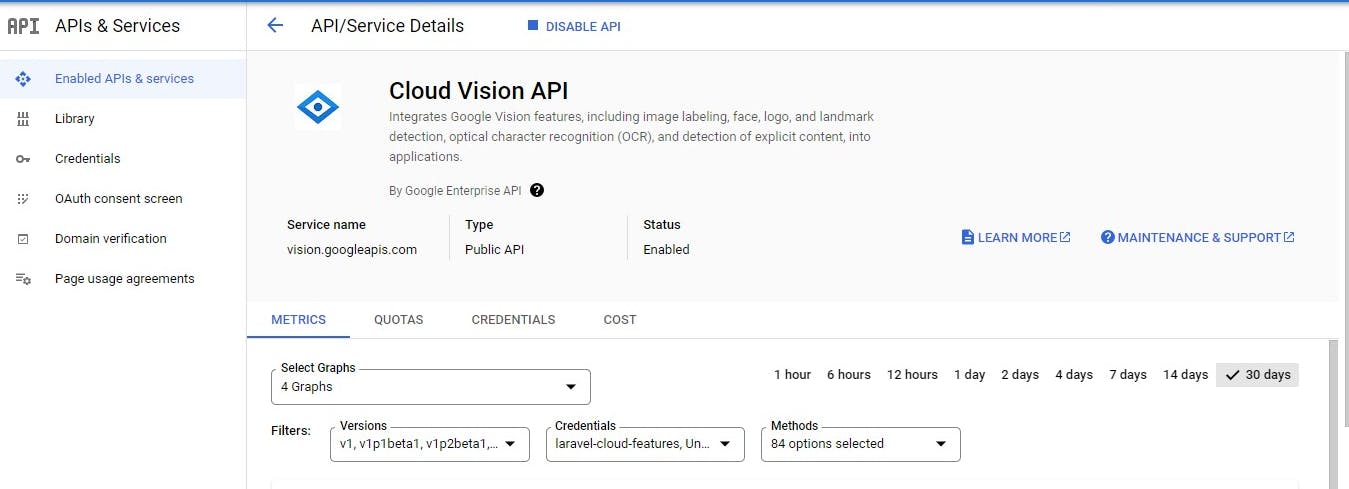
The complete document for cloud vision API is available here
Let's integrate the Cloud vision package into our laravel application to begin the demo features of cloud vision. Cloud Vision Client for PHP
NB Google cloud vision now uses v1/Annotator and it is advisable to use it moving forward as the older version will soon be deprecated
composer require google/cloud-vision
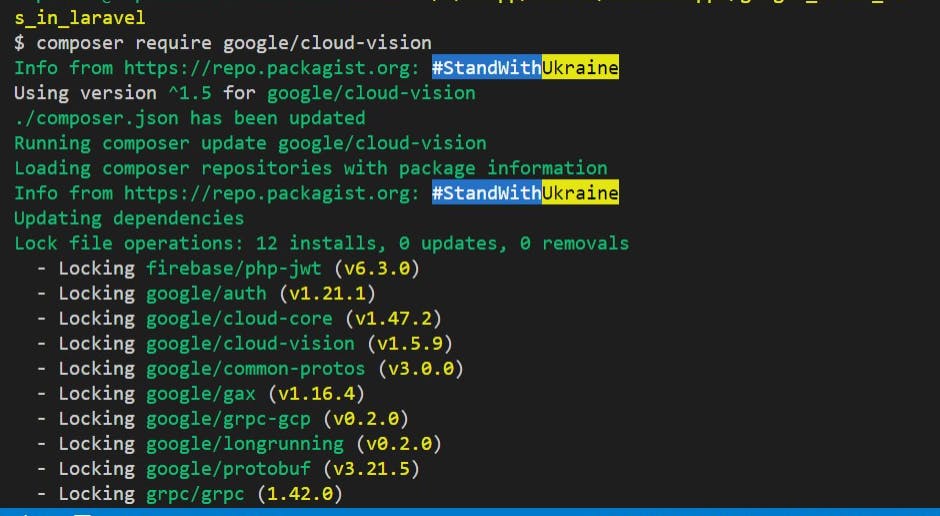
Or to install the entire suite of components at once:
composer require google/cloud
The features to be covered subsequently will begin from this point because the details above are the same across.
In this tutorial we'll cover the Detect Safe Search
SafeSearchAnnotation
Set of features pertaining to the image, computed by computer vision methods over safe-search verticals (for example, adult, spoof, medical, violence).
- Five features covered in the Safe search annotation

Here's a repository with an example of its integration
The response for each of the annotation methods could be any one of the values in the array below.
        $likelihoodNames = [
            'UNKNOWN', 'VERY_UNLIKELY', 'UNLIKELY',
            'POSSIBLE', 'LIKELY', 'VERY_LIKELY'
        ];
Let's head back to our Laravel codebase ...
- Create a basic form to upload an image
                                <form class="mx-1 mx-md-4" method="POST" action="{{ route('uploads.store') }}" enctype="multipart/form-data">

                                    @csrf

                                    <div class="d-flex flex-row align-items-center mb-4">
                                        <i class="fas fa-camera fa-lg me-3 fa-fw"></i>
                                        <div class="form-outline flex-fill mb-0">
                                            <label class="form-label" for="form3Example3c">Profile picture</label>
                                            <input type="file" id="form3Example3c" class="form-control @error('avatar') is-invalid @enderror" name="avatar" value="{{ old('avatar') }}" accept="image/*" required />

                                            @error('avatar')
                                            <span class="invalid-feedback" role="alert">
                                                <strong>{{ $message }}</strong>
                                            </span>
                                            @enderror
                                        </div>
                                    </div>


                                    <div class="d-flex justify-content-center mx-4 mb-3 mb-lg-4">
                                        <button type="submit" class="btn btn-primary btn-lg">Update Profile Pic</button>
                                    </div>

                                </form>
Import the V1 Image Annotator client
use Google\Cloud\Vision\V1\ImageAnnotatorClient;
The UploadController class has two methods for displaying the form and processing the image uploaded
public function store(Request $request)
{
$request->validate([
'avatar' => 'required|image|max:10240',
]);
try {
// we can make the code neater by using a global helper function or a trait
$imageAnnotatorClient = new ImageAnnotatorClient([
//we can also keep the details of the google cloud json file in an env and read it as an object here
'credentials' => config_path('laravel-cloud-features.json')
]);
$image_path = $request->file("avatar");
//get the content of the image
$imageContent = file_get_contents($image_path);
//run the safe search detection on the image
$response = $imageAnnotatorClient->safeSearchDetection($imageContent);
if ($error = $response->getError()) {
// returns error from annotator client
return redirect()->back()
->with('danger', $error->getMessage());
}
//get the annotation of the response
$safe = $response->getSafeSearchAnnotation();
$likelihood_status = 0;
//the values in the array of the response are indexed from 0-5
$likelihood_status = ($safe->getAdult() >= 3) ? 1 : 0;
$likelihood_status = ($safe->getSpoof() >= 3) ? 1 : 0;
$likelihood_status = ($safe->getViolence() >= 3) ? 1 : 0;
$likelihood_status = ($safe->getRacy() >= 3) ? 1 : 0;
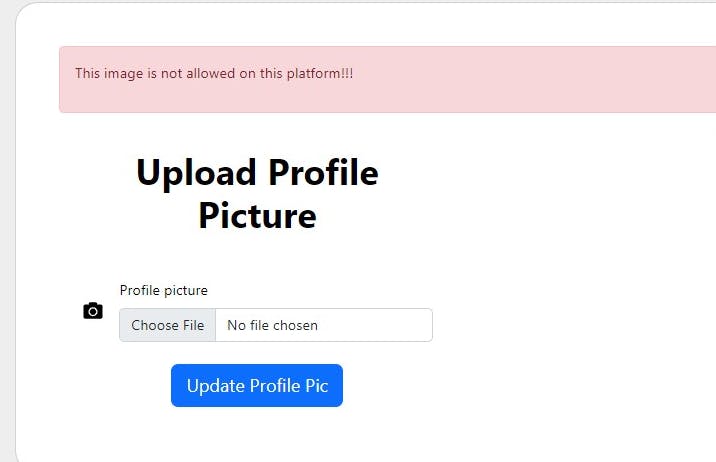
if ($likelihood_status === 1) {
//the image has some unwanted content there in
return redirect()->back()
->with('danger', 'This image is not allowed on this platform!!!');
}
//close the annotation client
$imageAnnotatorClient->close();
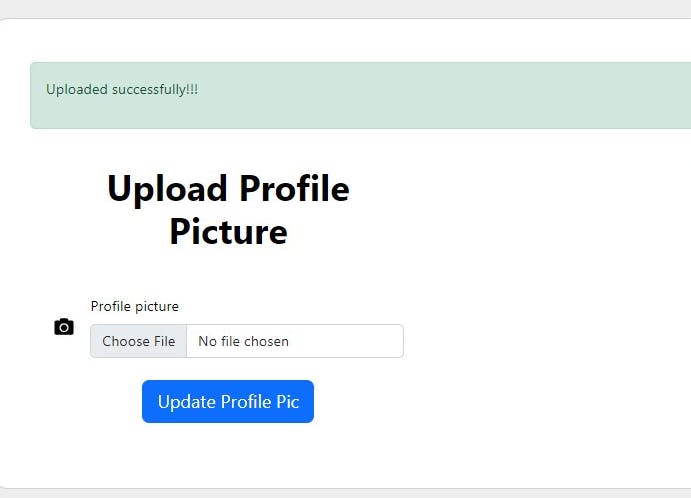
//return home with a success message
return redirect()->route('home')
->with('success', 'Uploaded successfully!!!');
} catch (Exception $e) {
return $e->getMessage();
}
}
There's a section to view the request made to the cloud vision API endpoint

- Image rejected
- Image accepted
Here's the tutorial repository
Thank you for reading this article!!!.
If you find this article helpful, please share it with your network and feel free to use the comment section for questions, answers, and contributions.