How to upload files to Google cloud storage from a Laravel application
Utilizing Google cloud storage for file uploads and management from a laravel application
In this article, we'll be using Google cloud storage to manage file uploads from a laravel application.
Cloud Storage allows world-wide storage and retrieval of any amount of data at any time. You can use Cloud Storage for a range of scenarios including serving website content, storing data for archival and disaster recovery, or distributing large data objects to users via direct download.
Files are stored on buckets in Google cloud storage
Advantages of using cloud based digital asset management
- File organization
- Easily optimized
- Makes application faster
- Makes team collaboration easier
- Minimize the risk of loosing media files
Let's start with a fresh laravel app
laravel new laravel_upload_using_google_cloud_storage
OR
composer create-project laravel/laravel_upload_using_google_cloud_storage
After successful installation change directory to laravel_upload_using_google_cloud_storage
cd laravel_upload_using_google_cloud_storage
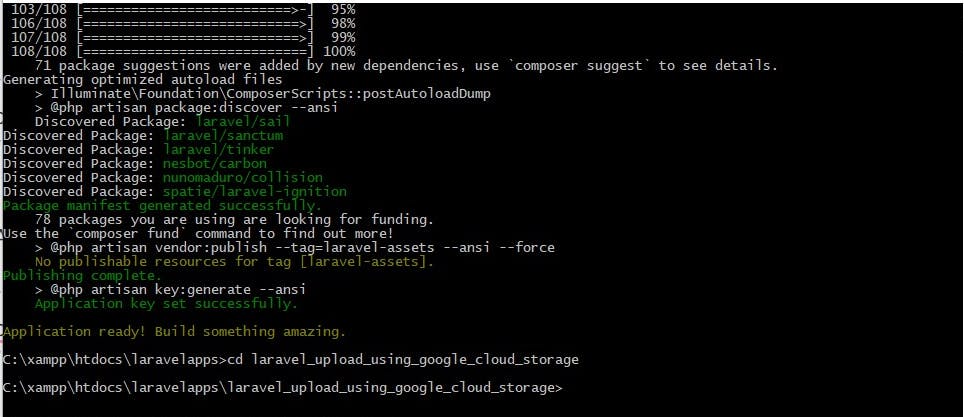
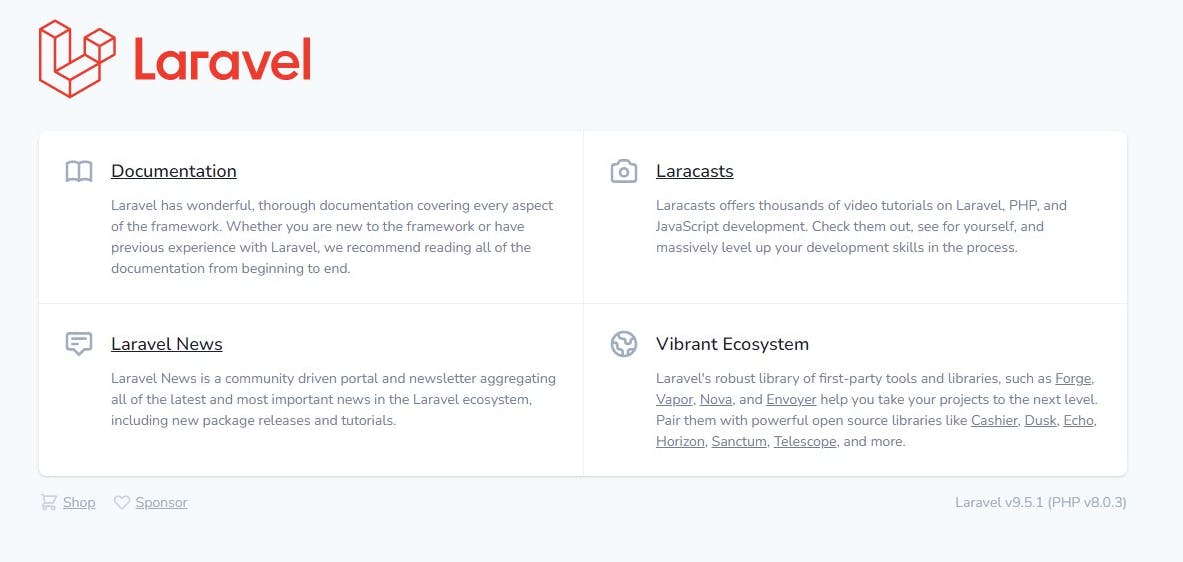
Let's serve the application on port 8001 using the port flag
php artisan serve --port=8001
We'll use this article on Complete Laravel 8 Authentication Using Laravel Fortify and Bootstrap 4 to set up the application authentication.
For this tutorial - we''ll stop at the login and register section of the article mentioned above.
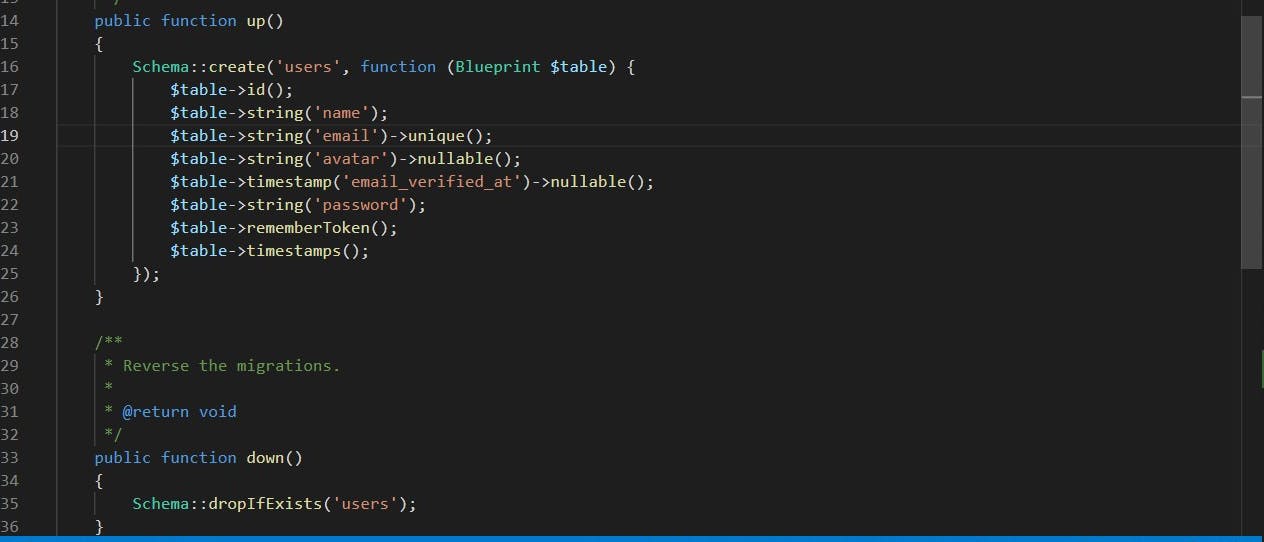
Next, Add an extra column to the users table
$table->string('avatar')->nullable();
Next, set the environment variable for this application on the .env file
DB_CONNECTION=mysql
DB_HOST=127.0.0.1
DB_PORT=3306
DB_DATABASE=laravel_upload_using_google_cloud_storage
DB_USERNAME=root
DB_PASSWORD=
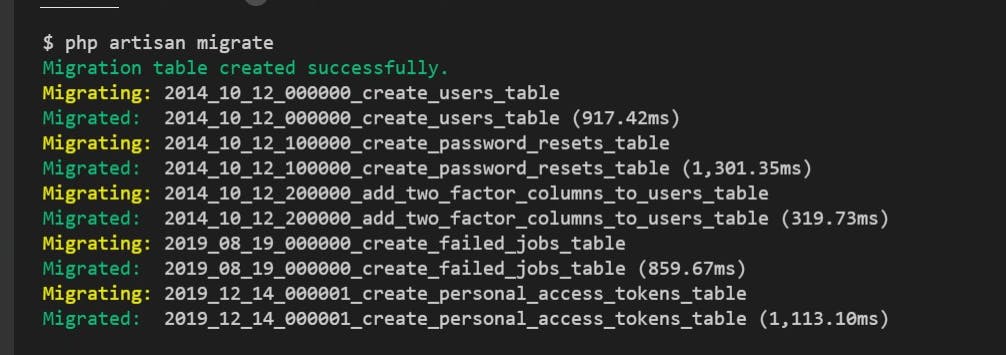
Next, run the migration command
php artisan migrate
Next, create an upload controller to handle picture upload for users
php artisan make:controller UploadController
Add two methods to handle displaying file upload form and storing the data
    public function upload()
    {}

    public function store(Request $request)
    {}
Add the routing in the web.php file
Route::middleware(['auth'])->group(function () {
    Route::get('/home', [UploadController::class, 'upload'])->name('home');
    Route::post('uploads/store', [UploadController::class, 'store'])->name('uploads.store');
});
Next, create views for login, register and a form for uploading a profile picture
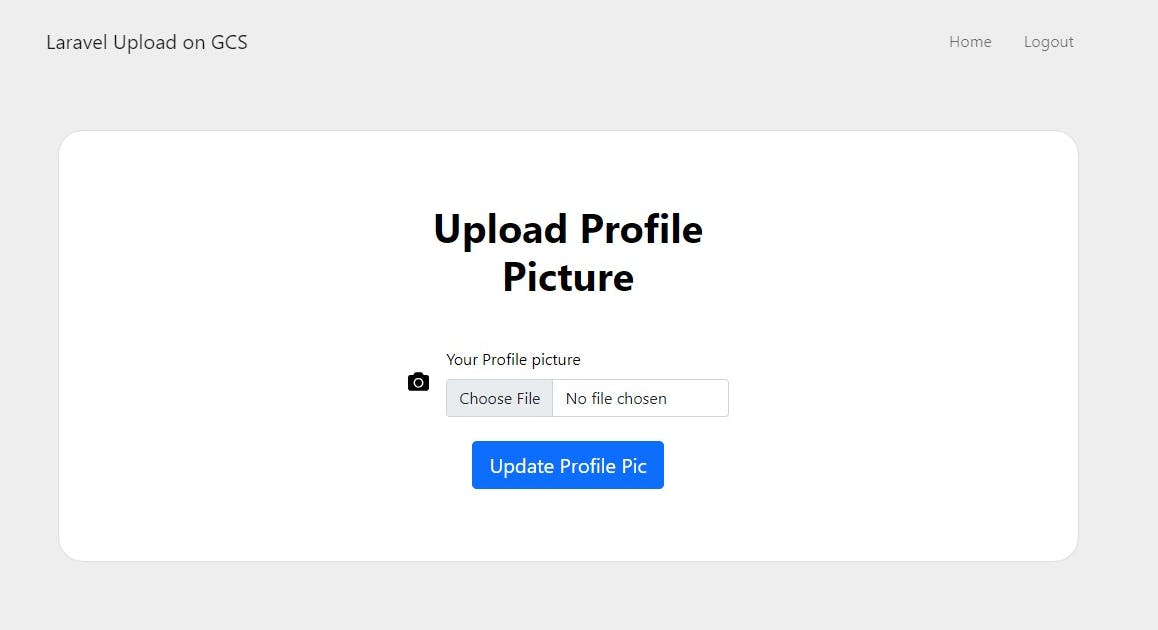
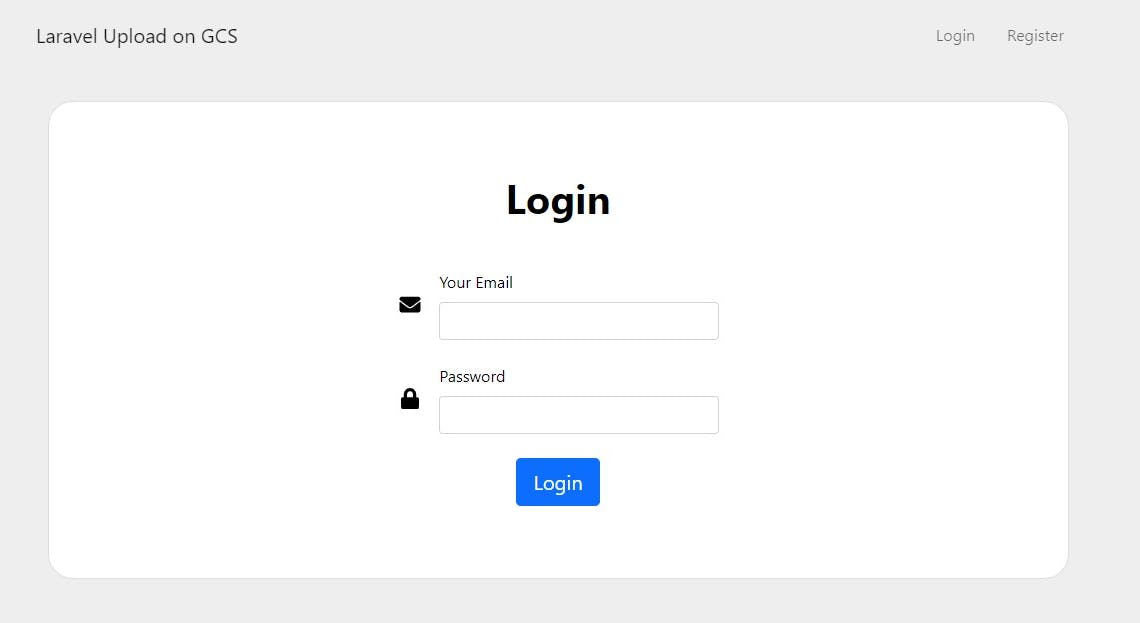
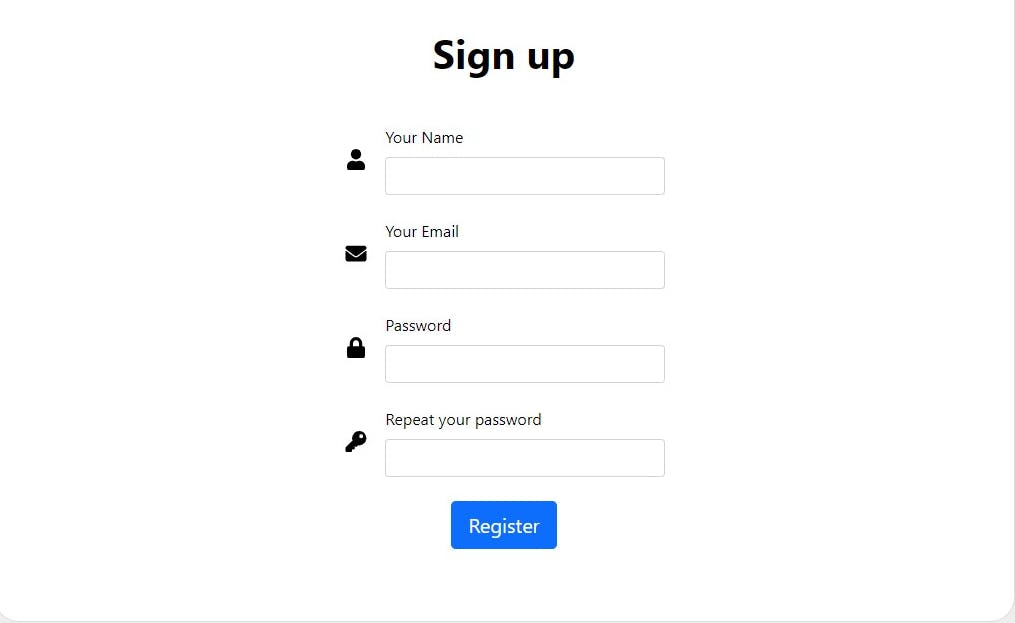
Views for this tutorial is available on this repository here
Next, create a new project in google console
Click on the new project button

Next enter the preferred details for the project
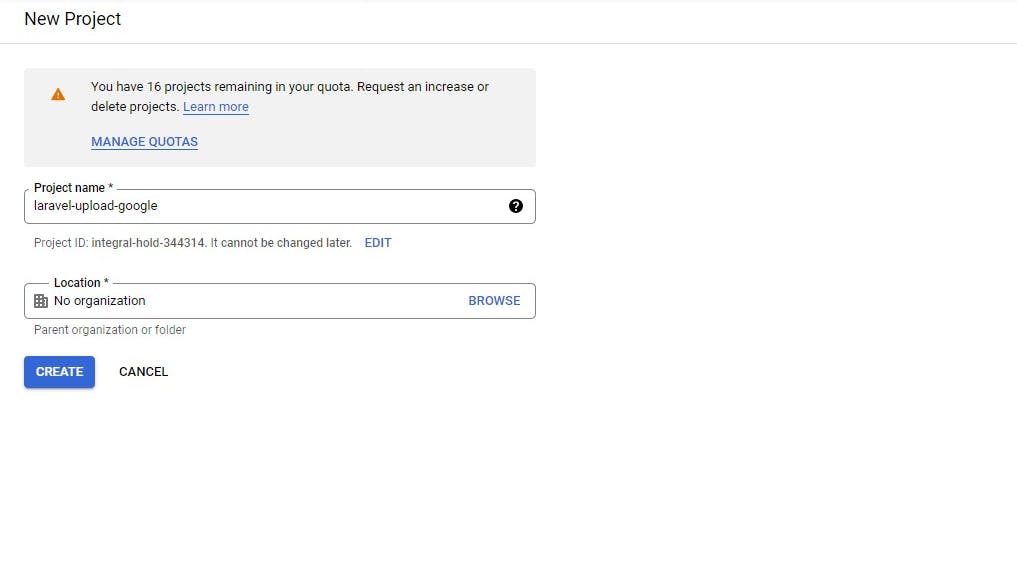
After creating the project the details are shown on the dashboard
Project info

Project name
Laravel upload

Project number
1549378xxxxx

Project ID
laravel-upload-98xxxx
Next, create a service account for this project to obtain the json file of the credentials
Click on the navigation and hover over the IAM $ Admin then click on the service accounts
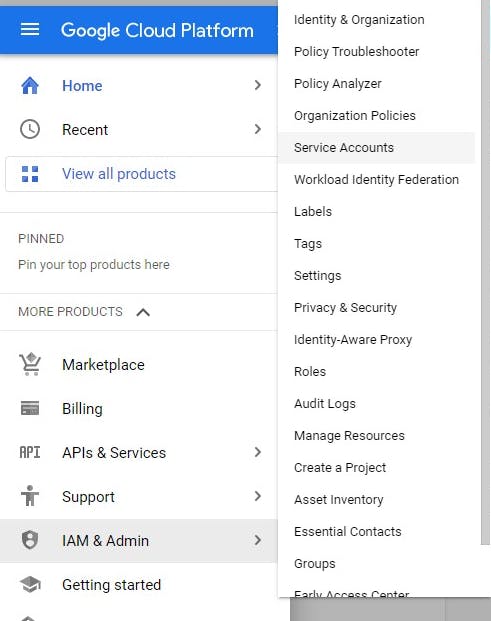
Click on create service account to add a service account for the project created

Fill in the service account details
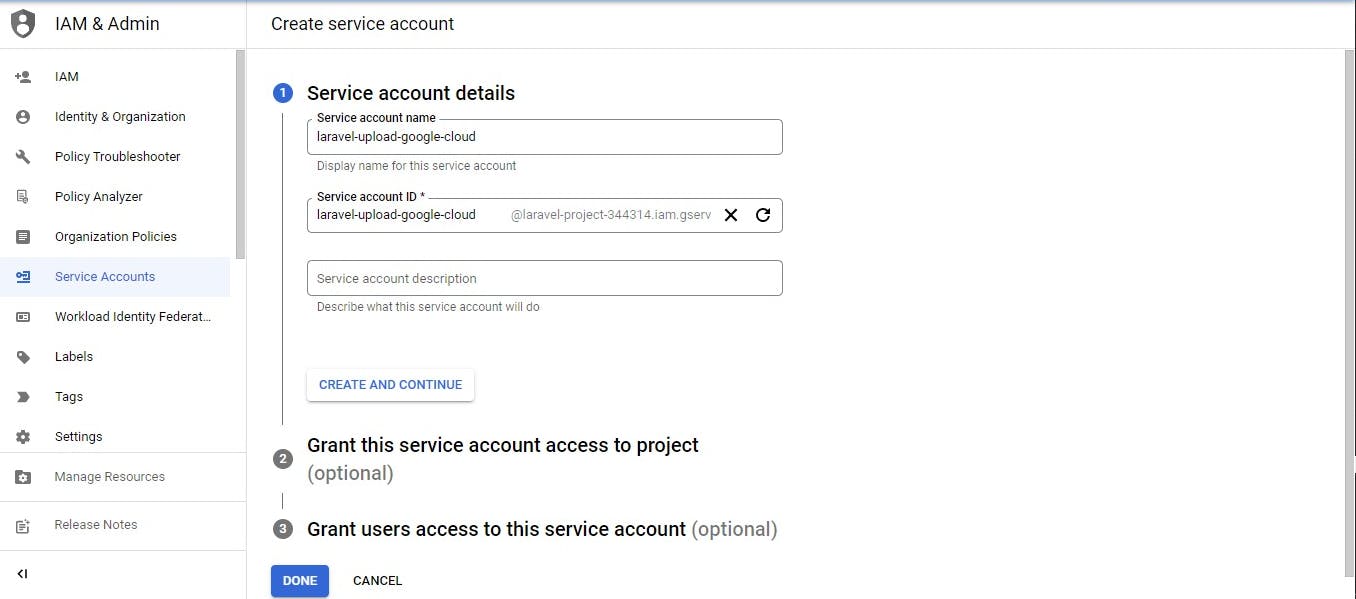
Click create and continue
Next, select the storage admin role and click on continue
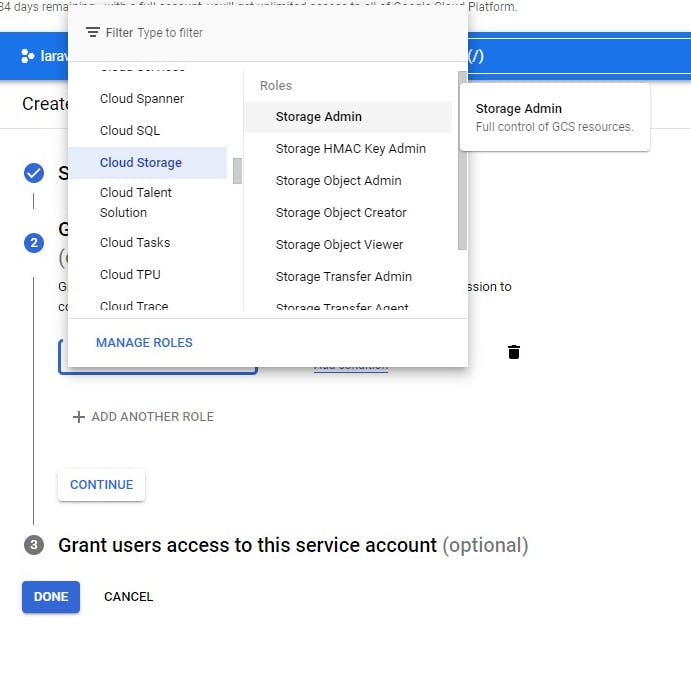
If you want to grant users access you can do so here but it's optional
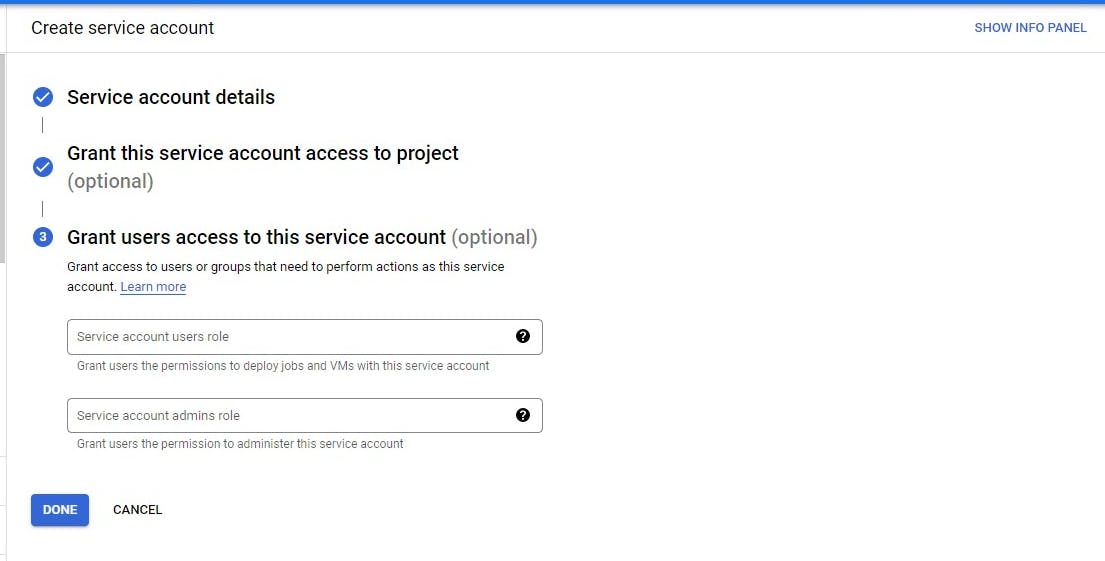
Click on Done
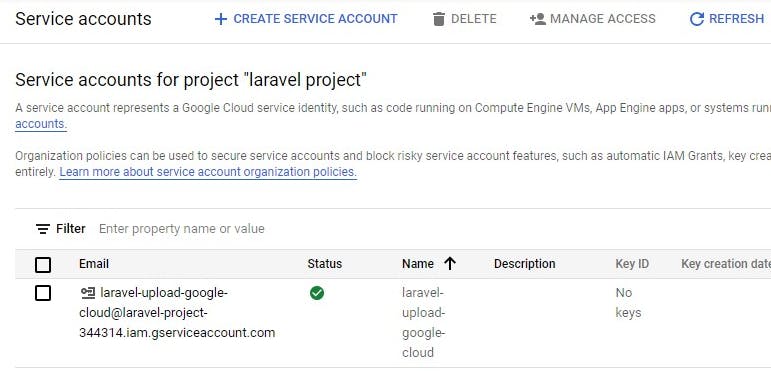
Next click on the service created and go to the keys tab section to access the download a json file
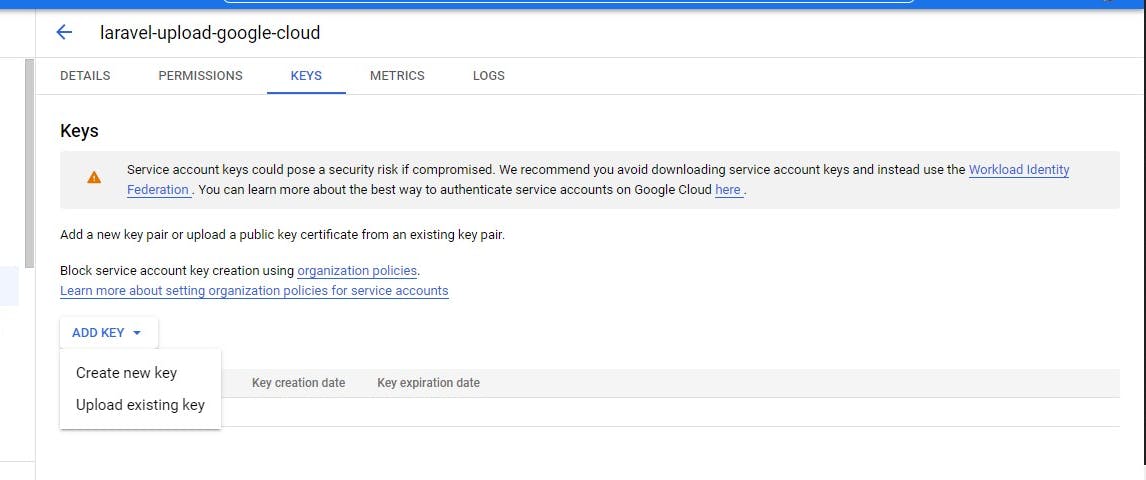
Click on create new
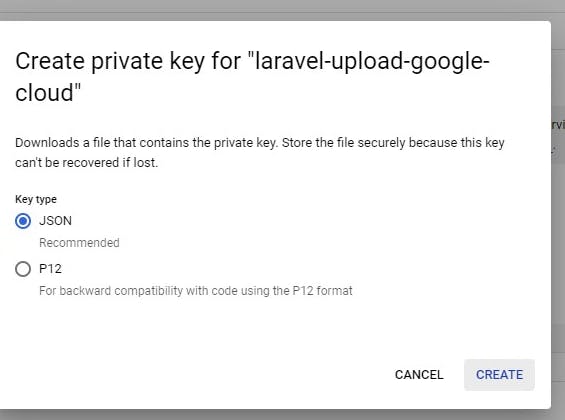
Then click on create and it'll automatically download the json file to your computer.
Please keep these json file or credentails confidential or git ignore the file from going to version control systems
Next, Let's move to Google cloud storage aspects
Click on [cloud storage] (cloud.google.com/storage/docs)
You can click on the storage option on the dashboard of the project
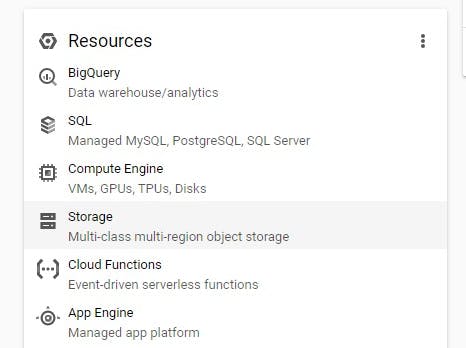
or use the navigation menu as shown in the image below then click on browser
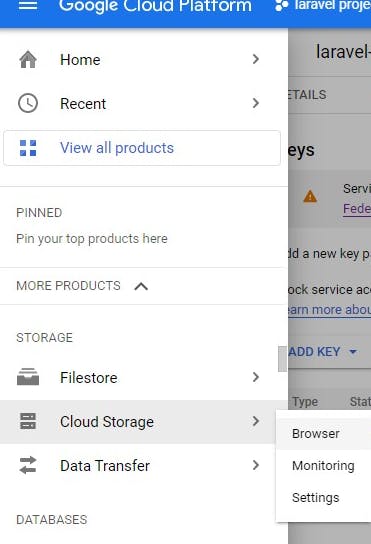
Next, click on create bucket and fill in the details requested
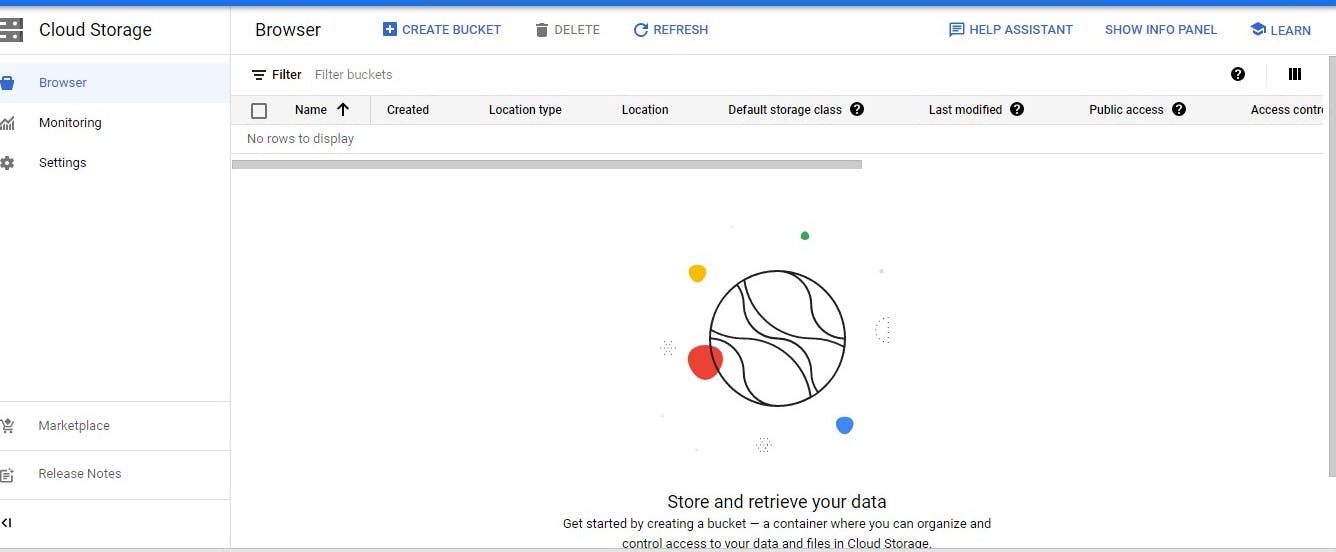
Next
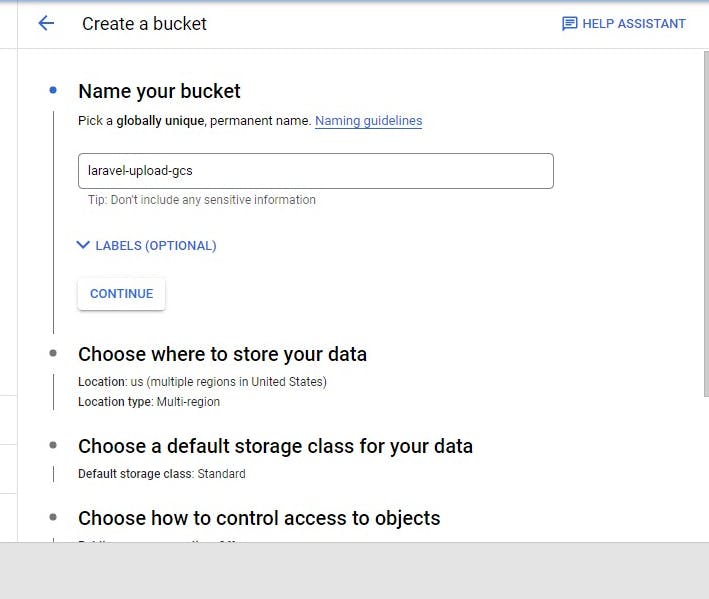
Next
You can select any region based on your choice but the multiple region is more expensive than the single region
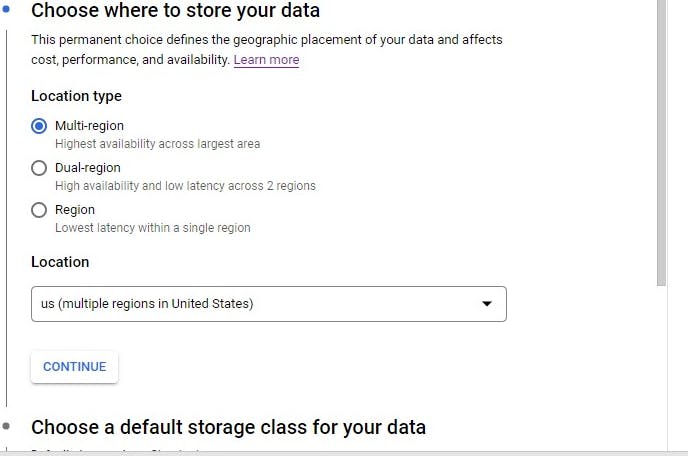
Next
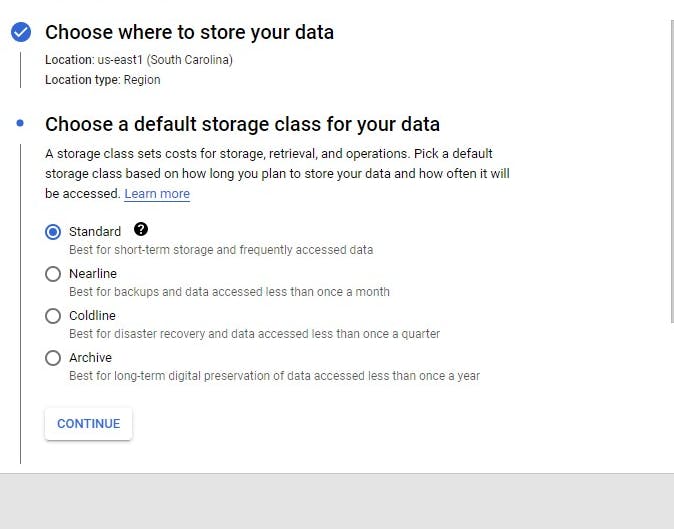
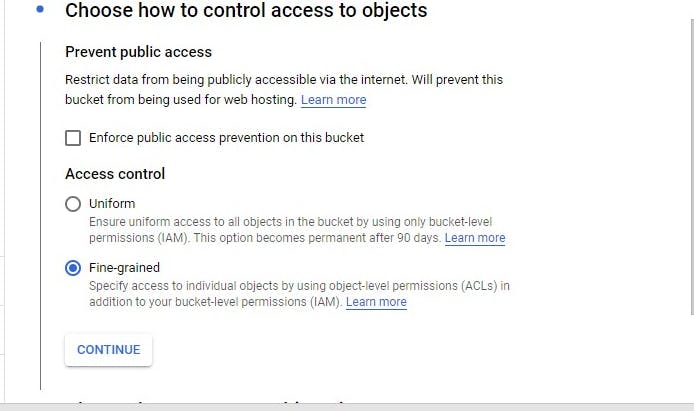
Next, choose the fine-grained option
Specify access to individual objects by using object-level permissions (ACLs) in addition to your bucket-level permissions (IAM). Read more about Access control list
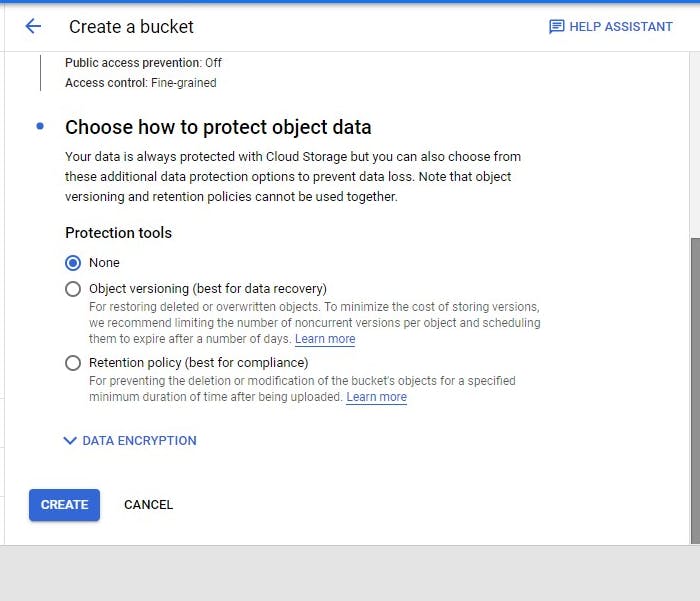
Next, click on create
Awesome!!!
Next, create a folder laravel-upload to keep the content organized
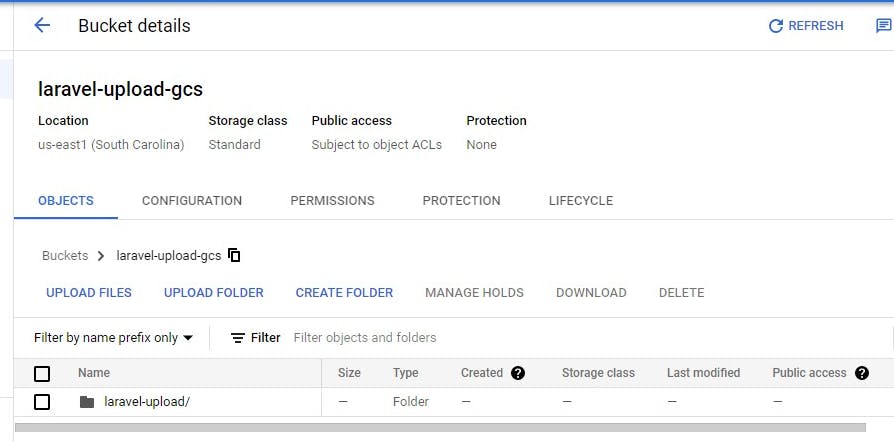
Next, set the environment variable for cloud storage in the .env file
GOOGLE_CLOUD_PROJECT_ID=laravel_upload_using_google_cloud_storage
GOOGLE_CLOUD_STORAGE_BUCKET=laravel-upload-gcs
Next, move the downloaded json file to the config/ folder and also create googlecloud.php file under the same folder
- config/googlecloud.php
This is what the googlecloud.php should look like
- config/googlecloud.php
<?php

return [
    'project_id' => env('GOOGLE_CLOUD_PROJECT_ID'),
    'storage_bucket' => env('GOOGLE_CLOUD_STORAGE_BUCKET'),
];
Next, integrate the cloud-storage package
composer require google/cloud-storage
Next, run the commands below
composer dump-autoload

php artisan optimize:clear

Next, import the package on the controller in our case UploadController
use Google\Cloud\Storage\StorageClient;

Here's the store method for uploading the file to Google cloud storage
    public function store(Request $request)
    {

//validate the file upload
        $request->validate([
            'avatar' => 'required|image|max:10240',
        ]);

//get the authenticated user
        $user = Auth::user();

//get the credentials in the json file
        $googleConfigFile = file_get_contents(config_path('laravel-project.json'));

//create a StorageClient object
        $storage = new StorageClient([
            'keyFile' => json_decode($googleConfigFile, true)
        ]);

//get the bucket name from the env file
        $storageBucketName = config('googlecloud.storage_bucket');

//pass in the bucket name
        $bucket = $storage->bucket($storageBucketName);

        $avatar_request = $request->file('avatar');

        $image_path = $avatar_request->getRealPath();

//rename the file
        $avatar_name = $user->name.'-'.time().'.'.$avatar_request->extension();

//open the file using fopen
        $fileSource = fopen($image_path, 'r');

//specify the path to the folder and sub-folder where needed
        $googleCloudStoragePath = 'laravel-upload/' . $avatar_name;


//Delete previously uploaded image to cloud storage by this user
        if(Auth::user()->avatar !== ''){
            $object = $bucket->object('laravel-upload/'.Auth::user()->avatar );
            $object->delete();
        };

//upload the new file to google cloud storage
        $bucket->upload($fileSource, [
            'predefinedAcl' => 'publicRead',
            'name' => $googleCloudStoragePath
        ]);

//pass in the name of the file and save
        $user->avatar = $avatar_name ;
        $user->save();

//return a success message to the user
        return redirect()->route('home')
                        ->with('success','Uploaded successfully.');
    }
//Same approach is applicable to PDF file uploads.
For more features check here
Next, add a getter for avatar in the user model to append the URL to the picture on cloud storage
//laravel 9
public function avatar(): Attribute
    {
        return new Attribute(
            get: fn ($value) => 'https://storage.googleapis.com/laravel-upload-gcs/laravel-upload/'.$value,
        );
    }
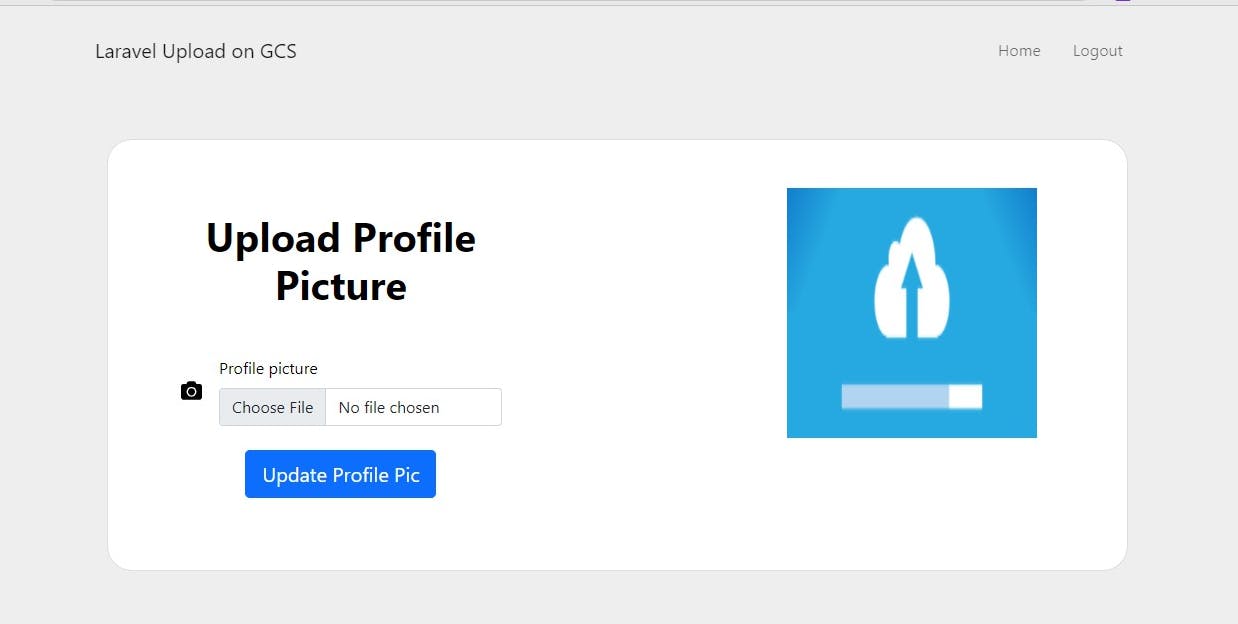
Next, refresh the browser click on home and upload a picture
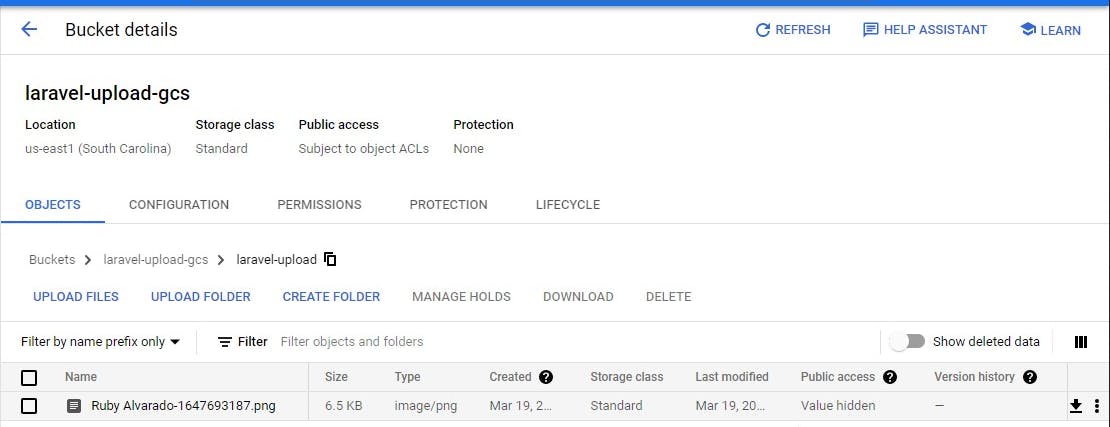
Awesome!!! After uploading the file here's the output
On Google cloud storage
Article research credits
Thank you for reading this article.
Please kindly share with your network and feel free to use the comment section for questions, answers, and contributions.
Do you love this article?? please follow me on Hashnode alemsbaja or Twitter @alemsbaja to stay updated for more articles
