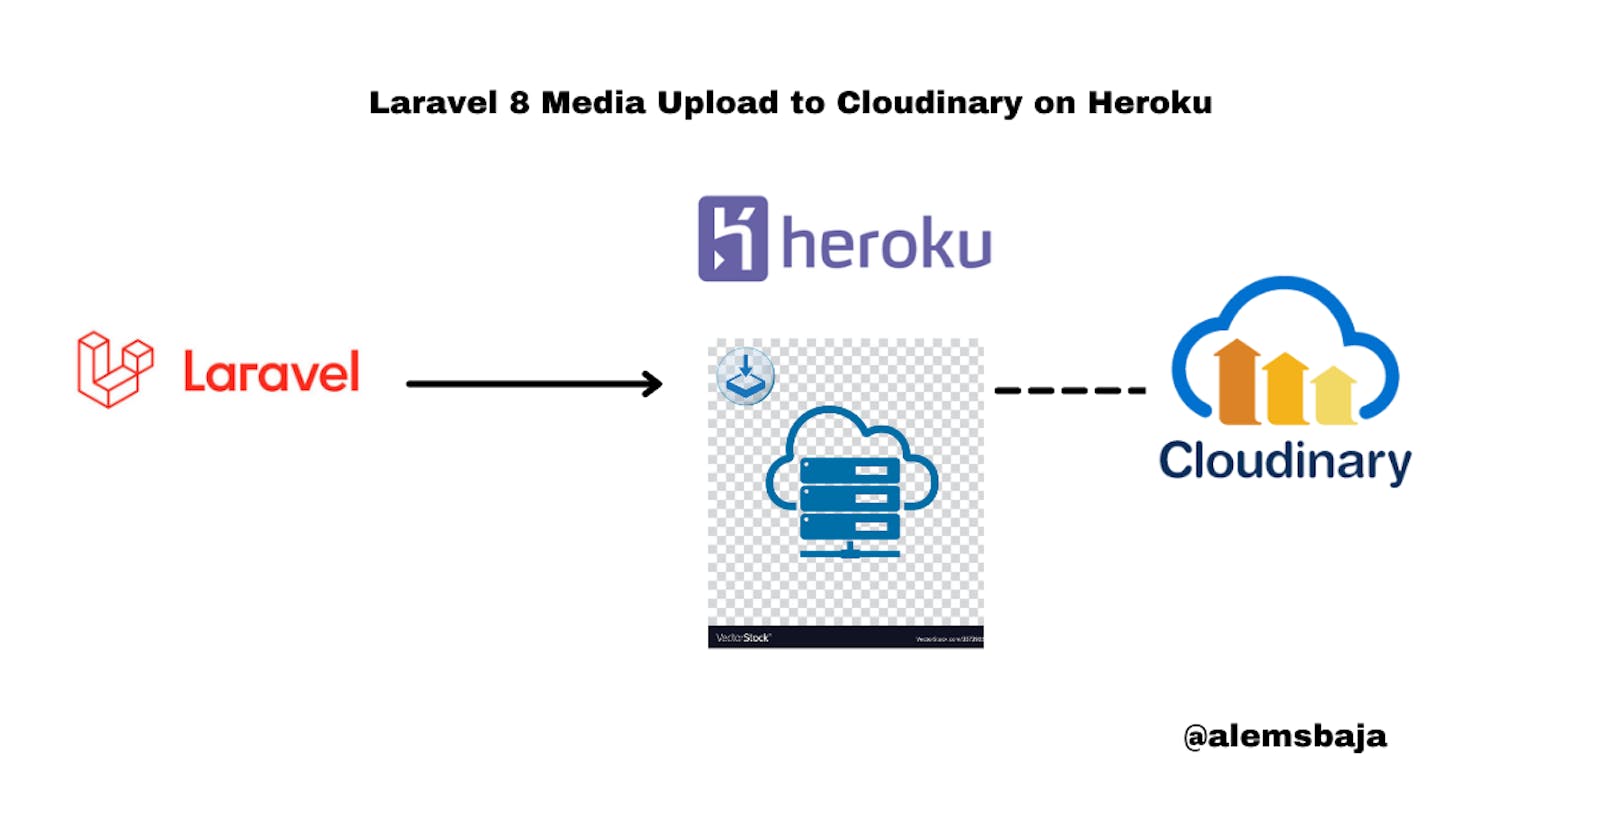
Laravel 8 Media Upload to Cloudinary on Heroku
Testing Laravel apps with file uploads on Heroku
After building the app the file uploads don't work on Heroku right? Yeah not to bother this article will sort it out...
In the previous article hosting laravel application on Heroku we promised to implement laravel file uploads on Heroku using Cloudinary.
This is because the Heroku filesystem is ephemeral - that means that any changes to the filesystem whilst the dyno is running only last until that dyno is shut down or restarted. Each dyno boots with a clean copy of the filesystem from the most recent deployment. In addition, under normal operations, dynos will restart every day in a process known as "Cycling".
These two facts mean that the filesystem on Heroku is not suitable for persistent storage of data.
In this article, we'll be looking at laravel file uploads on Heroku using Cloudinary
Media experience is everything. But behind the fast, visual-rich websites and apps you love today are technologies automating what would typically be a massive media management headache.
Cloudinary was built from the ground up by developers who knew there had to be a better way to upload, manage and deliver tens of thousands to millions of images and videos. Using artificial intelligence (AI), automation, and advanced patent-pending image and video processing capabilities, we make it easier for brands to deliver fast and flawless visual experiences at scale.
We'll continue from the previous authentication app used for this [tutorial(alemsbaja.hashnode.dev/hosting-laravel-apps..) which means we'll skip to creating views for the upload form and the display media on the user dashboard. The source code for this tutorial can be found here
You could clone the repository or start from the section below to implement cloudinary on your project.
We'll be using the jrm2k6/cloudder cloudinary package.
First
composer require jrm2k6/cloudder:^0.6.0
Next
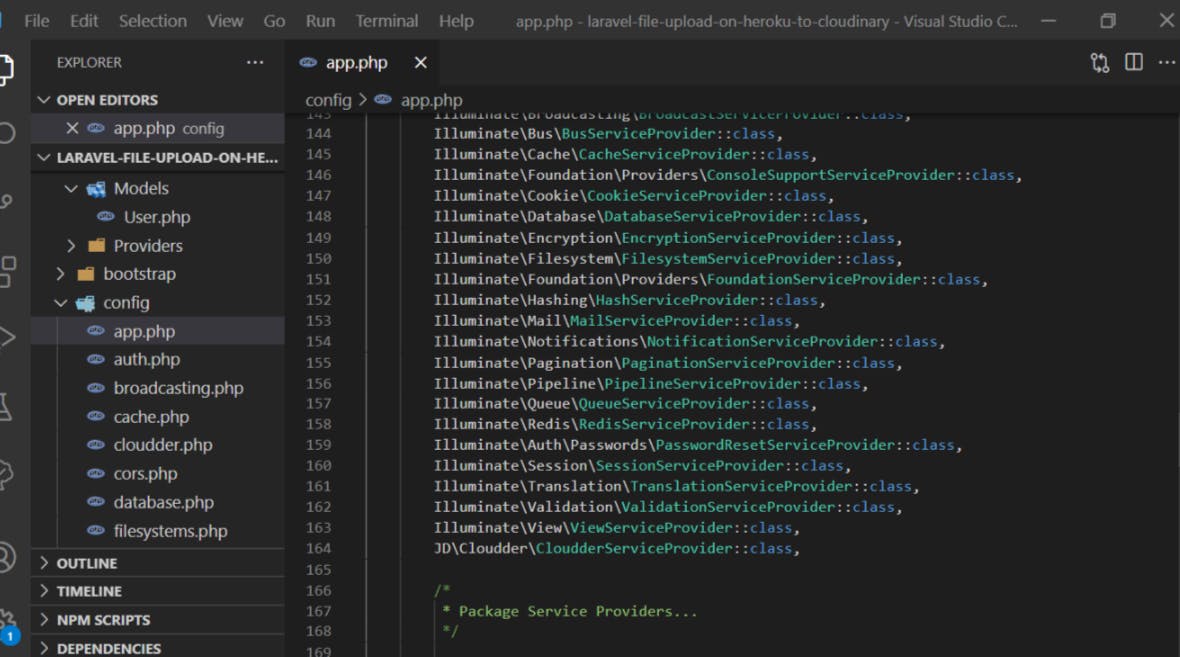
Open the config\app.php file and add the following codes
Add this to the providers array
JD\Cloudder\CloudderServiceProvider::class,
Add this to the aliases array
'Cloudder' => JD\Cloudder\Facades\Cloudder::class,
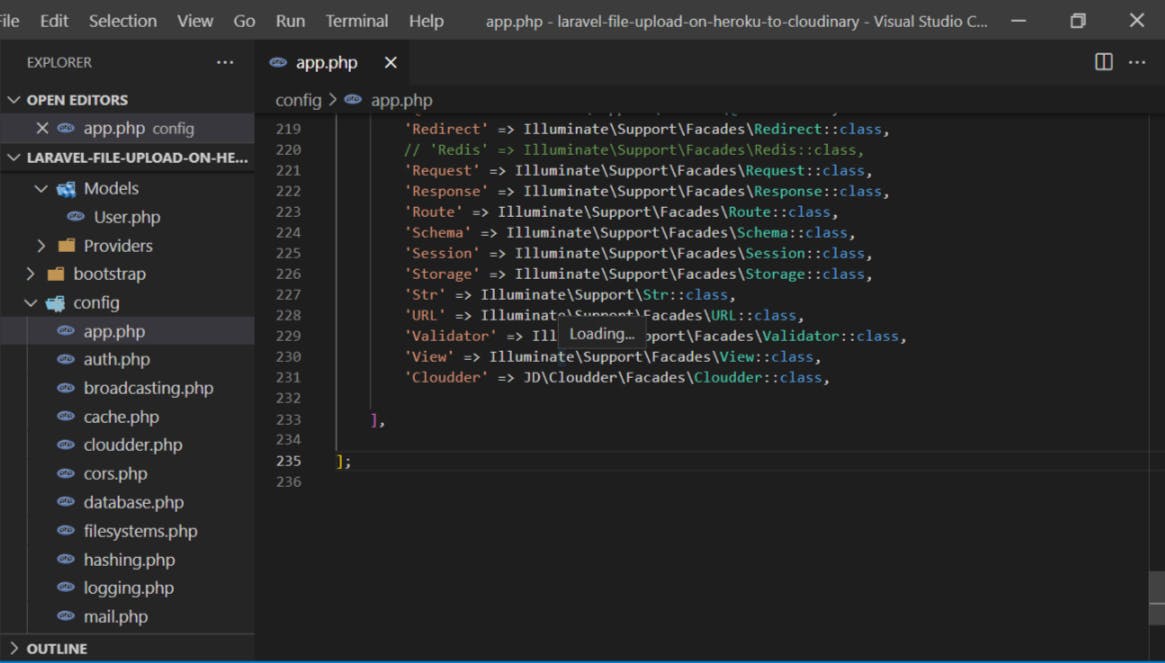
Next publish the package using the command below
php artisan vendor:publish --provider="JD\Cloudder\CloudderServiceProvider"
This will create a cloudder configuration file config/cloudder.php
Go to your .env file and paste this configuration for cloudinary
CLOUDINARY_API_KEY=
CLOUDINARY_API_SECRET=
CLOUDINARY_CLOUD_NAME=
Let's obtain those credentials from cloudinary
You can create a cloudinary account here
If you've got an account login and you'll see the details for remotely accessing your Cloudinary account on the dashboard.
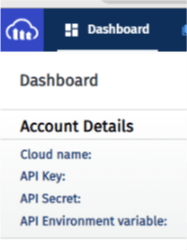
Next copy the cloudname, API key, API secret and paste on your .env file
Note you can create a folder in your Cloudinary account to affect the categorization of file uploads.
Click on the media library tab and create a folder with your desired name
For this tutorial we created a folder called laravel_tutorial
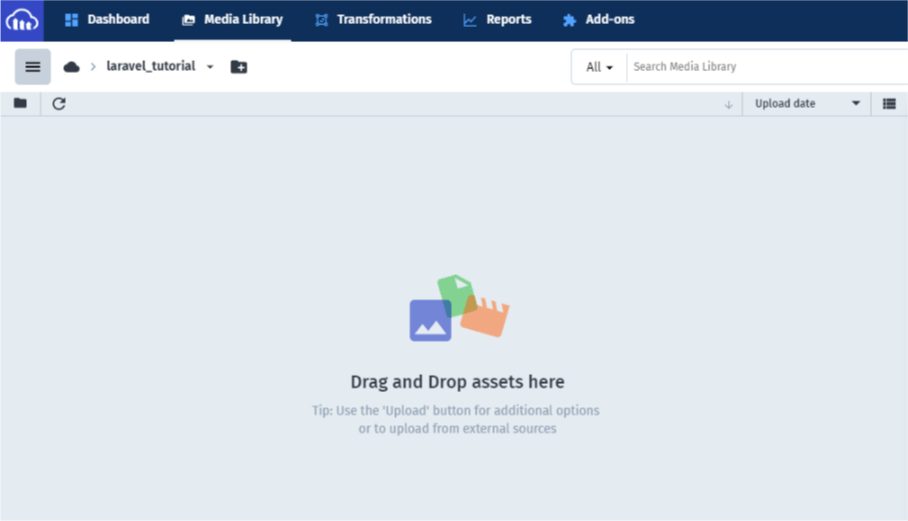
Update the .env file with your credentials
CLOUDINARY_API_KEY=437347347347
CLOUDINARY_API_SECRET=o898eh7e8
CLOUDINARY_CLOUD_NAME=laravel_upload
That's all for cloudinary, Yea!
Create a route for displaying and submitting form upload
<?php

use Illuminate\Support\Facades\Auth;
use Illuminate\Support\Facades\Route;
use App\Http\Controllers\MediaController;


Route::get('/', function () {
    return view('welcome');
});

Auth::routes();

Route::middleware(['auth'])->group(function () {
    Route::view('home', 'home')->name('home');
    Route::match(['get', 'post'], '/upload', [MediaController::class, 'media'])->name('upload.media');
});
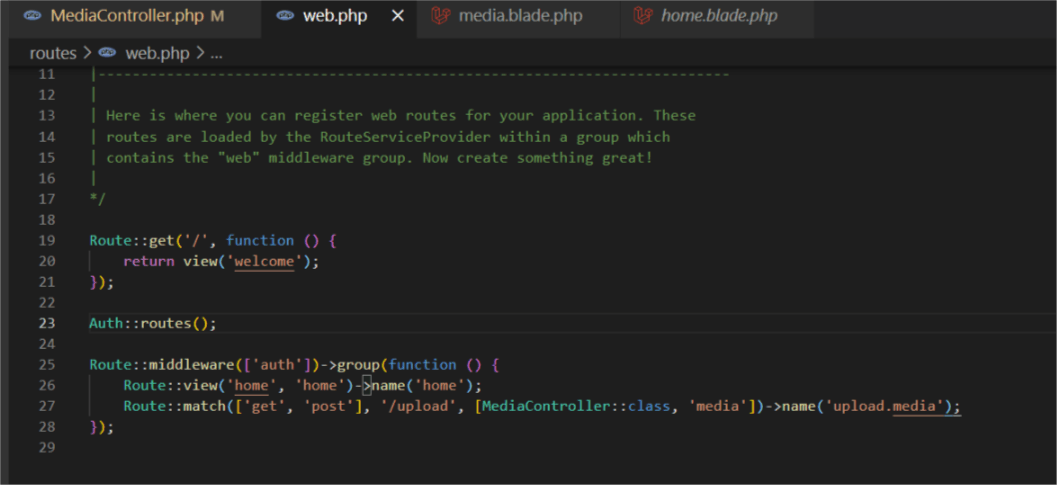
Next we'll create a controller called MediaController and add the media method to handle upload and display
php artisan make:controller MediaController
Here's is the snippet for the media method
<?php

namespace App\Http\Controllers;

use Illuminate\Http\Request;
use App\Models\User;
use Illuminate\Support\Facades\Auth;
use JD\Cloudder\Facades\Cloudder;

class MediaController extends Controller
{
    public function media(Request $request)
    {
        if ($request->isMethod('post')) {
            $this->validate($request, [
                'avatar' => 'image|mimes:jpeg,png,jpg|max:1048|required',
            ]);


            $image_name = $request->file('avatar')->getRealPath();
//the upload method handles the uploading of the file and can accept attributes to define what should happen to the image

//Also note you could set a default height for all the images and Cloudinary does a good job of handling and rendering the image.
            Cloudder::upload($image_name, null, array(
                "folder" => "laravel_tutorial",  "overwrite" => FALSE,
                "resource_type" => "image", "responsive" => TRUE, "transformation" => array("quality" => "70", "width" => "250", "height" => "250", "crop" => "scale")
            ));

//Cloudinary returns the publicId of the media uploaded which we'll store in our database for ease of access when displaying it.

$public_id = Cloudder::getPublicId();

            $width = 250;
            $height = 250;

//The show method returns the URL of the media file on Cloudinary
 $image_url = Cloudder::show(Cloudder::getPublicId(), ["width" => $width, "height" => $height, "crop" => "scale", "quality" => 70, "secure" => "true"]);

//In a situation where the user has already uploaded a file we could use the delete method to remove the media and upload a new one.
            if ($public_id != null) {
                $image_public_id_exist = User::select('public_id')->where('id', Auth::user()->id)->get();
                Cloudder::delete($image_public_id_exist);
            }

            $user = User::find(Auth::user()->id);
            $user->public_id = $public_id;
            $user->avatar_url = $image_url;
            $user->update();
            return back()->with('success_msg', 'Media successfully updated!');
        } else {
            return view('media');
        }
    }
}
Views
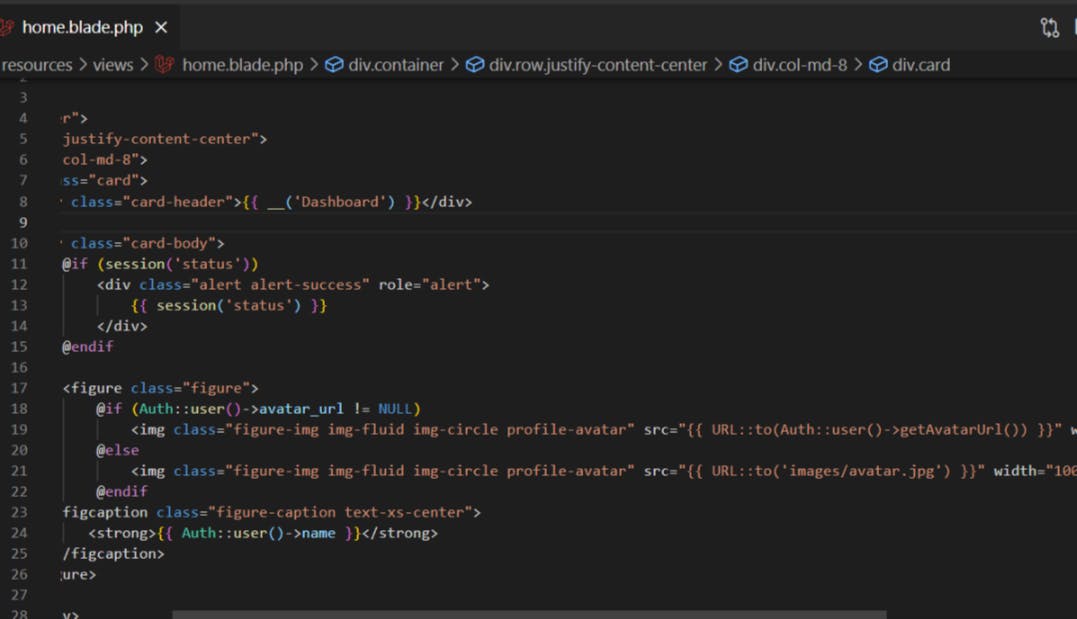
Dashboard
Media Form
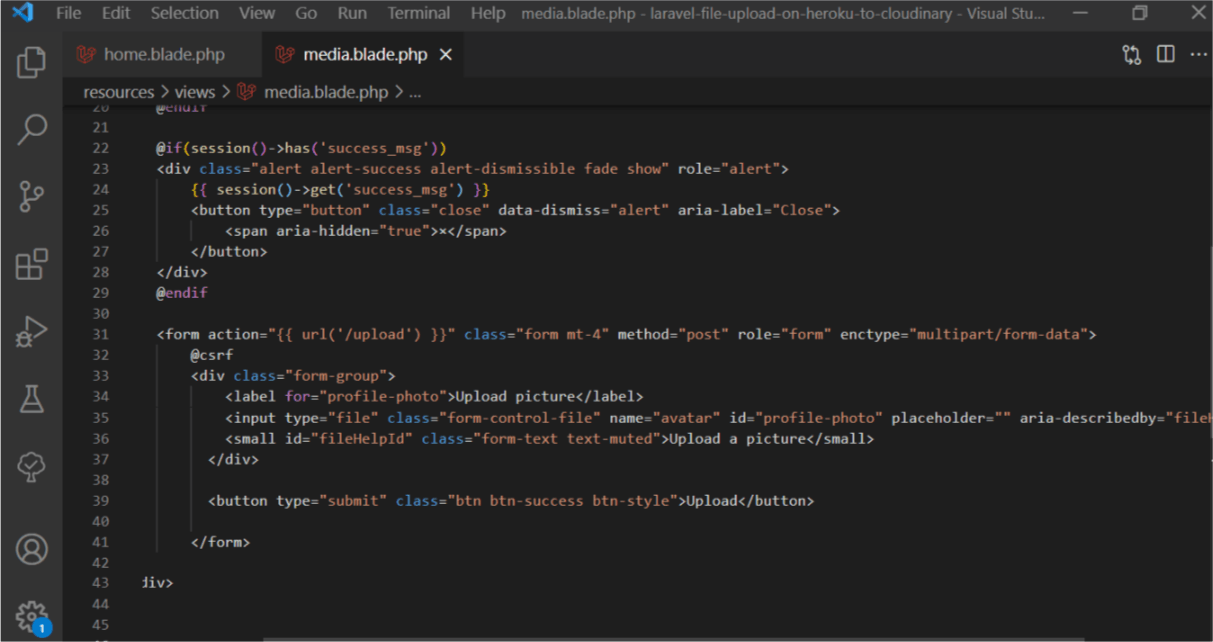
The media view file can be found on the source code
This will work locally but for the purposes of the tutorial, we'll focus on Heroku.
Run the following to push the code updates to Git and deploy on Heroku for testing
git add .
git commit -m "Laravel Media uploads on Heroku to cloudinary"
git push origin -u main
git push heroku main
Run the following to set environment variables for Cloudinary on Heroku
heroku config:add CLOUDINARY_API_KEY=437347347347
heroku config:add CLOUDINARY_API_SECRET=o898eh7e8
heroku config:add CLOUDINARY_CLOUD_NAME=laravel_upload
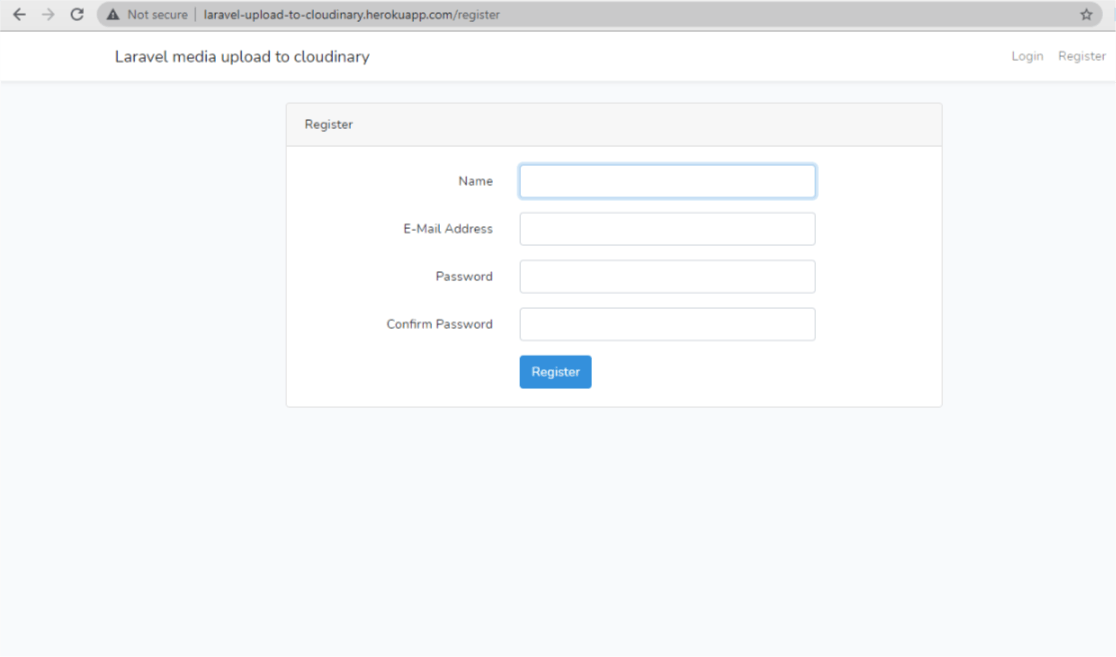
Register
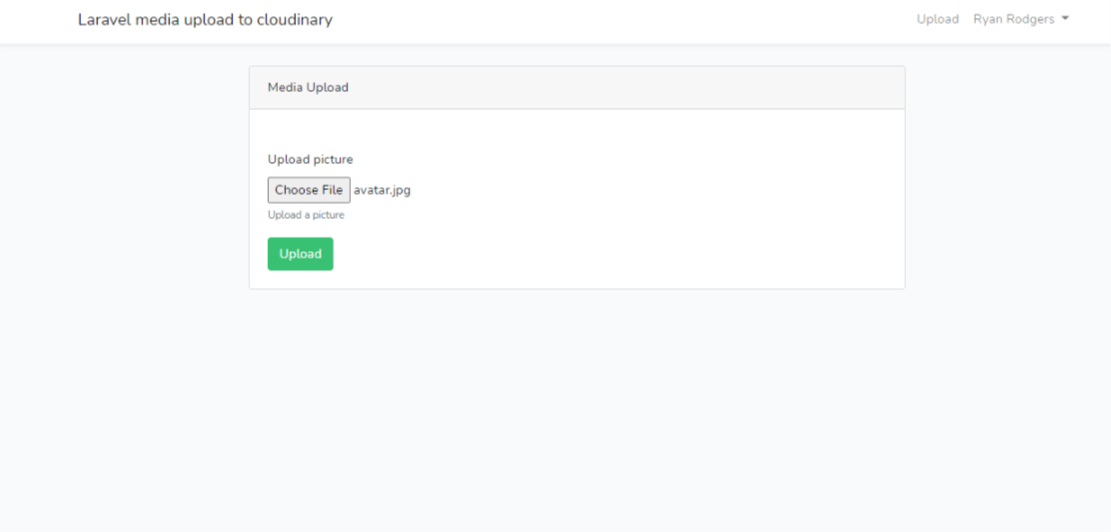
Upload
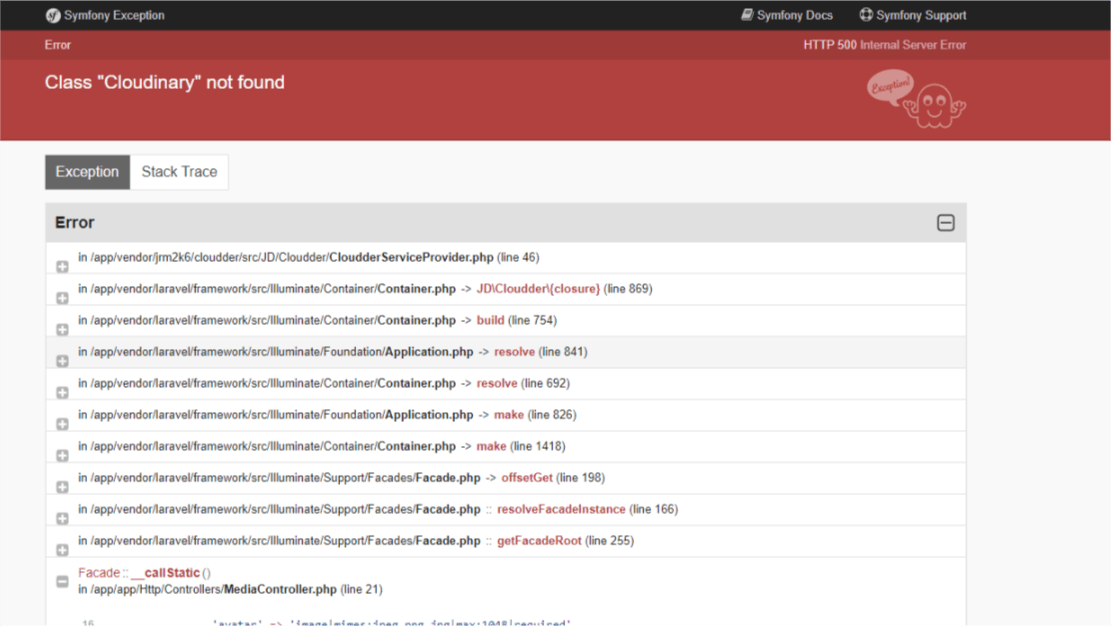
You might encounter this error when you try to upload to cloudinary
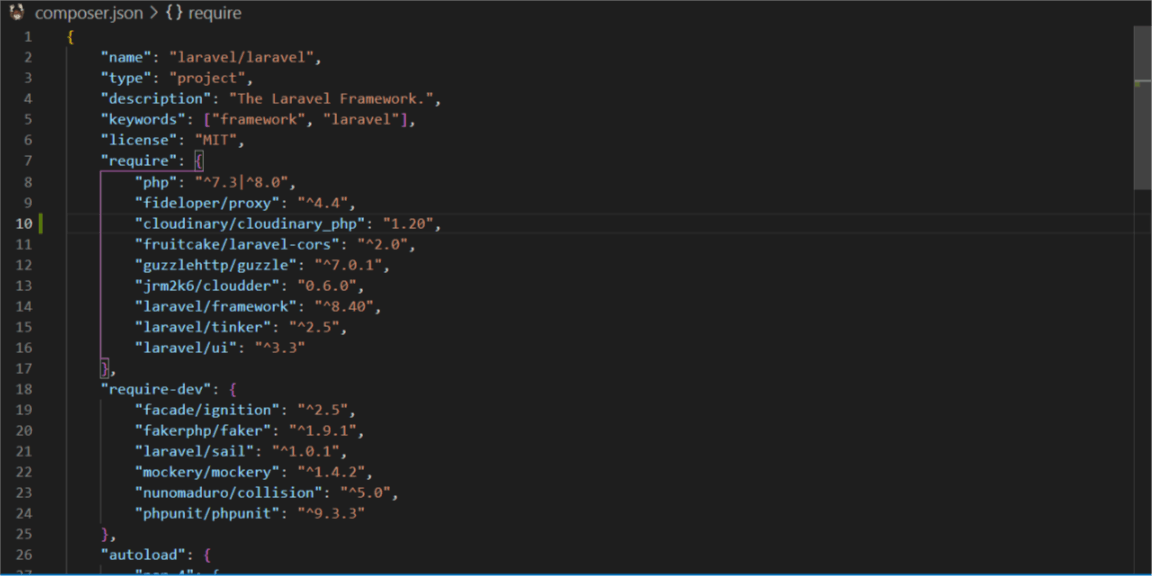
Here's how to resolve it.. Go to composer.json file
Add this line to the require object
"cloudinary/cloudinary_php": "1.20",
Next
composer update
Run the following git commands to update the repository and deploy to Heroku
git add .
git commit -m "Fix Cloudinary Class not Found Error"
git push origin -u main
git push heroku main
Awesome!!!
Visit the URL refresh, register and upload again. Go to dashboard to see the media uploaded.
Upload again you should see the view
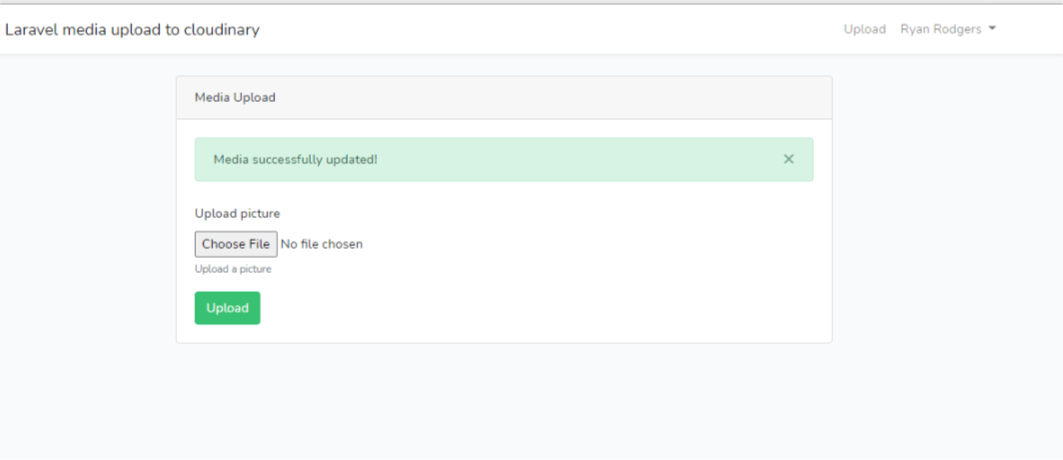
Dashboard
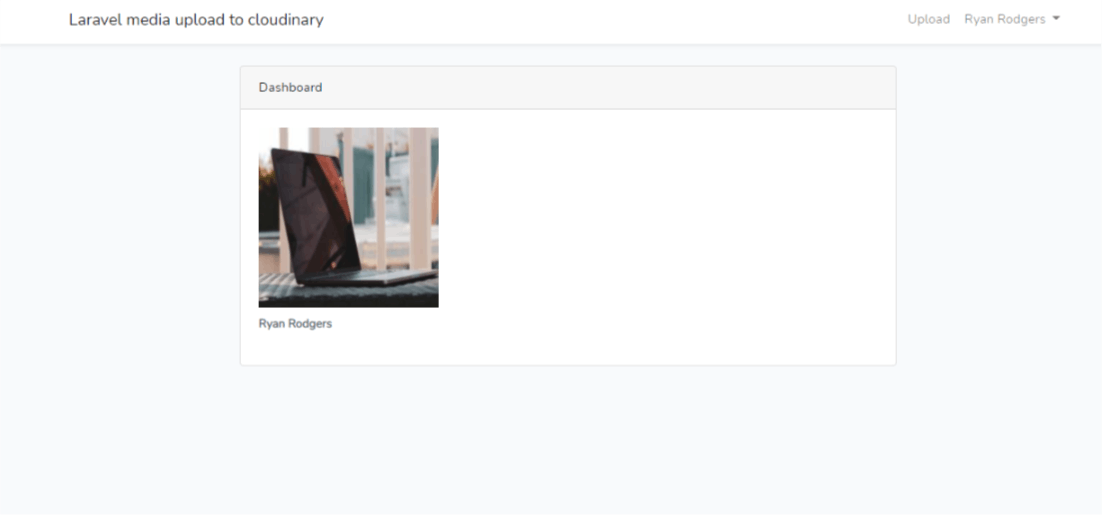
Congratulations!!!!
You can now test your Laravel application for free with media upload on Heroku to Cloudinary
Thank you for reading this article.
Please kindly share with your network and feel free to use the comment section for questions, answers, and contributions.
You love this article?? please follow me on Hashnode or Twitter @alemsbaja to stay updated for more on articles.
